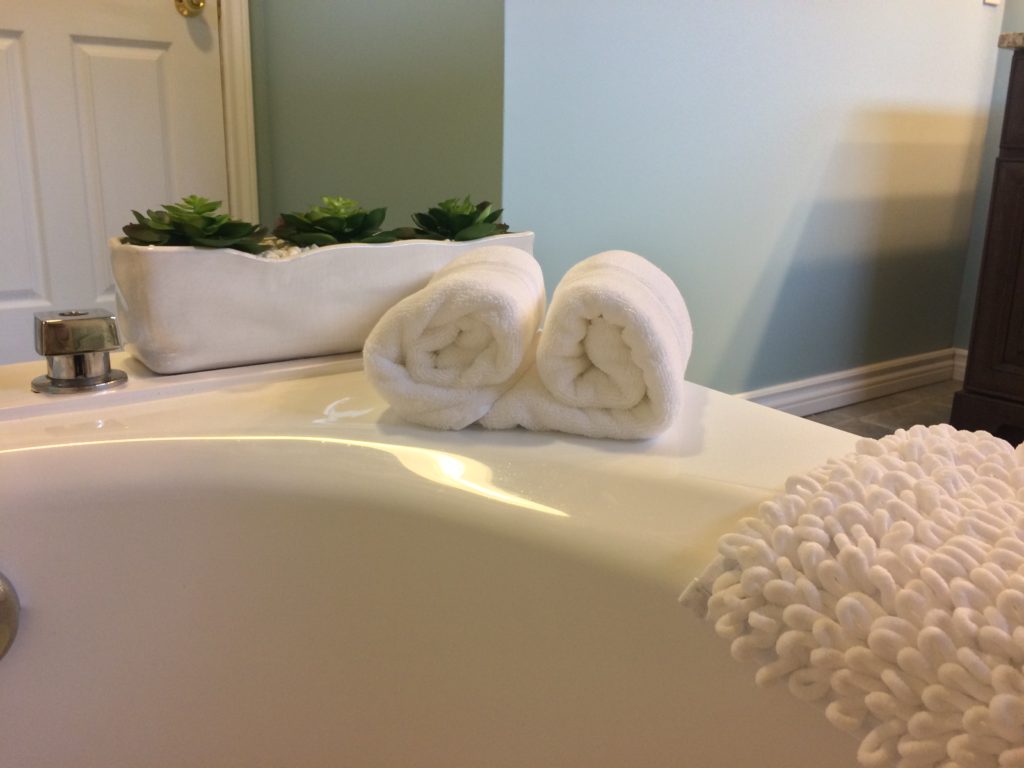
You’ve gone through the trouble of renovating your bathroom with new pluming, new floor tile, new tub and new vanity. You painted the walls but not completely happy with the colour and it’s not exactly your dream spa space. Yet! Here’s three stages to get to your dream spa like space to complete the look that just invites you to relax and unwind.
First though think what do you have to work with, then how you want it to feel, then the plan.
STAGE ONE: BEFORE
What you have to work with: Here’s a look at the before space and how to get it to where you have that spa oasis that takes you away.
Goal: Take your bathroom to the next level of cozy and comfortable and that ohh spa like feeling.
A look back at the before pictures!
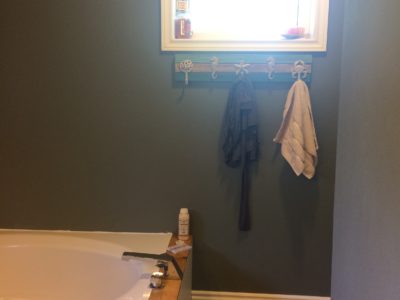
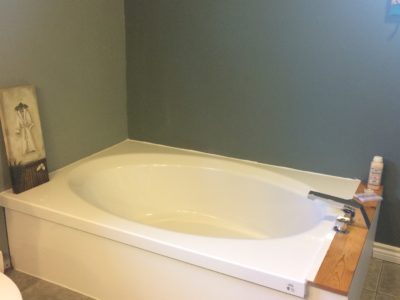
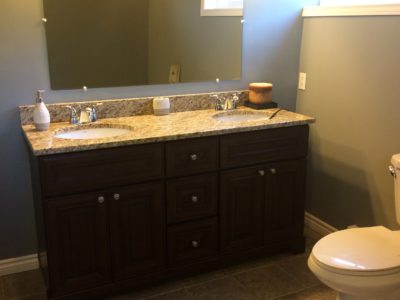
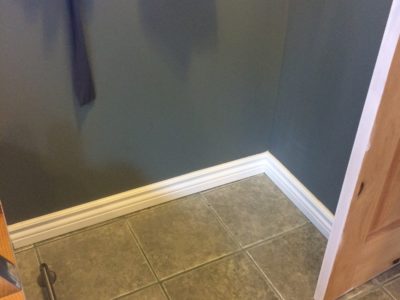
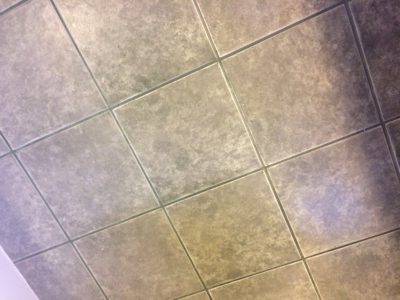
All the components were in place for this homeowner but she wasn’t getting the wow factor that really made her bathroom sing. She wanted something that was super relaxing and had a cozy feeling. She had the dark wood vanity and granite counter and gorgeous soaker tub but the colour on the walls was too dark for this space. The dilemma for this client was she wasn’t getting the zing that she wanted. She needed to have it brightened up and a more refreshed look. The colour was a too dark for the space and she wanted more of that calm, serene spa like feeling and not sure how to get there. Colour is everything in small bathroom and having the right one does wonders to take it from dark and drab to fun and bright. Work with the natural lighting in the room and select something that compliments your existing artwork, tile or vanity.
*
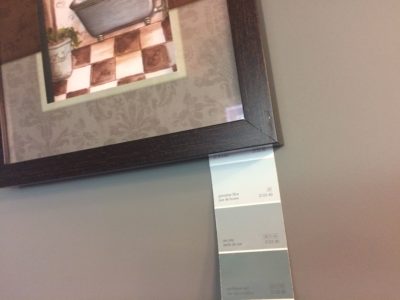
Here I chose something that really compliments the vanity.
*
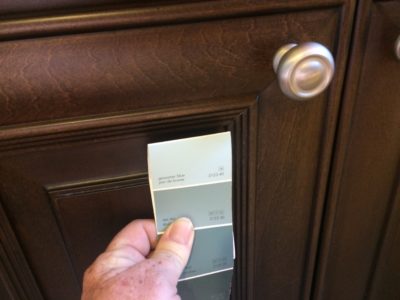
Paint colour Gossamer Blue by Benjamin Moore
STAGE TWO: DURING
Get some tile work done to finish off the soaker tub, lots of tiles to choose from but think long term and choose something that you won’t tire of down the road or if your thinking of reselling your home at a future date.
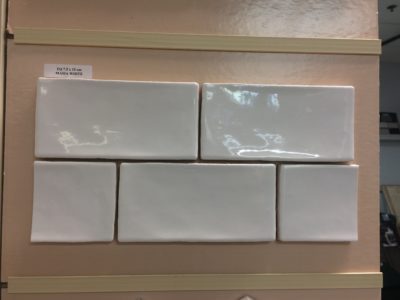
Tile shopping can be fun but often overwhelming with all the choices. Here’s some options but in the end I chose something classic, bright with a little hand worn custom feel.
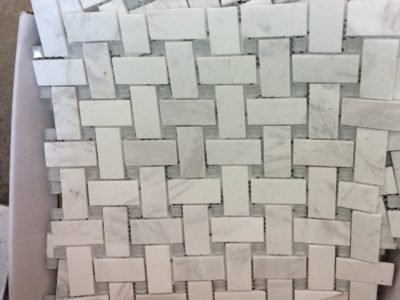
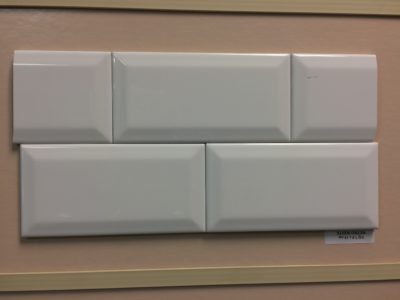
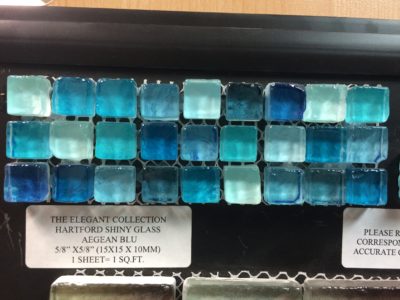
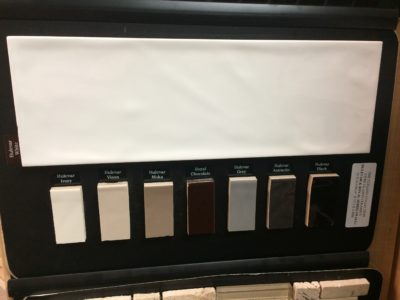
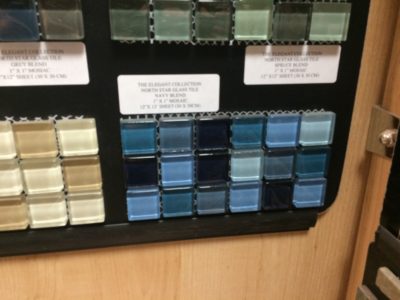
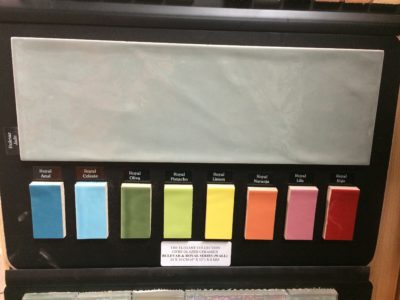
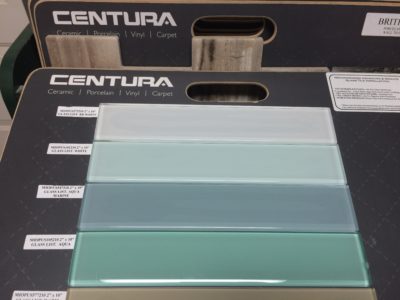
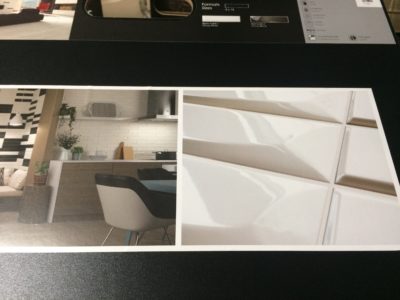
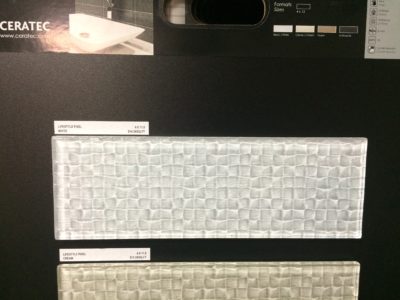
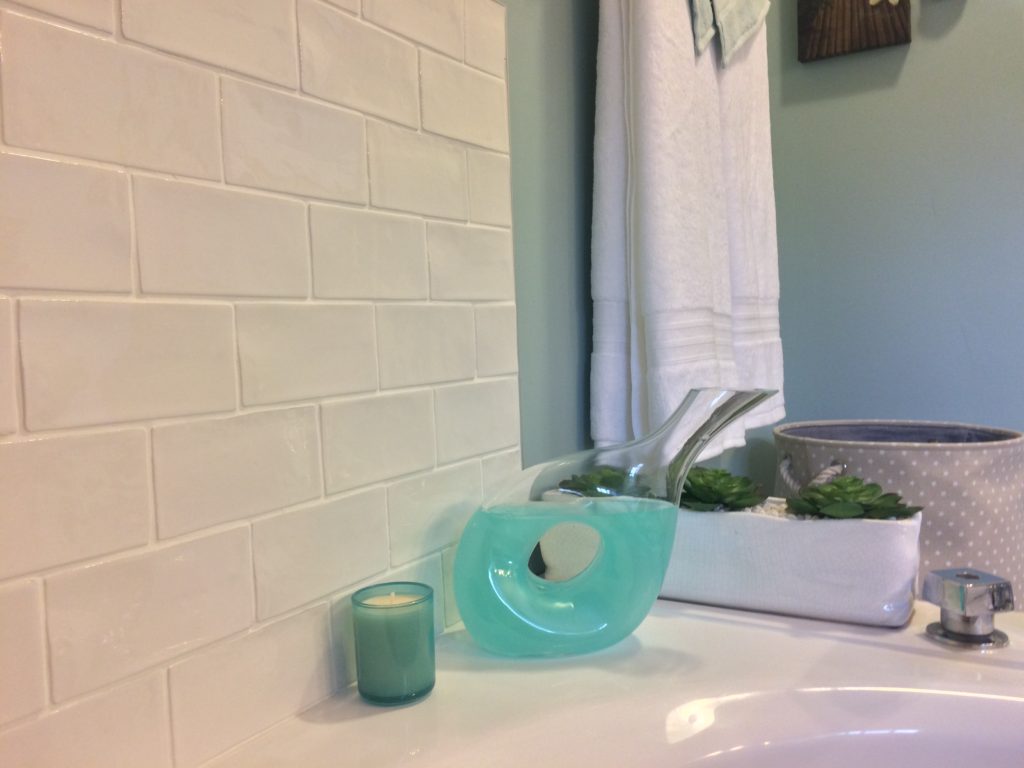
Final pick see below. . Classic, clean bright with a little bit of shine to catch the sun coming from the windows. White grout and just enough to define the space.
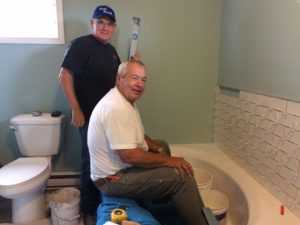
A quick peek of the tiles in progress: Just 2′ up the wall on both sides compliments and outlines the details of this soaker tub.
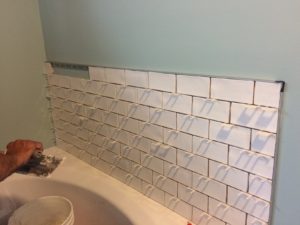
Final tile look – clean, classic and stands the test of time.
STAGE THREE: Final Details
Adding details and accessories to spruce up this bathroom was all about the pictures, small accessories, towels, bath bubbles and candles. Getting the right mix is sure to bring it all together. Combining items with the colour on the walls everything filtered through that. Here’s some of the details you can use too to get the look.
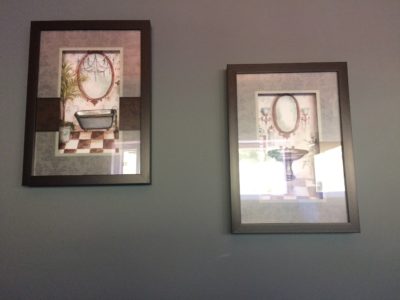
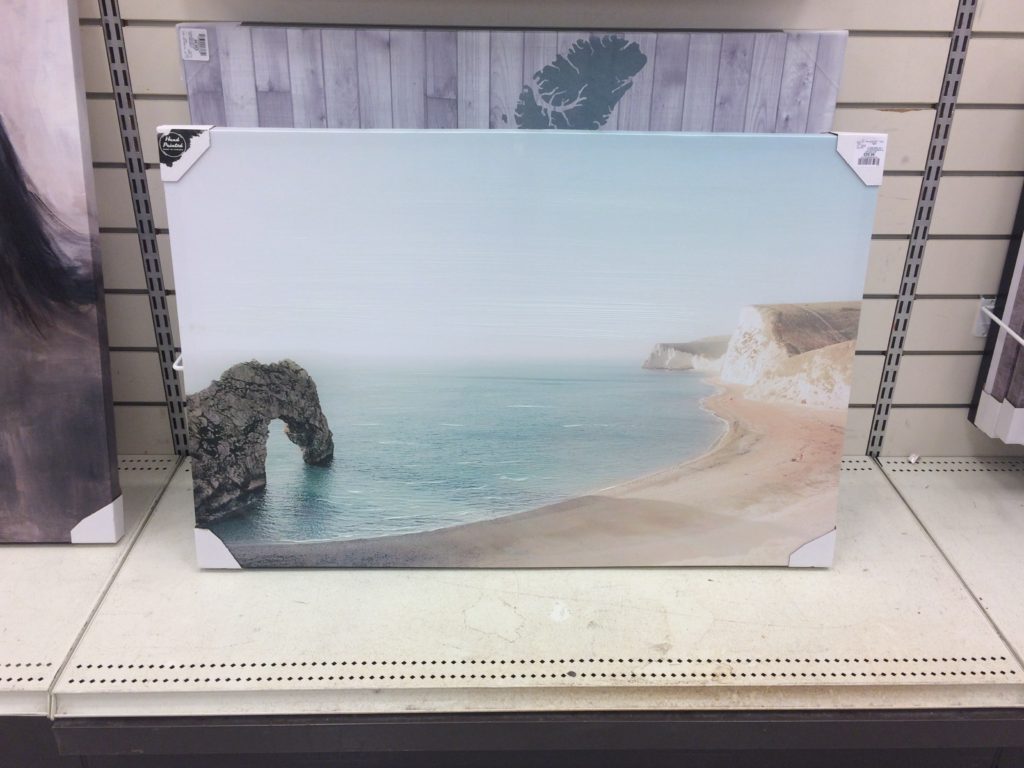
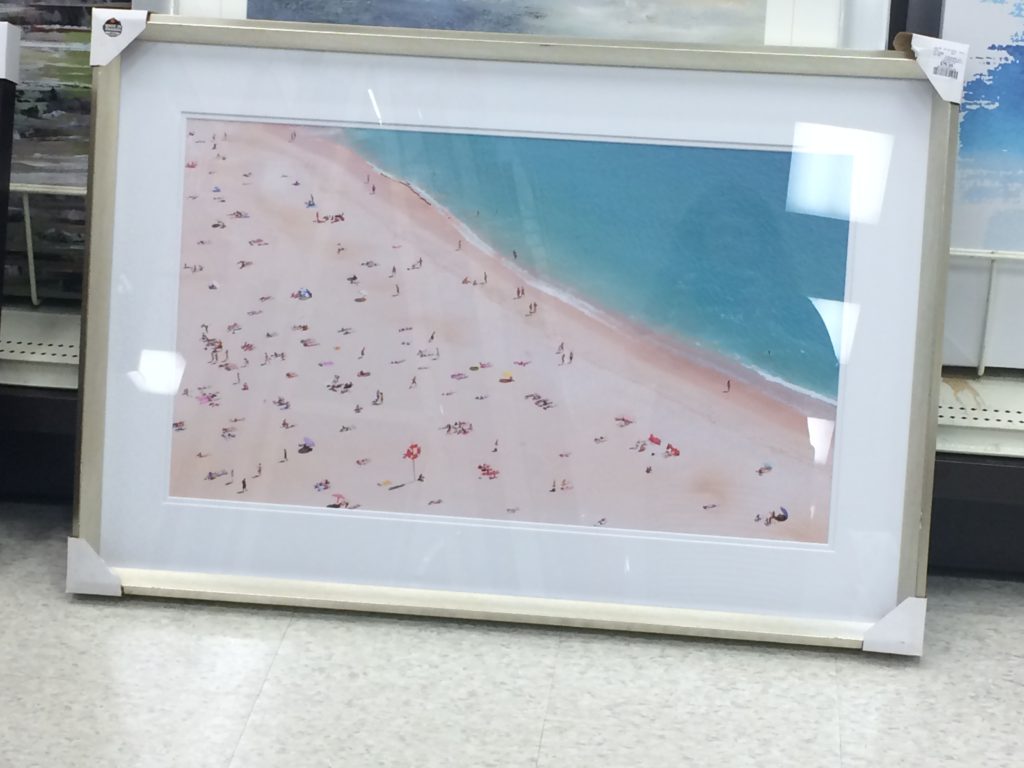
Pictures that evoke that sense of calm and serene may mean different things to different people. In this small bathroom we created that sense with water as it usually has a claiming effect for most people. Some other options below. Which one would you go with? Have a look and see which ones made the pick.
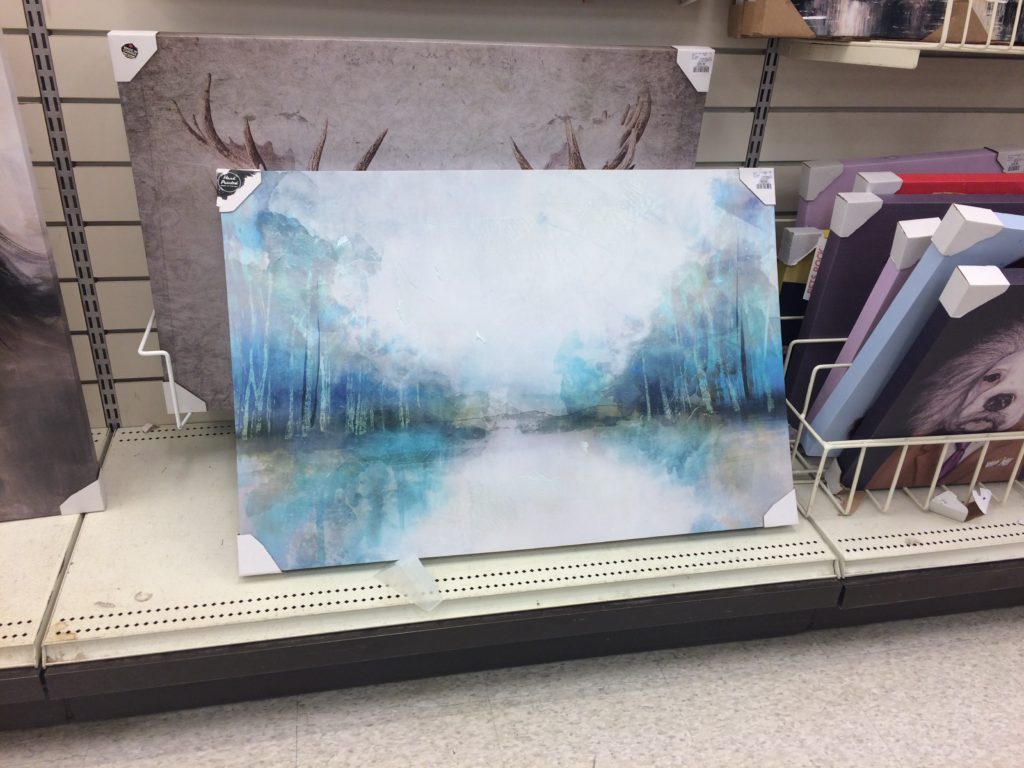
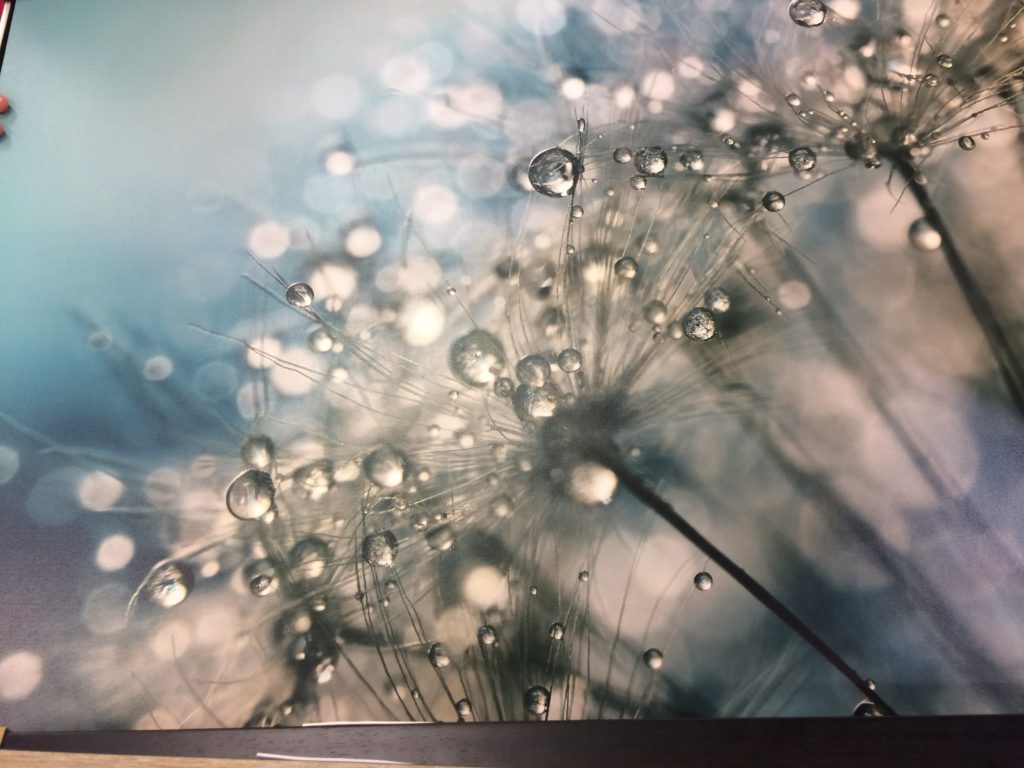
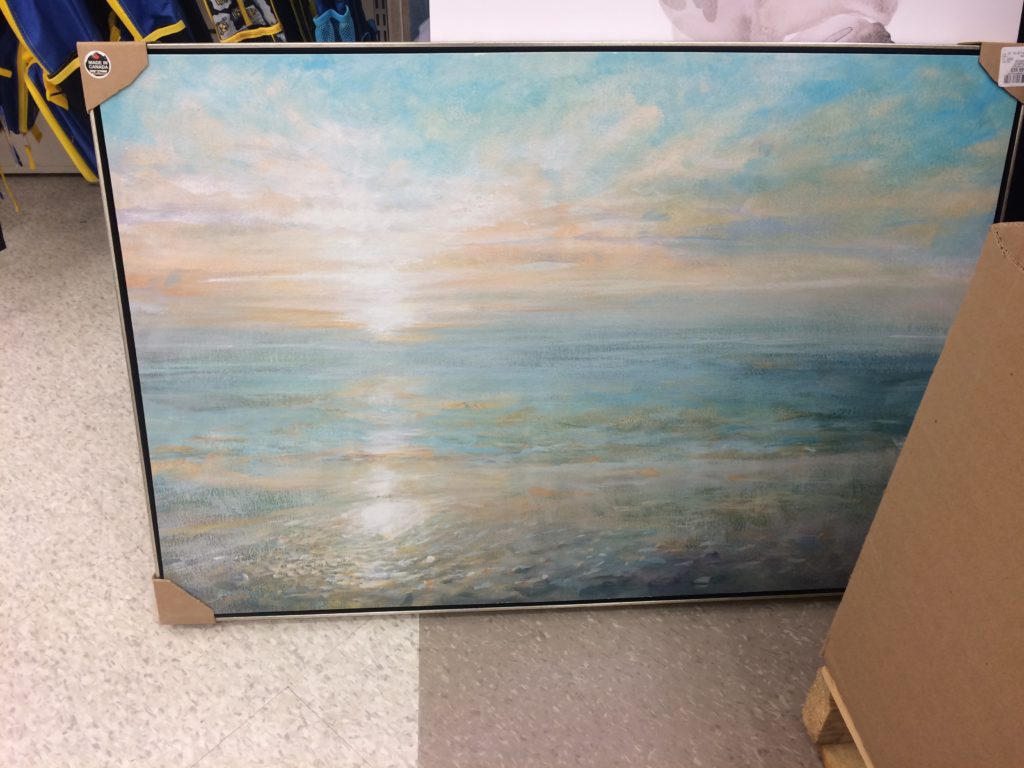
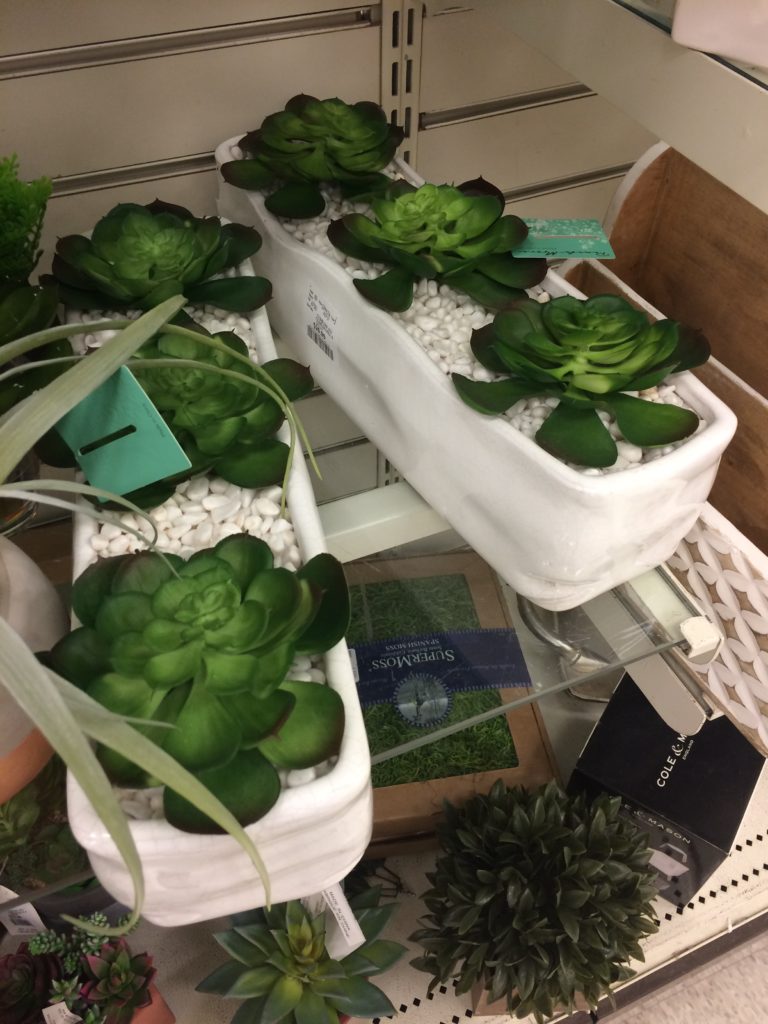
Choose some accessories for that perfect hit of greenery.
… Bath mats and towels … nice and plush on the feet when you step out of the bath!

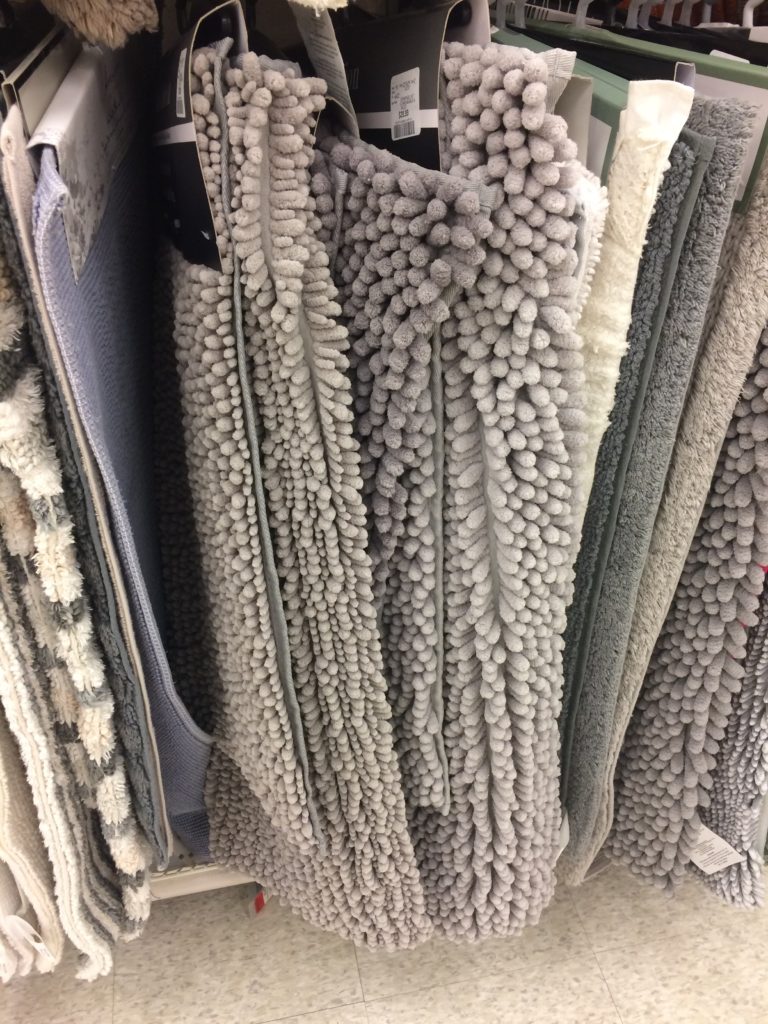
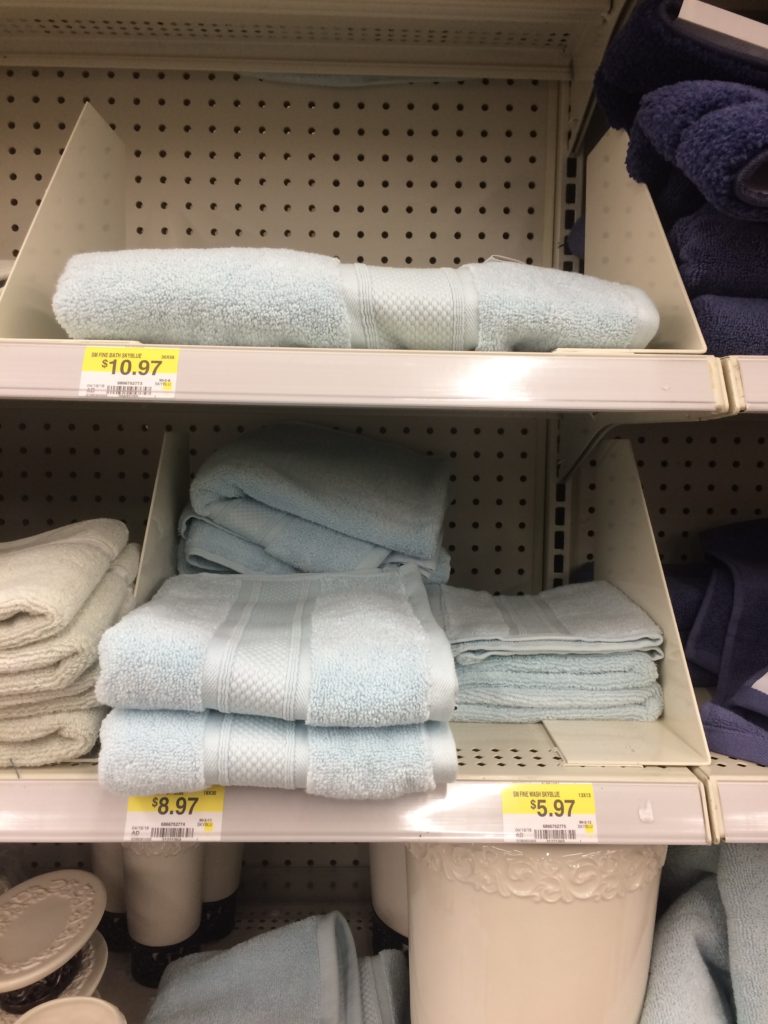
Cart full of goodies ..
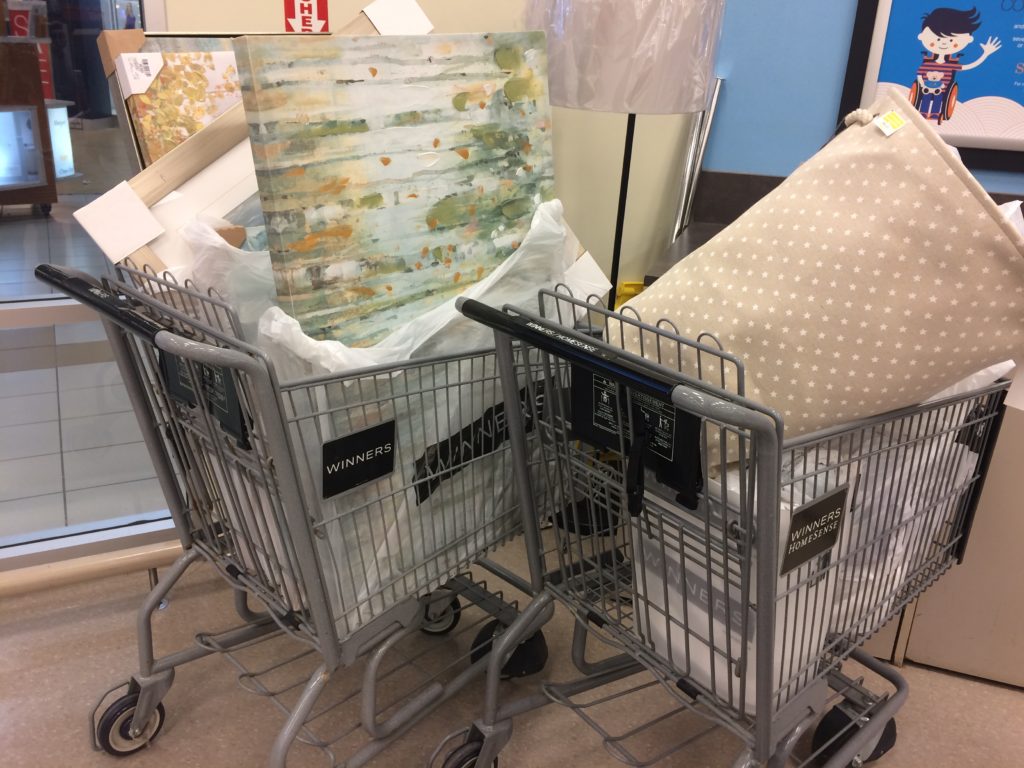
and putting it all together .. click over here to see the final reveal for this bathroom!
TAKEAWAY TIP: Get referrals for a good tile tradesman. Fine details and quality work do wonders, even in small jobs.

Save
Save

