“The Barn” Trash to Treasure ~ PART ONE ~
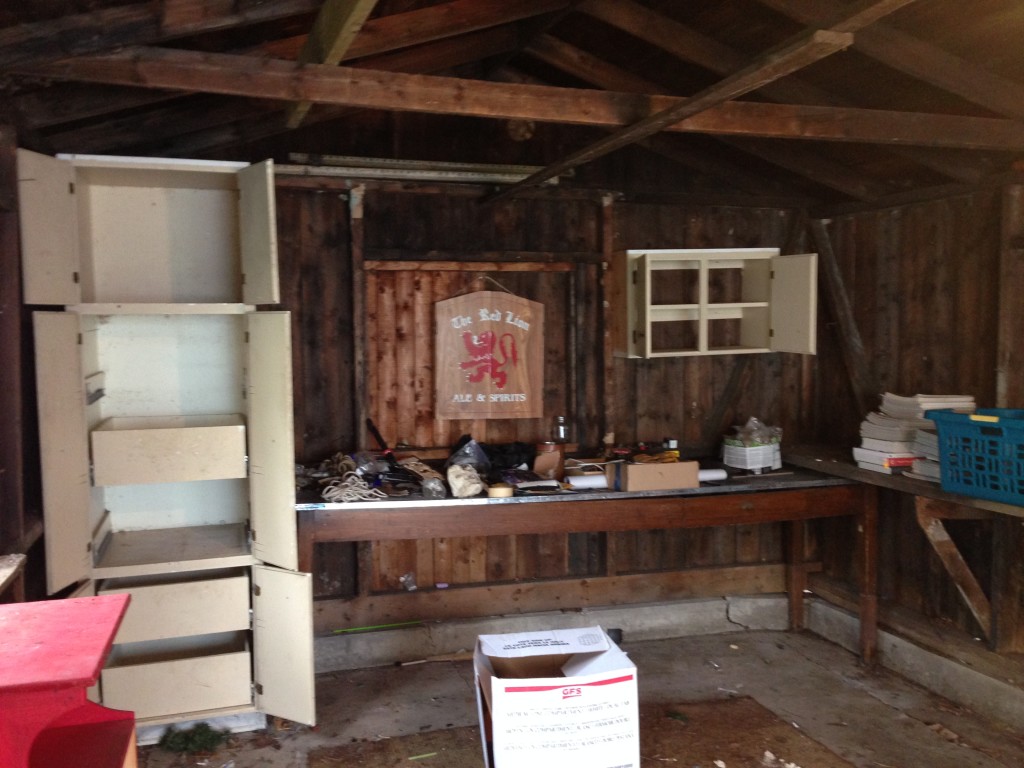
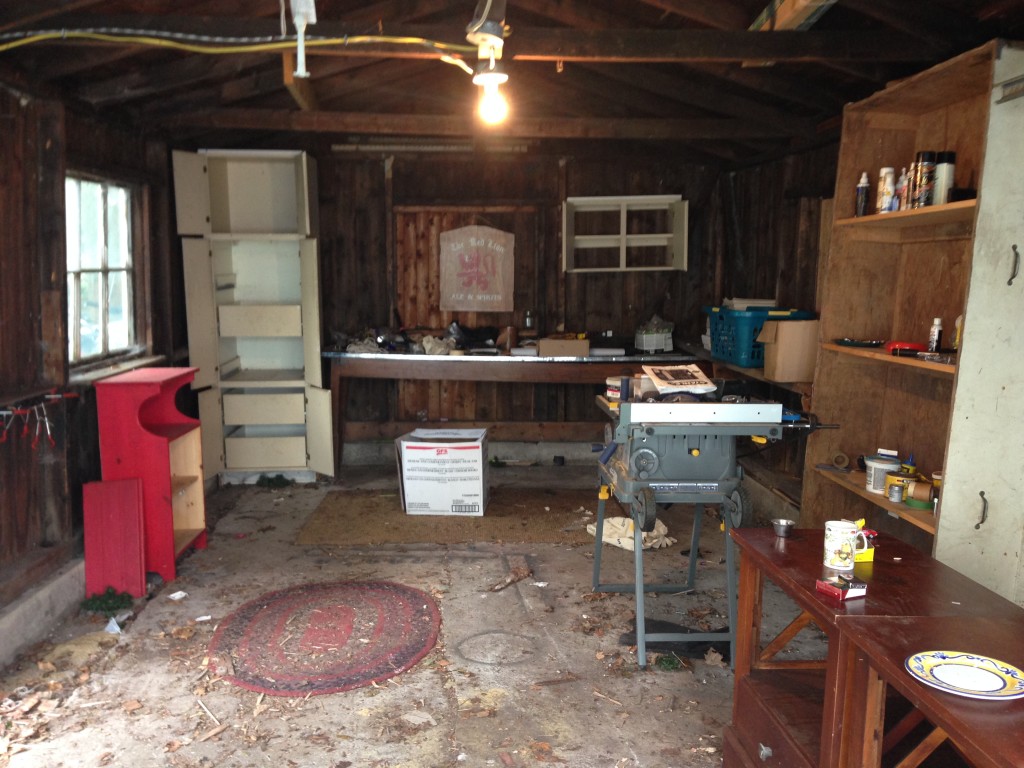
Where to start! Here’s the design transformation. Starting at the beginning. Follow me along as I show you how to take one messy garage from a dumping ground to a newly used functional space. Basically the garage or ‘BARN’ as we call it here in Cape Breton was a huge hot mess, a real catch all space. I needed a place to store my supplies and do projects. Imagining how the “Barn” could look if it was cleared out and renovated was exciting. Not sure about other Interior Decorators but my office has been in multiple rooms in our house. Getting shuffled around from upstairs, downstairs to putting materials in the basement and attic it was well….. frustrating to say the least. Here’s a short video of me in the ‘hot mess’ and where it all started. ~ What the Barn looked like ‘Before’ the Re-design. ~ (my son was behind the camera taking the video 😉 )
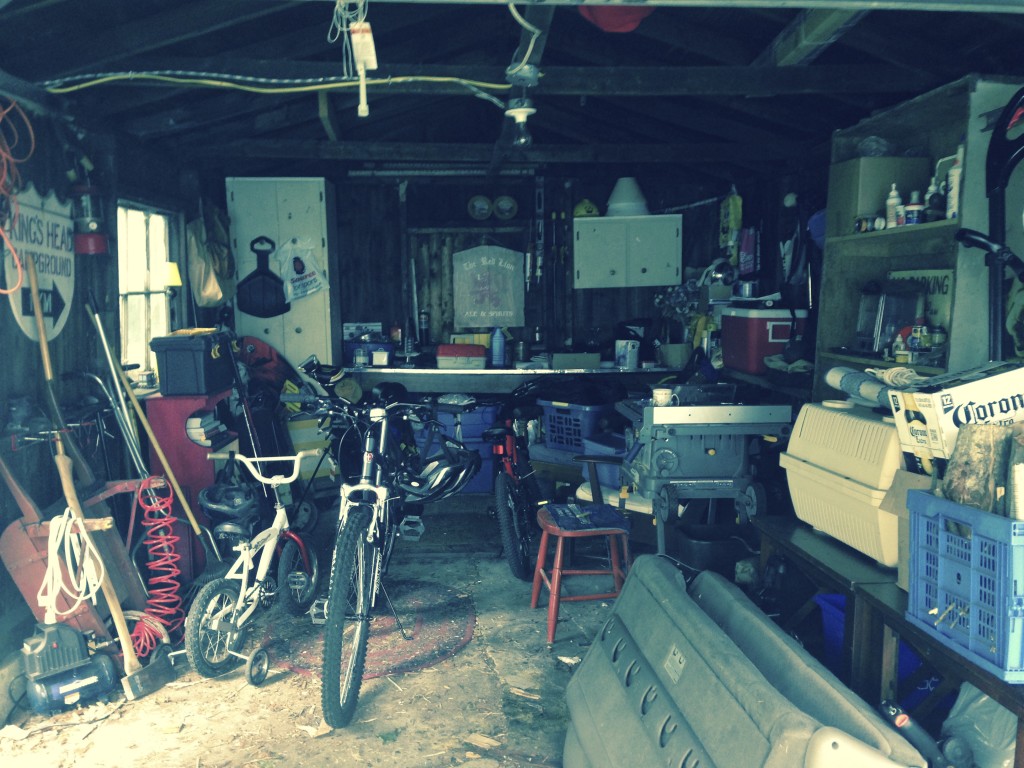
STEP ONE: Slowly clear everything out and see what the bones looked like. Being the repurpose queen that I AM I knew some of the pieces could be re-used in the design. See the table at the back, I new right away, even if it was considered junk by most people I thought there’s NOTHING WRONG WITH IT. Besides it was long and lean and would fit perfectly in another location. See where it ended up later on in the post. Now, back to ‘clearing out the junk’ , here we go!
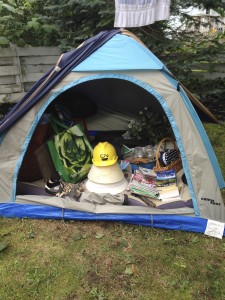
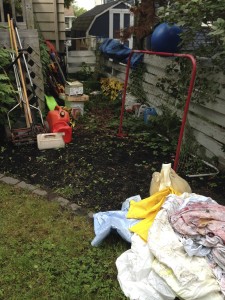
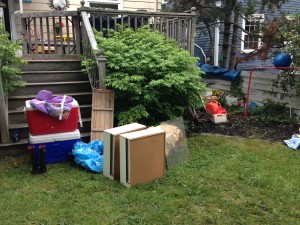
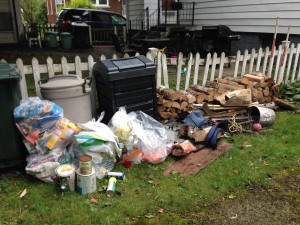
STEP TWO: Organize and sort like things with like. I had 4 zones for sorting. The little tent was everything I wanted to reuse for decorating the studio or for reselling. The side of the house was for items that would normally be stored in a garage but since it was being reclaimed for my studio; under the back deck was going to be for storing seasonal items. It’s a good thing I’m short because that crawl space was a backbreaker by the end of the day. Grateful that we have the space under the deck to hide seasonal things like shovels, rakes, push mover, boogie boards, ski’s, bikes, old tires, camping gear. You get the picture. Last zone – garbage ~ geeetttt outda here.
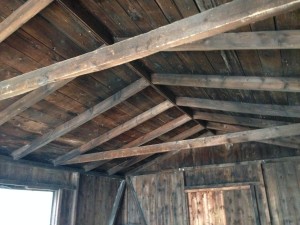
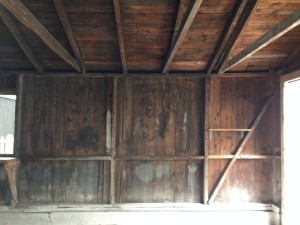
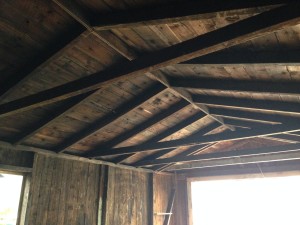
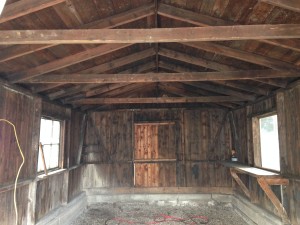
Bones, bones … I was thrilled to see everything out and walk around the empty space. Loving the beautiful rafters in the ceiling ” Oh the possibilities ” …
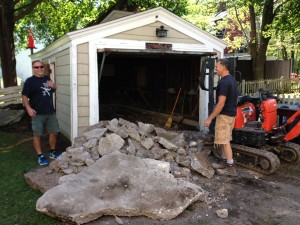
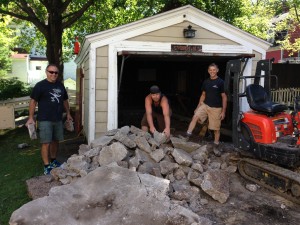
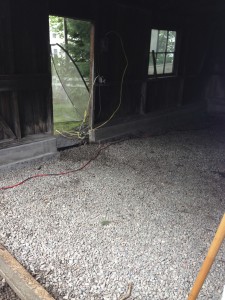
STEP THREE: The floor had to go, it was brutal; uneven, cracked and very warn out. It had to be as old as the house which is 80 years old. What a job to dig up all the old concrete and get rid of it. First the jackhammering …Concrete be gone! Thanks to Jonny Walker (yes that’s his real name) the ‘concrete doctor’ (just made that up lol) for the removal and Darren Adams from Stone Image Studio for the newly poured concrete base (see results on next post here). Have a look …. both crews were awesome to work with!
STEP FOUR: The last picture doesn’t show it but Darren then proceeded to pour the base over the gravel and did his magic! Once the new floor was in I could then move onto …. “The Barn” Trash to Treasure Part Two

