It’s pretty amazing that within weeks of starting this kitchen transformation that it is finally complete. I can’t tell you how the functionality of this kitchen is slowly changing the way we work and interact in our new space. Before having several people in the kitchen cooking at the same time wasn’t a lot of fun. We were always getting in each other’s way and more often then not it would end in…. “I’m getting out of here…lol” You do that and I’ll do something else because it we were always getting jammed up in the middle and it was just plain frustrating lol. Now your not going to believe the difference …
~ Good Design can improve your Life ~
Have a look at our new and improved kitchen! We have been cooking in it for several days now and I gotta tell you, the effortless and ease of using the new drawers to access the pots, pans and dishes is just so refreshing! We can have three or four of us all doing different things so much easier now then we ever could before. It’s been a little over a week since my last update but before I get to the final, final reveal. Ok I know some of you will just skip right on till the end and look at the last shots lol but for those that want to see the process for the range hood and shelf here’s just a quick couple of shots to show you how we came to determine some important details…..
♦
♦
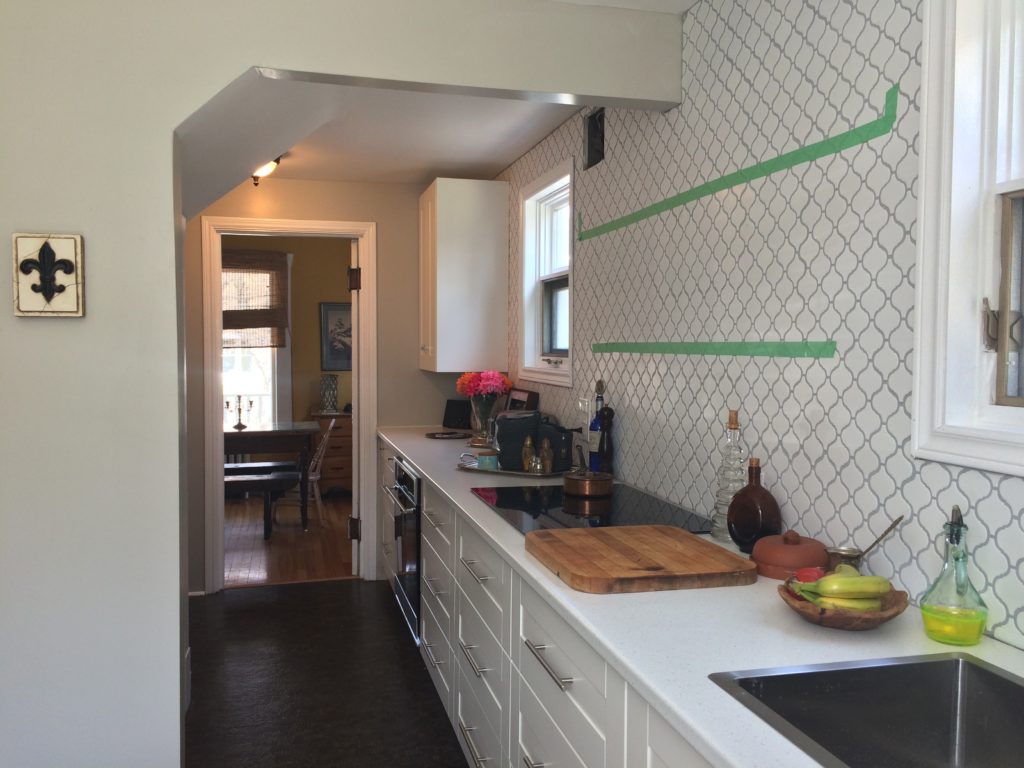
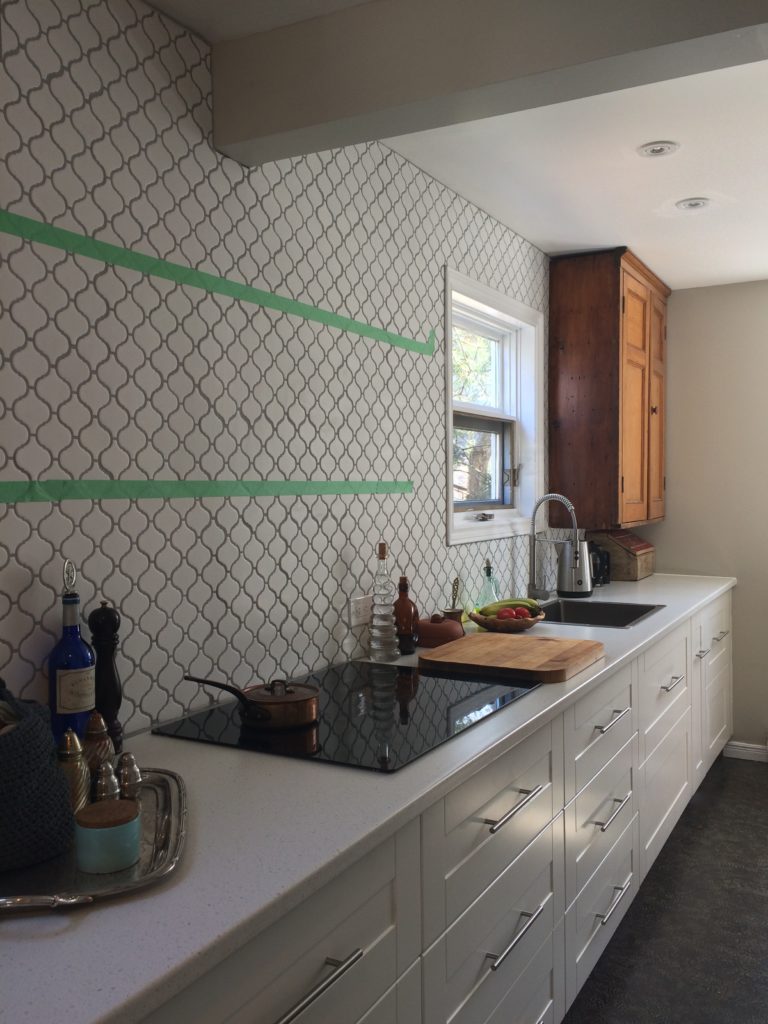
I put up the frog painters tape to show the contractor where we wanted the bottom of the hood range located and also the height of the lower shelf. This was a great tip, as it gave us some time over the weekend to view and make sure of the width and height. One consideration was the height of the shelf, not too tall that I couldn’t reach what was on the shelf but not too low that it would interfere with the cooking going on below the shelf.
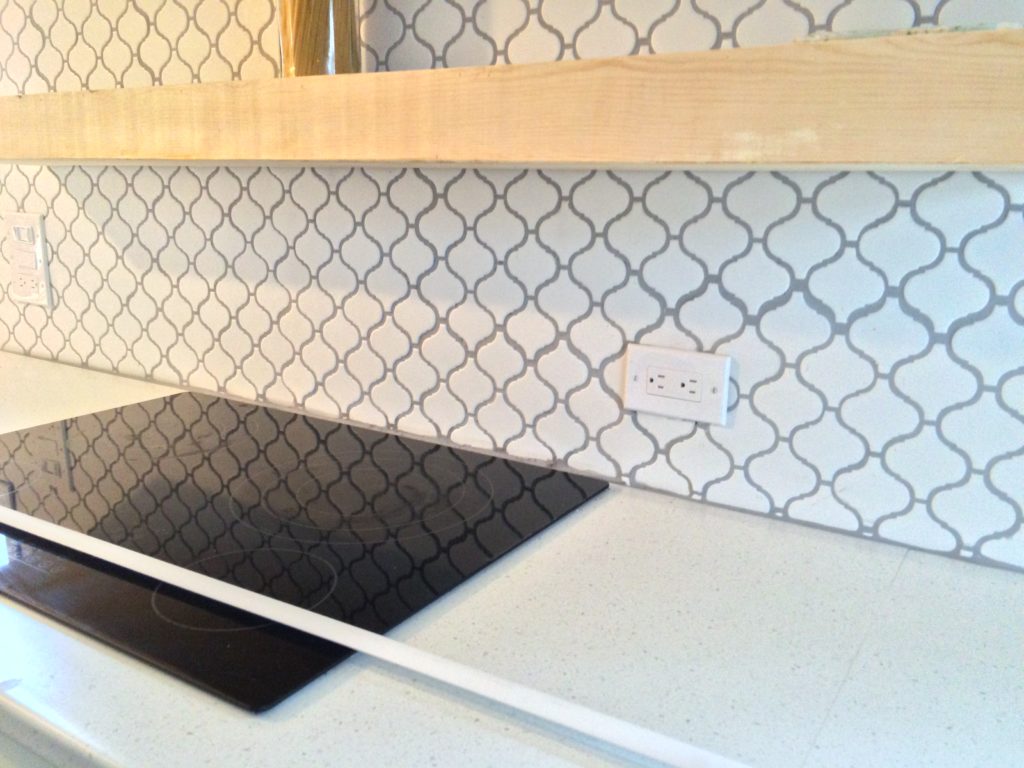
Another challenge was the space between the back of the counter where it meets the tile. Because the house is so old the walls are uneven and there ended up being a larger space to fill with the grout. Not very attractive. You can sorta kinda see here ….
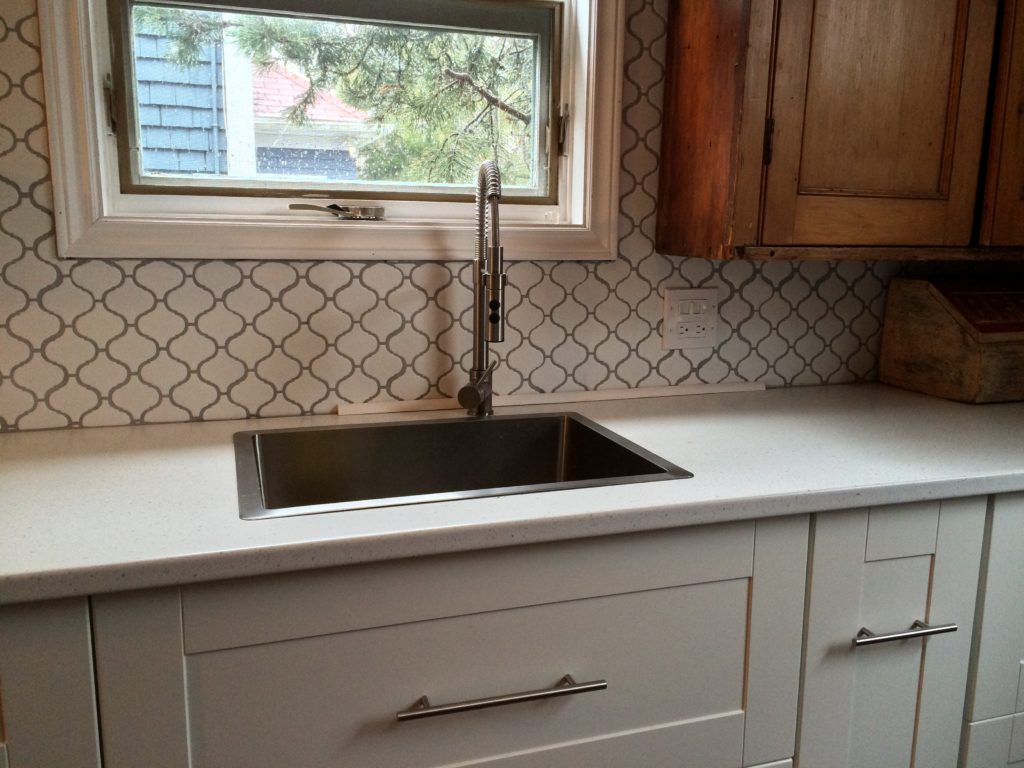
We needed something to make this a cleaner line so we opted for a piece of 1/4 round to hide the thick grout and uneven space. In the end it’s a nice detail to finish things off. Painted the same gloss paint colour as the trim Simply White by Benjamin Moore OC-117, the wall colour is Revere Pewter Benjamin Moore HC-172
♦
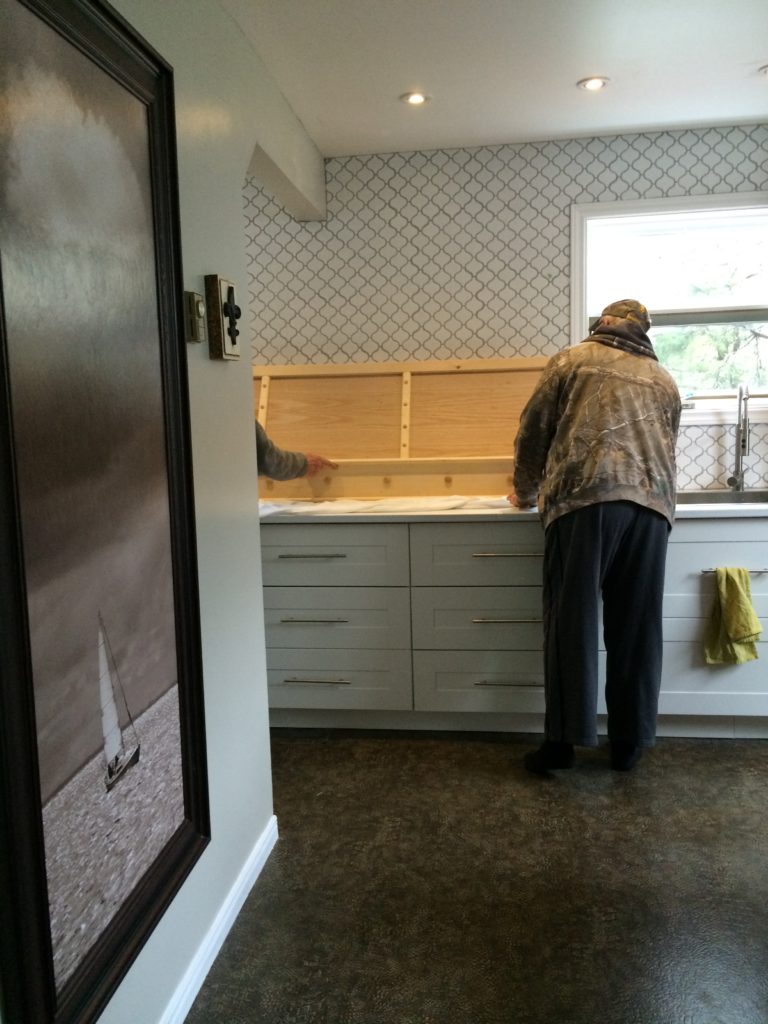
Next the contractor brought in the new range hood. Quite exciting we saw a picture of a range hood on pinterest and showed it to our contractor. I then modified the design to go the length of the wall in-between the two windows …
♦
Two other considerations for the range hood was the beam where the wall {once separated the oven and sink area}; had to be inserted into the new range hood and second we had to fudge or play around with the height of the hood because the ceiling heights are different in both areas. You can’t really tell when you walk into the kitchen but it made it a challenge when they did the installation.
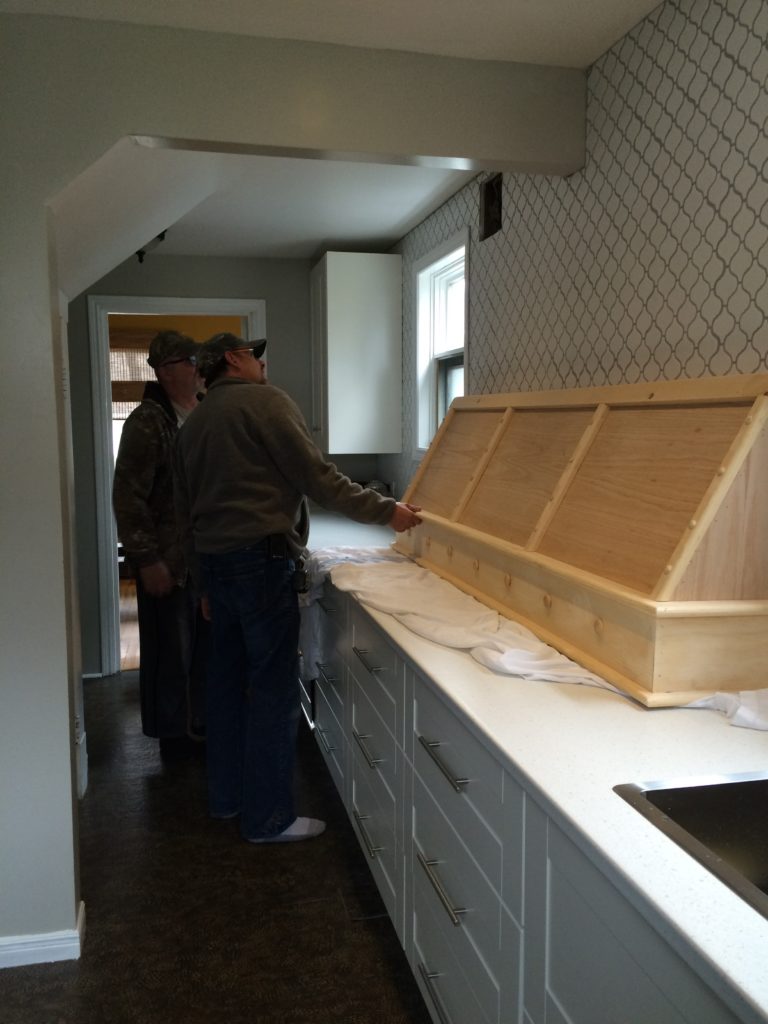
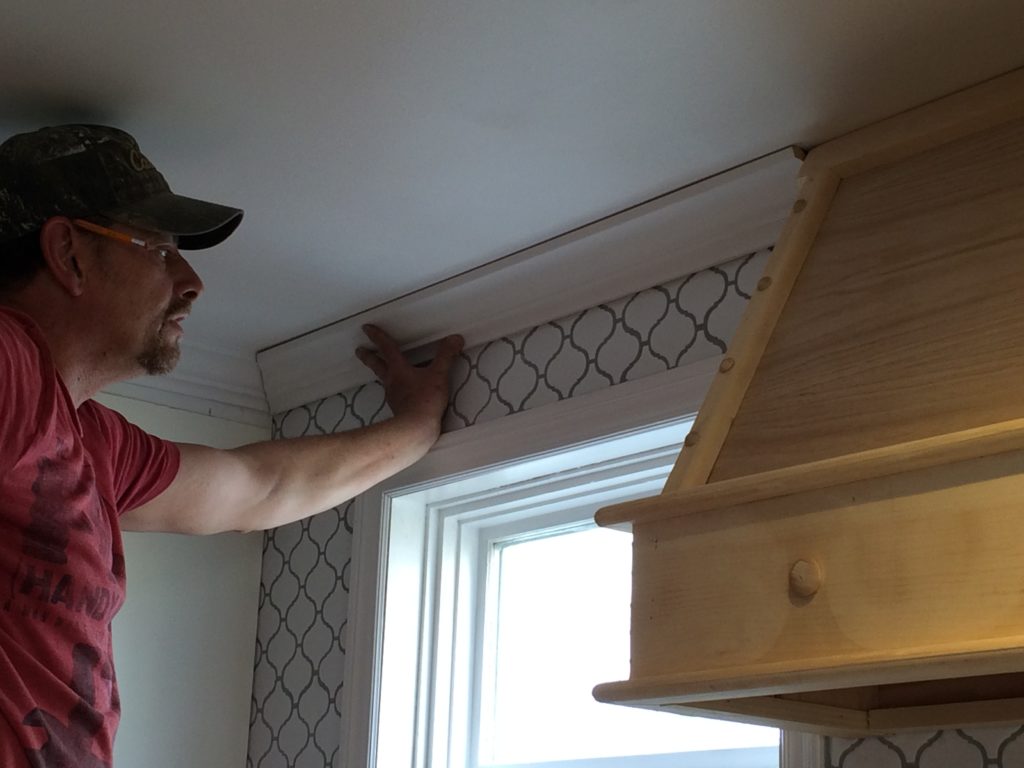
Next was the top crown moulding. I originally wanted to have a crown on top of the left hand side of the cabinet and have it extended over the top of the tile & ceiling. Once I saw what the contractor brought in I reconsidered. This is when communication with your contractor is so important and why pictures help in so many ways. This crown wasn’t what I had envisioned and once I saw it in place it was looking a little too crowded up there and opted to take it down all together. In the end a small bead of caulking to fill in the gap was all that was needed.
♦
Let’s see the final reveal and all the details …. that’s the fun part!!
♦
One look back to what the kitchen looked like ‘Before’ …
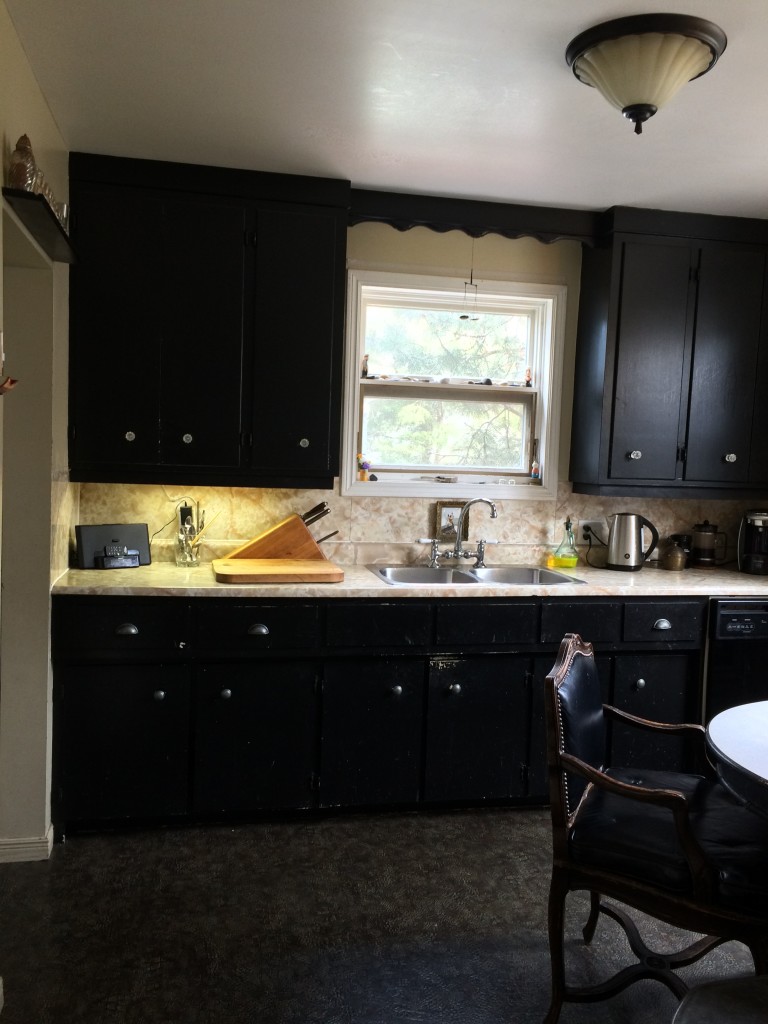
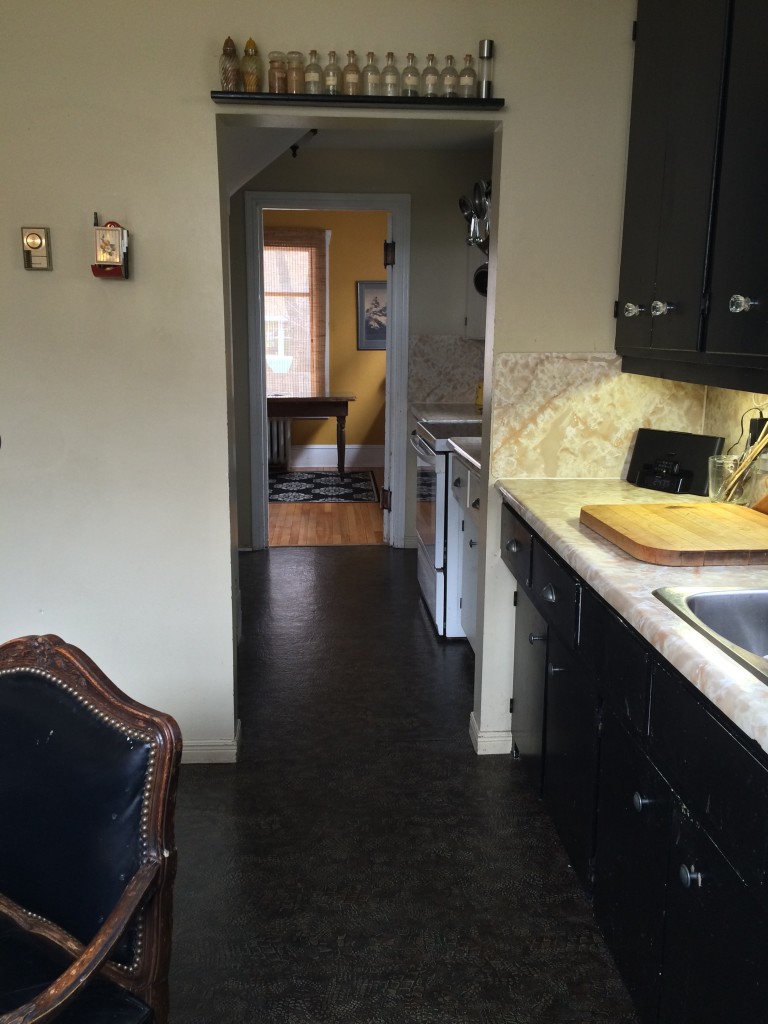
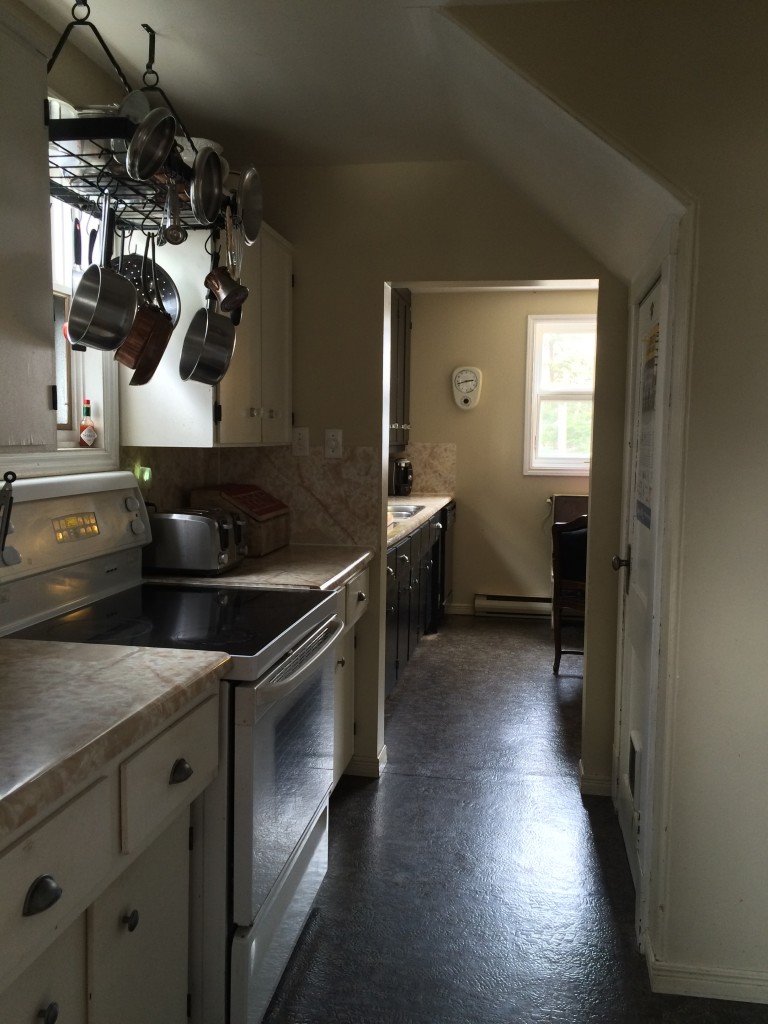
And… New Kitchen...here’s the ‘After’ … ♥
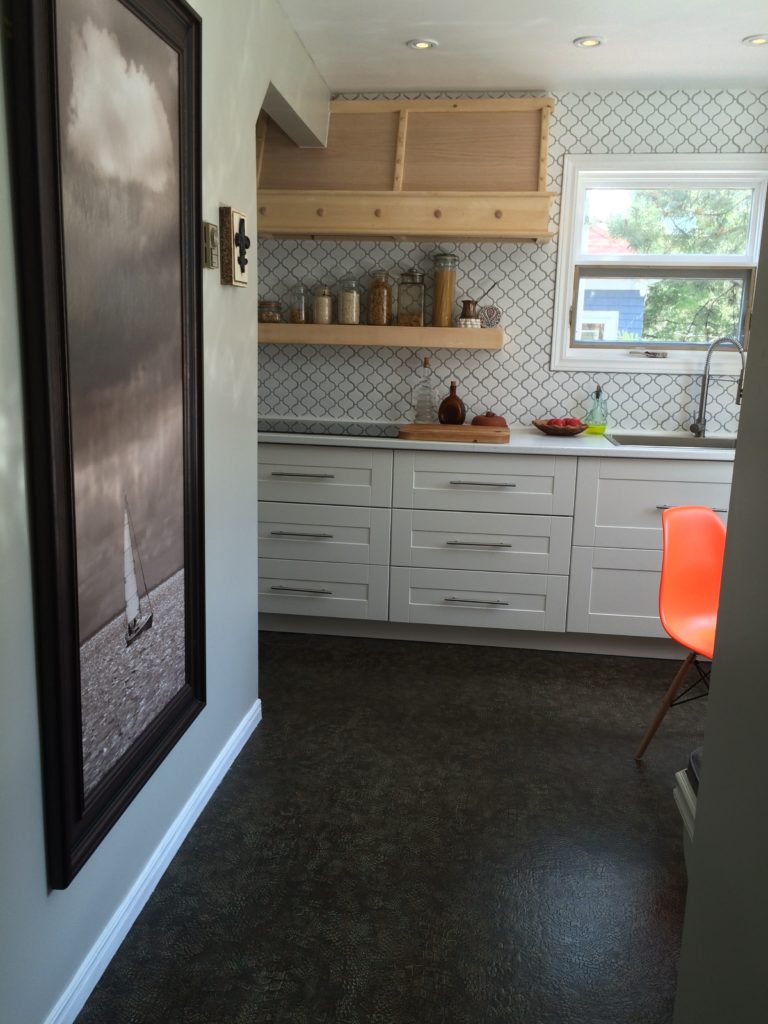
Remember the Old Postmaster piece, now it fits comfortably in its new spot. Holding all the glasses, mugs and kitchenware! Love the element of the pine against the white and stainless steal.
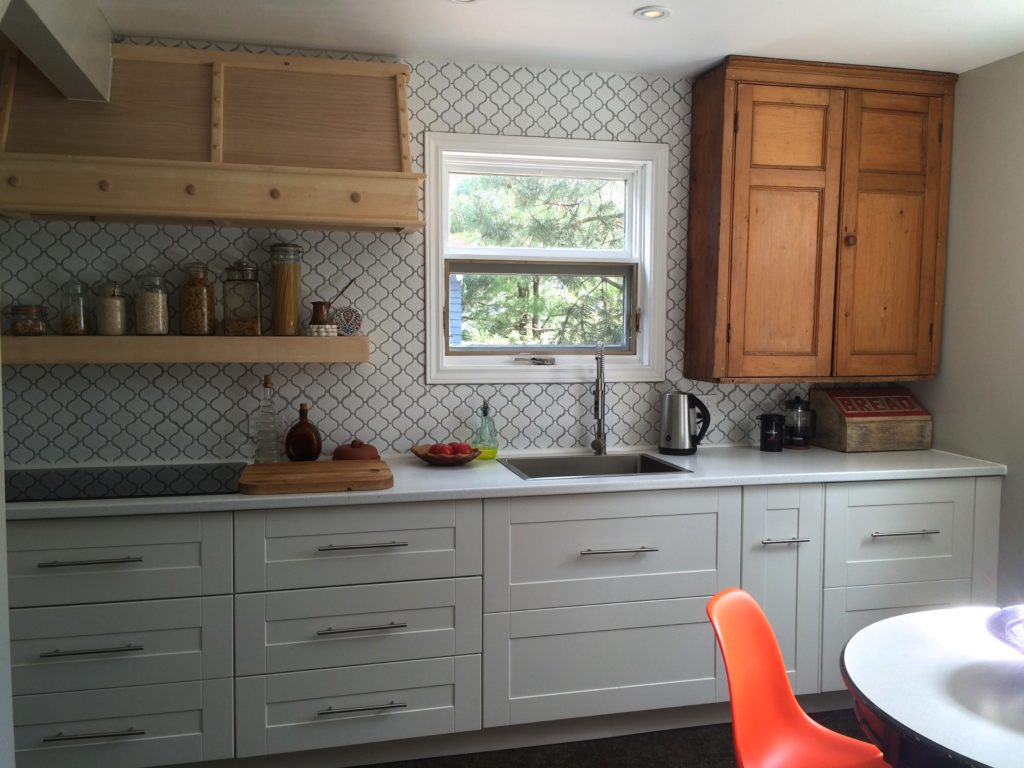
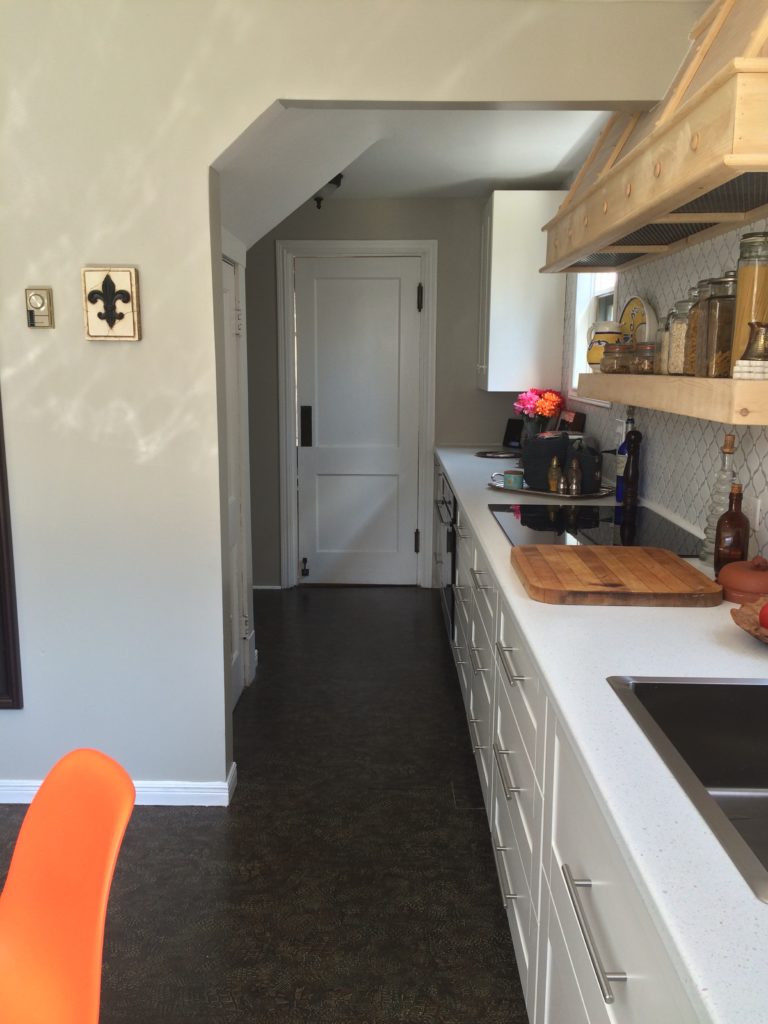
The sun was coming in and casting a pattern on the wall from outside …
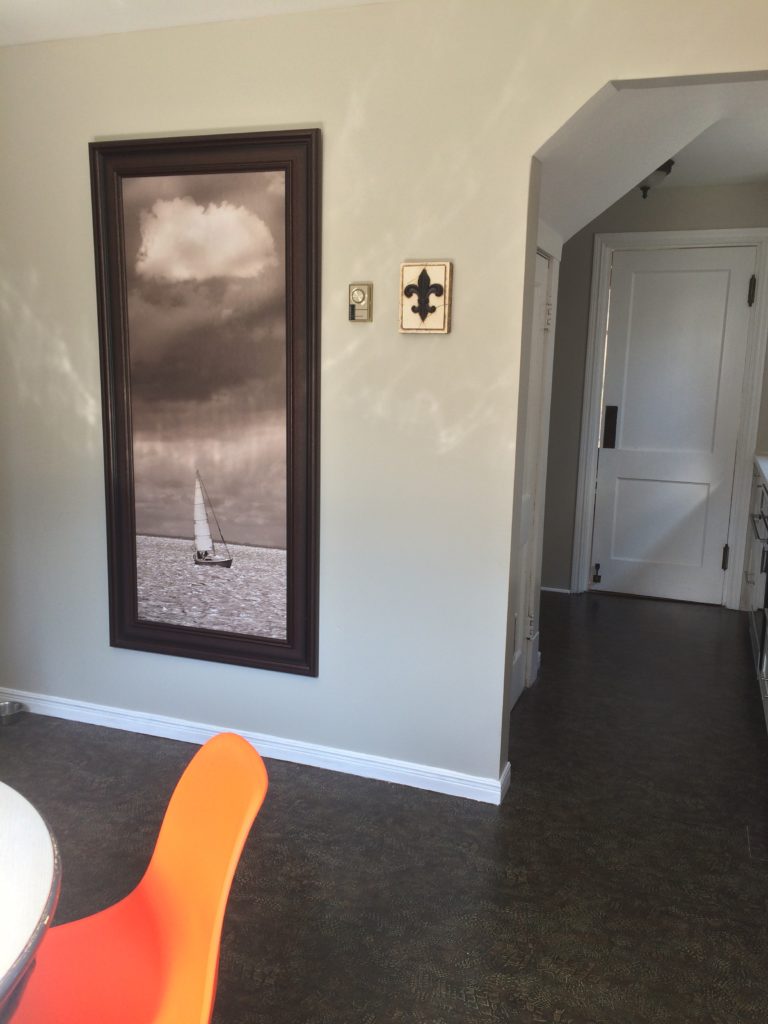
Sun shifted … ;-0
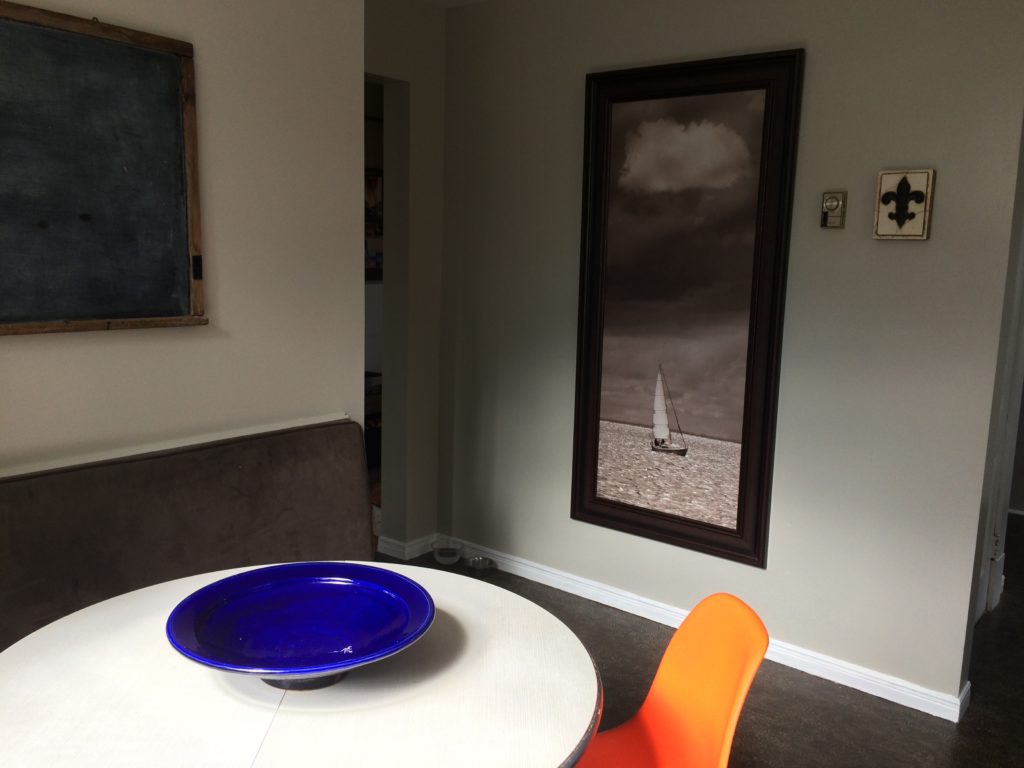
There was a bowl of clementines in the beautiful cobalt blue bowl but my little munchkins ate my props lol. This large sailboat picture was in our dinning room but got relocated to this wall in the kitchen. Liked that it was a sailboat and sailboats have galley kitchens so it seems to suite our newly renovated ‘Galley Kitchen’ 🙂
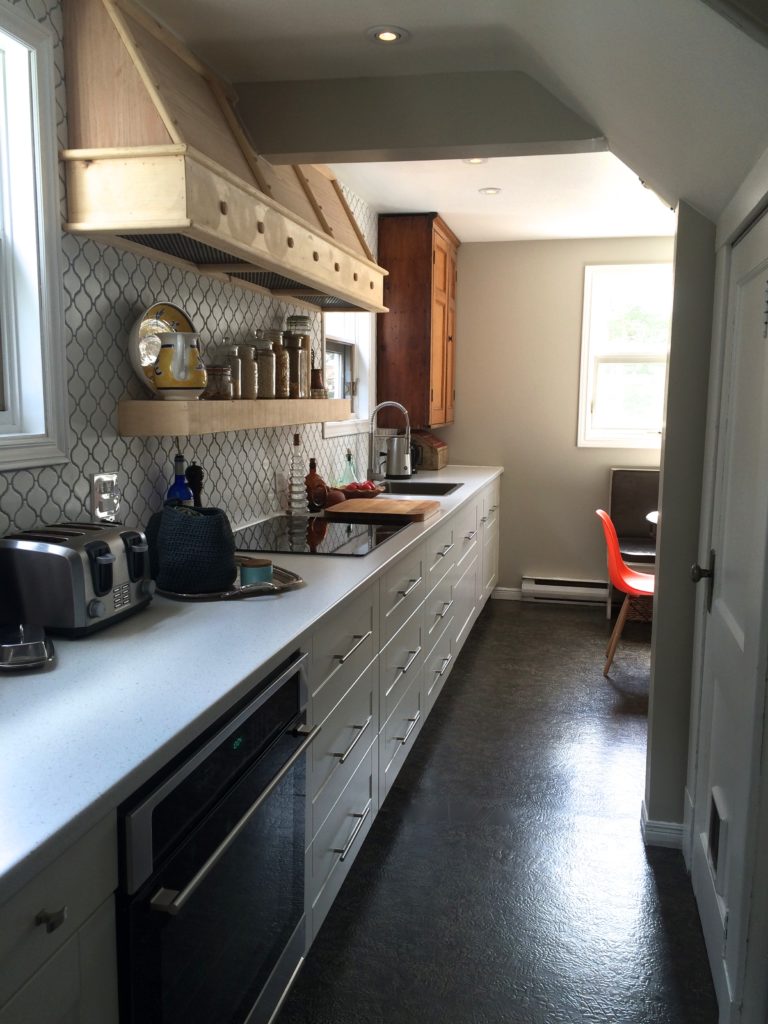
View from the other end when coming in from the dinning room.
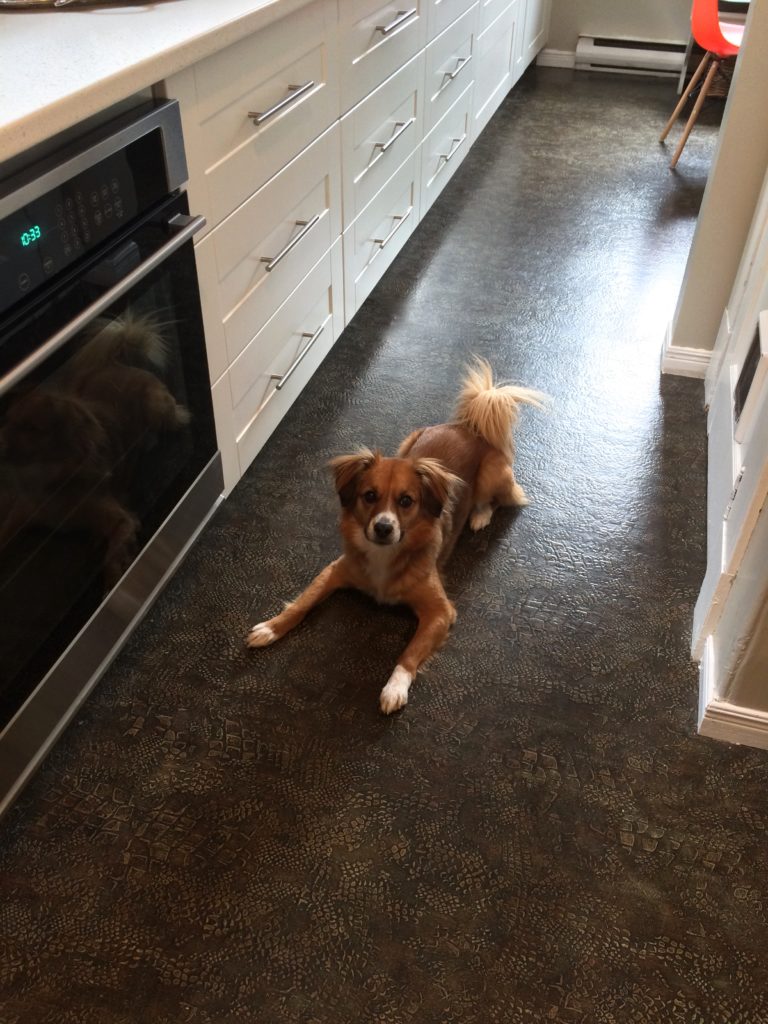
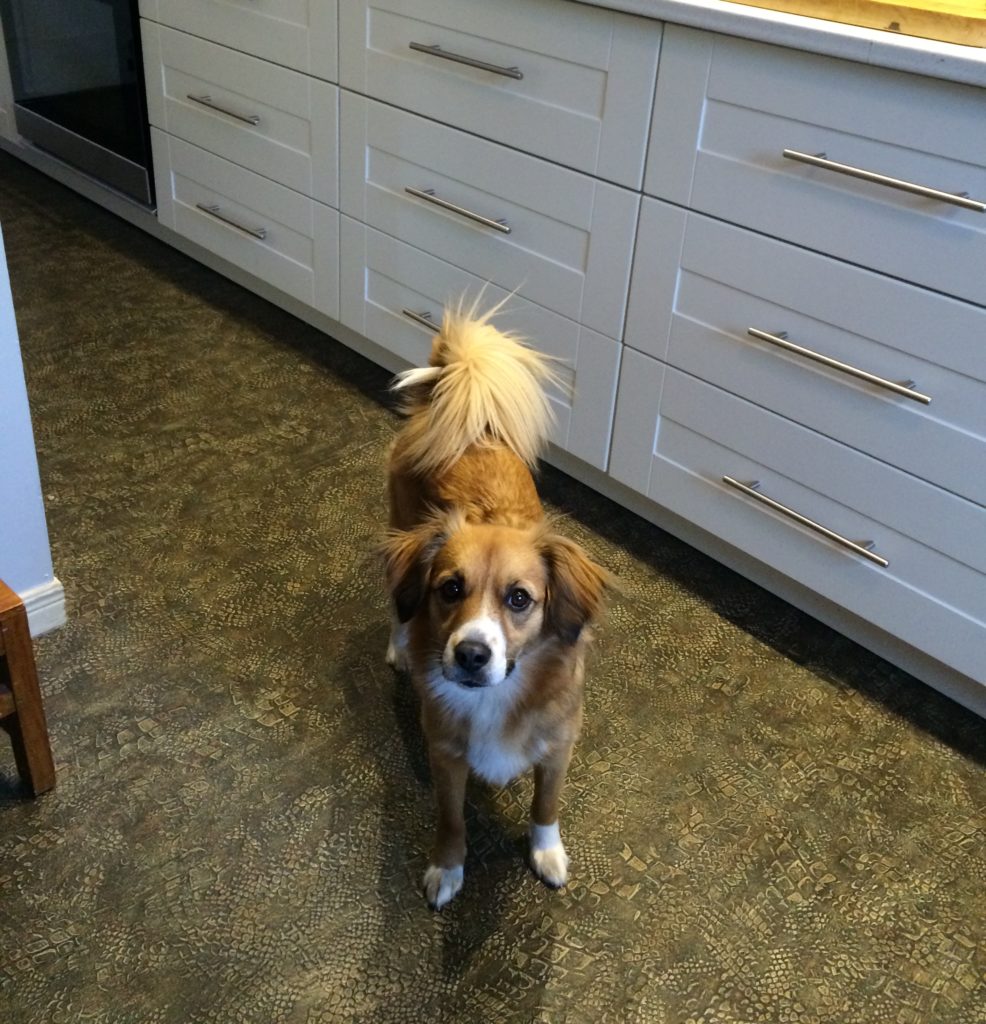
Piper wants in on the action….”Kitchen’s done mom, let’s play lol “
“Design is in the Details”
Details really do add up when your putting the finishing elements in your kitchen. This kitchen was made up with a lot of things that we already had in our old kitchen. Part of the planning and designing of the new kitchen was done with those elements in mind.
Most of the items that are displayed are things that we already owned and loved!
For any kitchen it’s important to have items that fit with the overall feeling your going for in your kitchen. We used the silver elements, the glass jars, a touch of wood, the pine cabinet the stainless steel handles, the restaurant style faucet and the moroccan style tile to bring a rustic, moroccan flavour theme to bring it all together. I think they work beautifully together. They are a bit of a mix of elements but with pops of the cobalt blue, the orange chair and pink and orange flowers there’s some colour and food in the glass jars gives that nice warm honey colour mix. Overall it’s so much more functional and inviting to work, play and eat in.
♥
Here’s some elements, up close and personal!
♥
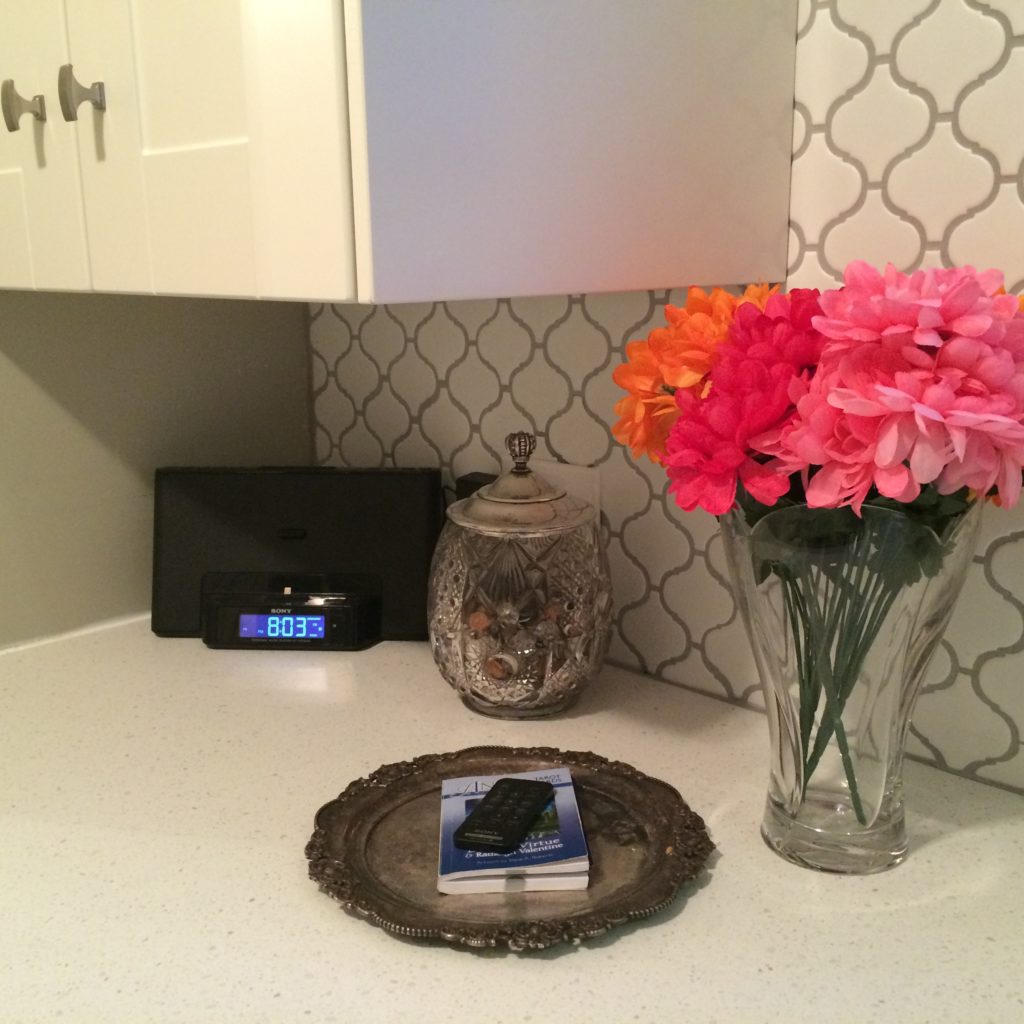
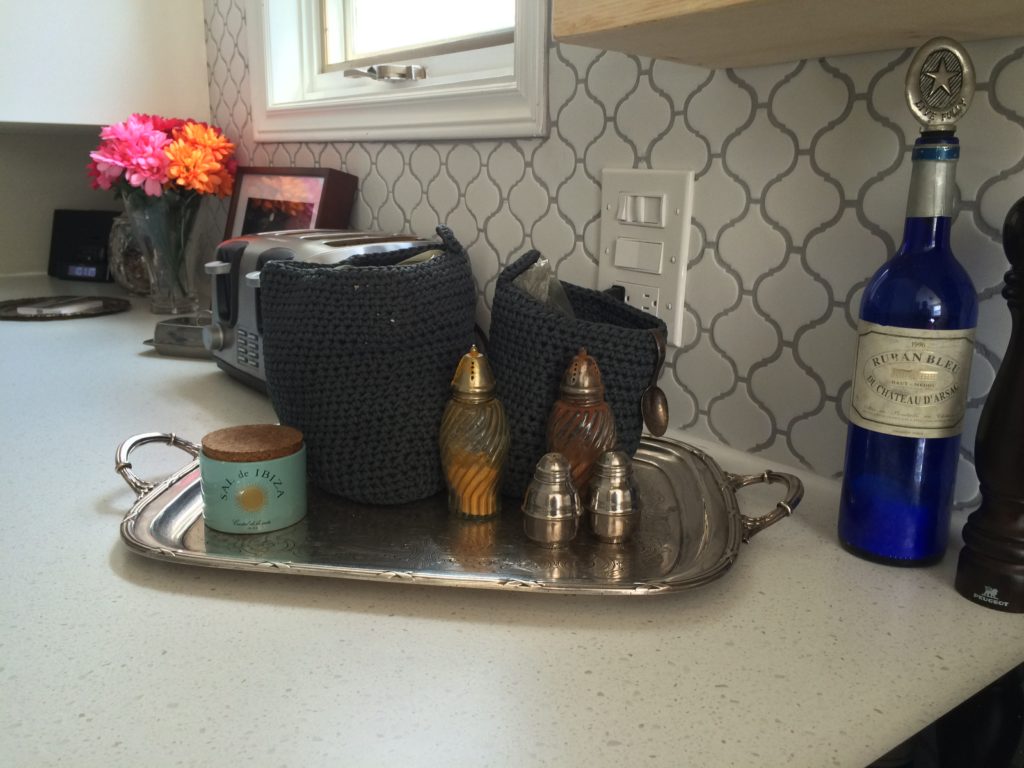
You can see I took this before the 1/4 round was installed. Nice detail when it was put in place and you can see how it just cleans it up. This is our little corner for music, the ‘Antique Glass Jar’ was a gift handed down from my mother… she has one too from my grandmother. The ‘money’ jar for all the loose change. The little silver plate is a great spot for my tarot card book but mostly for a place to put our phones, close to the radio charger as well.
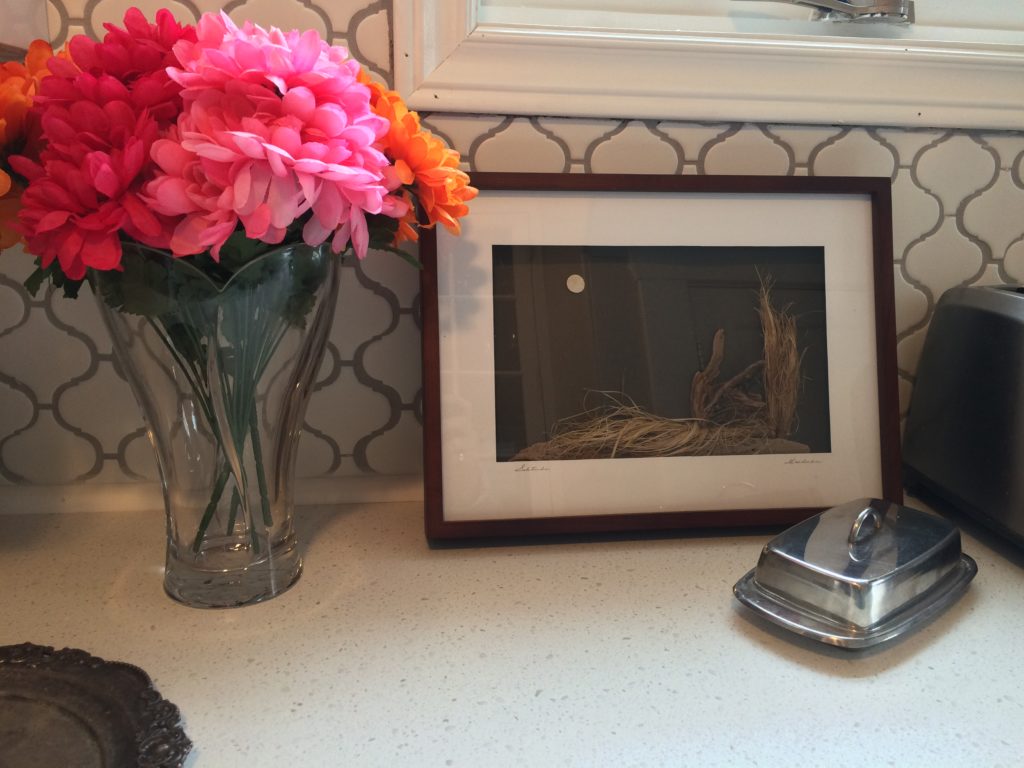
Love the hit of pink and orange flowers from the dollar store. The ‘Solitude’ artwork is one I treasure and love seeing every morning. It is made up of found objects from Nova Scotia beaches. The artist Sylvia Boudreau who I just love her work and own a couple of pieces. A great read about her work ~ Beachcombing artist with a passion ~
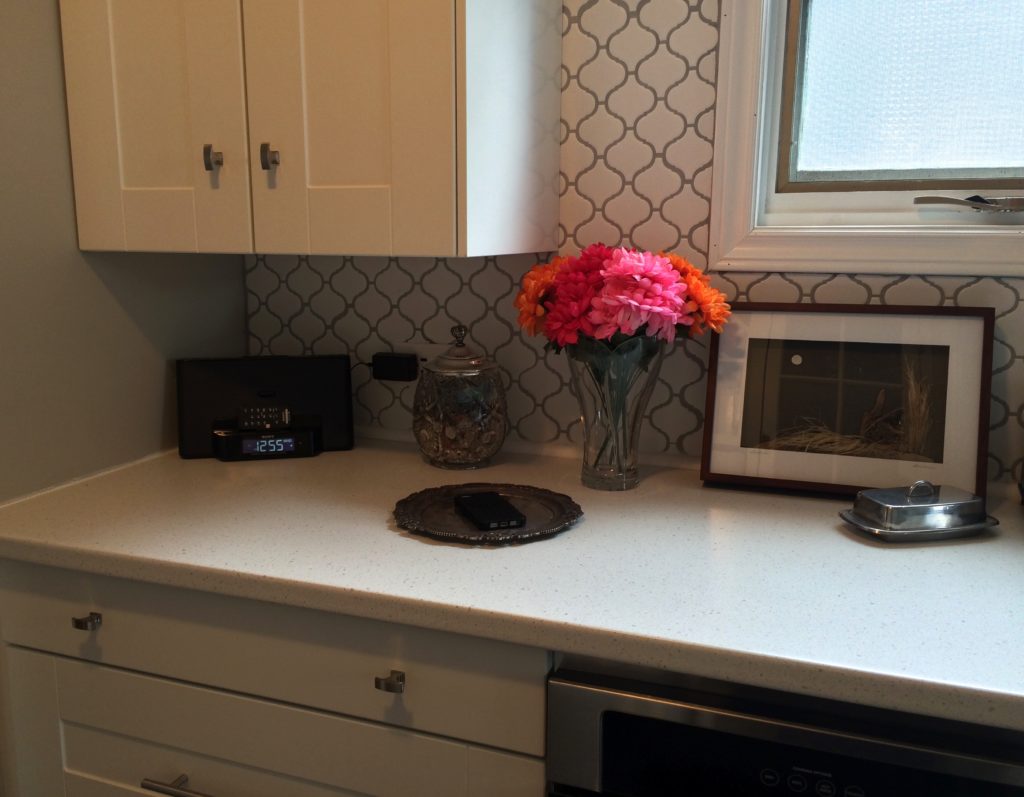
Notice the first drawer has different knobs on the front. This is the junk drawer or catch all for phone chargers, pens, important papers etc… (and other stuff like you know boxes of raisins, chap stick, I think there’s a eraser in there … tape measure lol )
♥
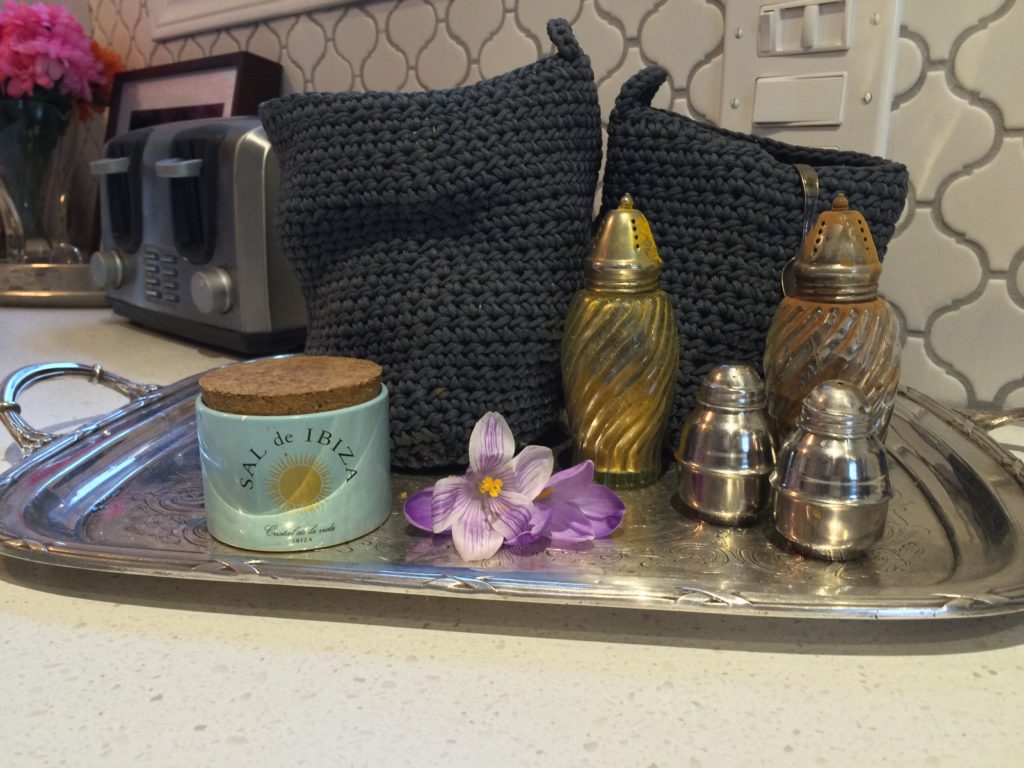
Two new things we bought for accessories were the blue/grey woven sacks or bags on the tray from Ikea. One is for potatoes and one is for onions. Close to the cooktop (also from Ikea) and easy access on the tray. The tray is from my Grandmother. This was her parents 40th wedding anniversary present and came with the Antique Silver Teapot, Coffee, cream and sugar. For years I kept this silver tray wrapped in plaster to protect it and it lived in the basement. What’s the sense of having nice things if you can’t see, touch and use them! So that’s exactly what we did. Salt, pepper shakers, cinnamon and Tumeric w/ cumin are in the other shakers. Todd (my husband 😉 … wanted his Tobasco in there but I’m like hey your ruining my photo of all things pretty lol ….. ya it went back as soon as I was done taking photo’s 🙂
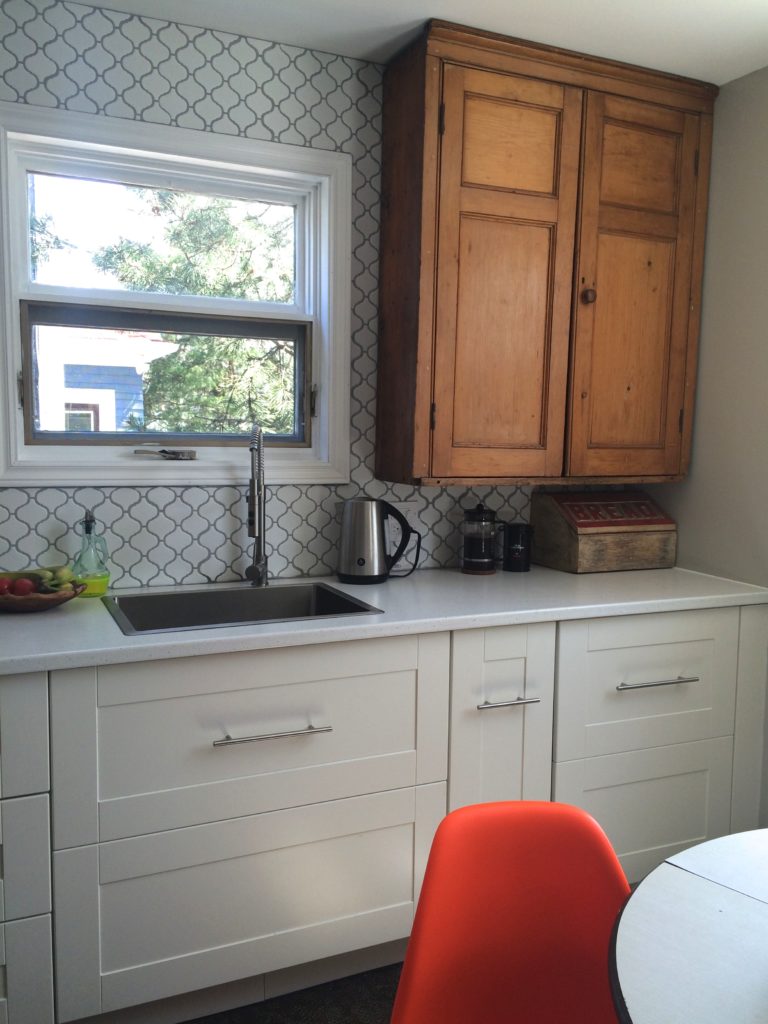
The other end of the kitchen was the perfect spot to keep the kettle, coffee bodum and bread box. Love the new faucet and one bowl sink. The dish soap dispenser stayed the same with a trick from Martha Stewart having the liquor spout to top it off. Makes pouring fun and such a pretty way to contain the dish soap!
♥
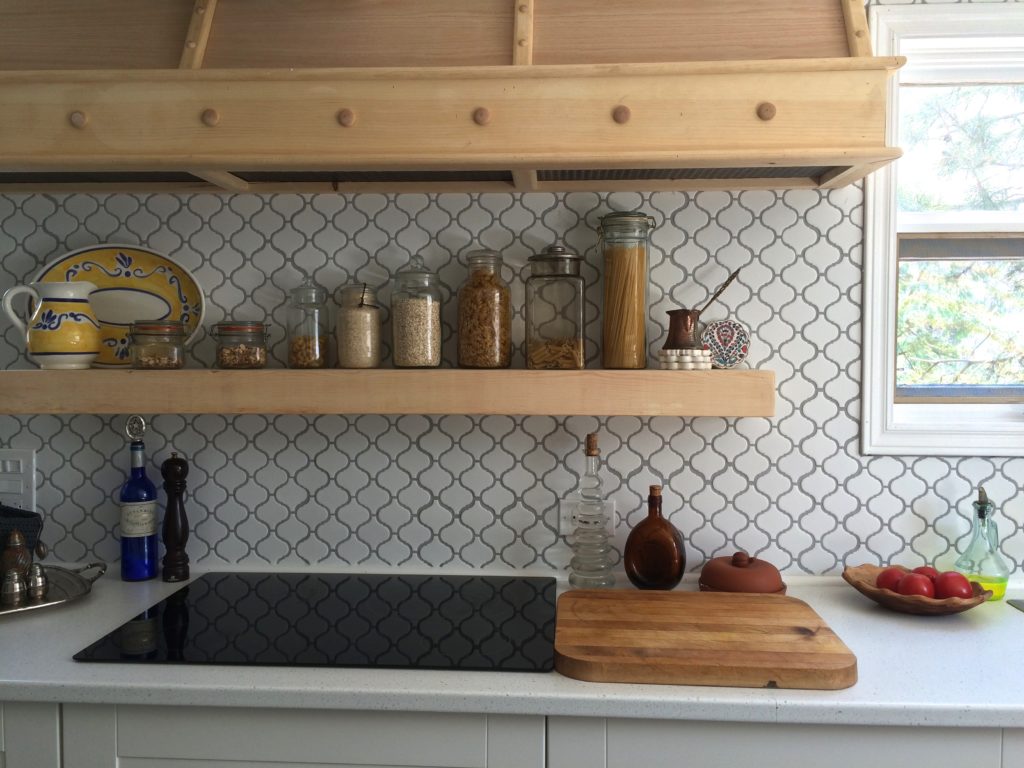
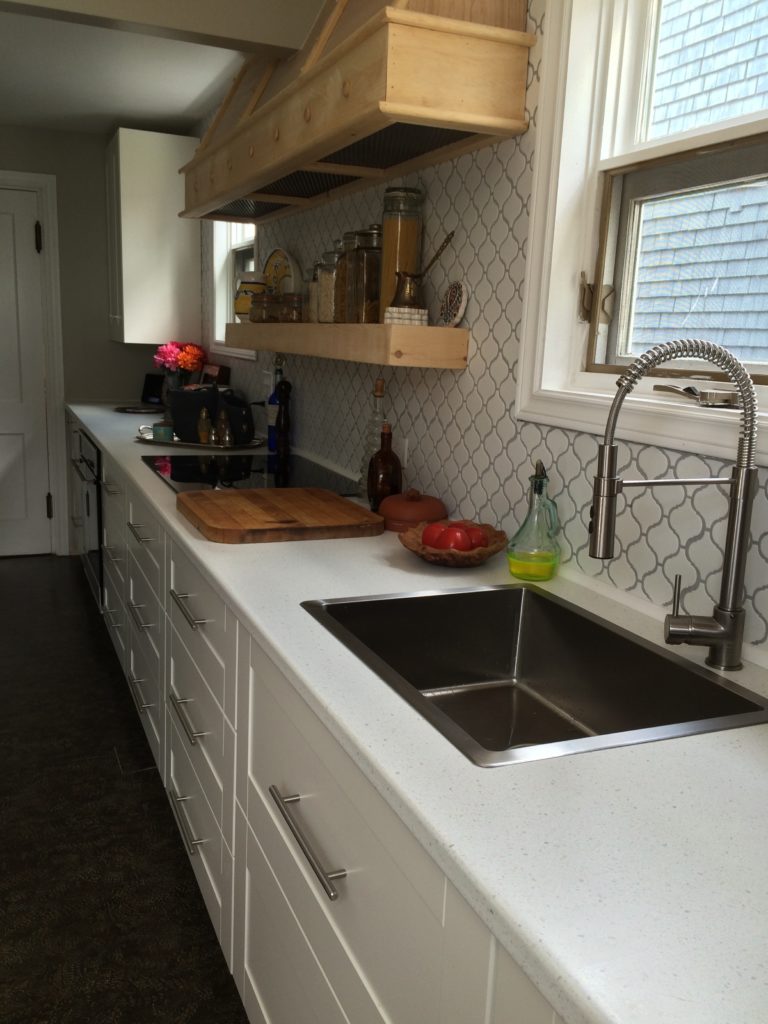
The middle zone of the kitchen has the cooktop, the cutting board close at hand and near the kitchen sink great for chopping and washing vegetables. The beautiful and functional wide thick pine shelf houses all the old glass containers for rice, pasta, nuts and oatmeal. Easy to reach and they look great. Even our Italian water jug and platter fits nicely at the end. Love the hit of cobalt blue again with an old wine bottle that is now filled with sea salt and close to the stove for cooking. The wine stopper says ‘Live Fully’ with a five pointed star. The two other bottles on the right hand side store vinegar and olive oil in the brown glass jar. Close to the stove and easy access while cooking!
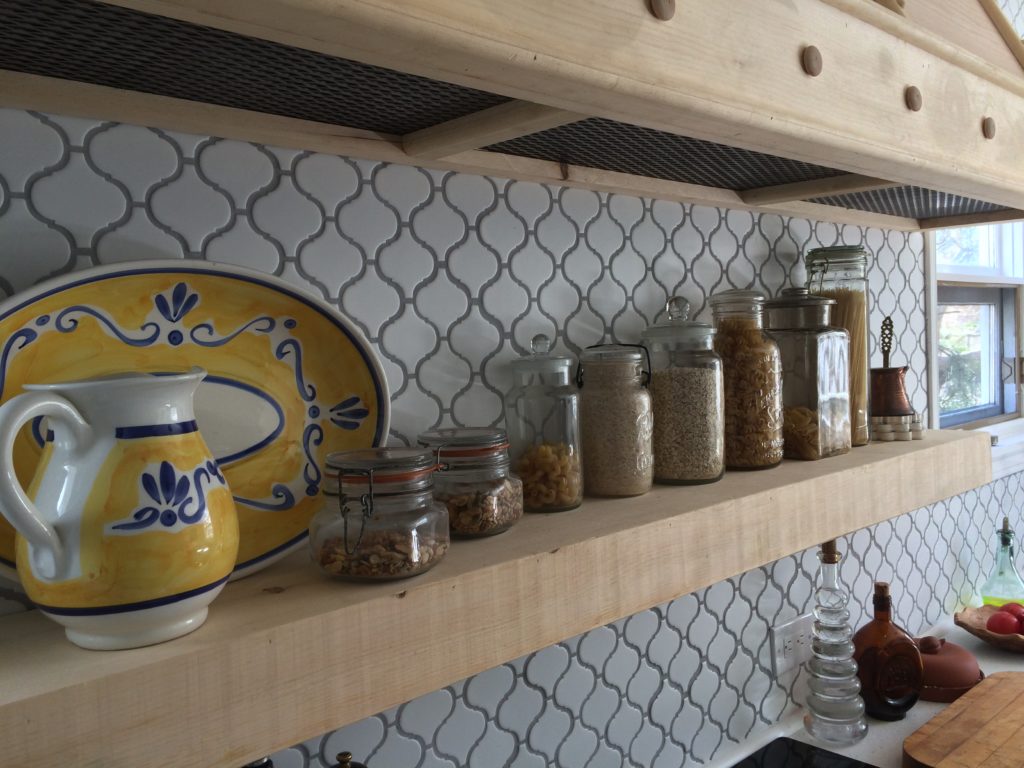
The length of the shelf was determined from the space needed for all the jars and there’s enough space in the front to prop up a cookbook or put a coffee cup on while your cooking. Another element was under the range hood and our contractor did a great job of using this wire mesh to conceal the underside of the range hood. If you didn’t see the pictures you wouldn’t know the small fan was hidden in the top left hand side of the hood.
♥
We still have to paint or stain the shelf and range hood but still mulling over which colour to pick.

♥
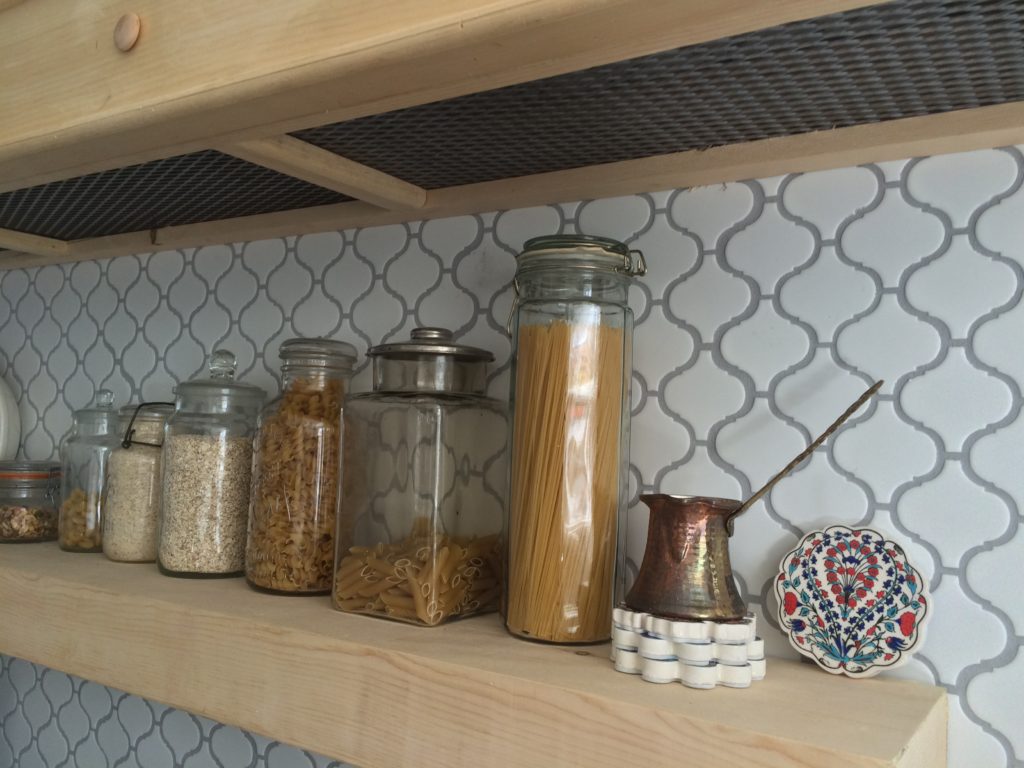
This little brass coffee maker and coasters came from our Son; he was a International Student from Istanbul Turkey; who stayed with us while living in Canada. Love the colours of the coasters and close at hand to use when we need them.
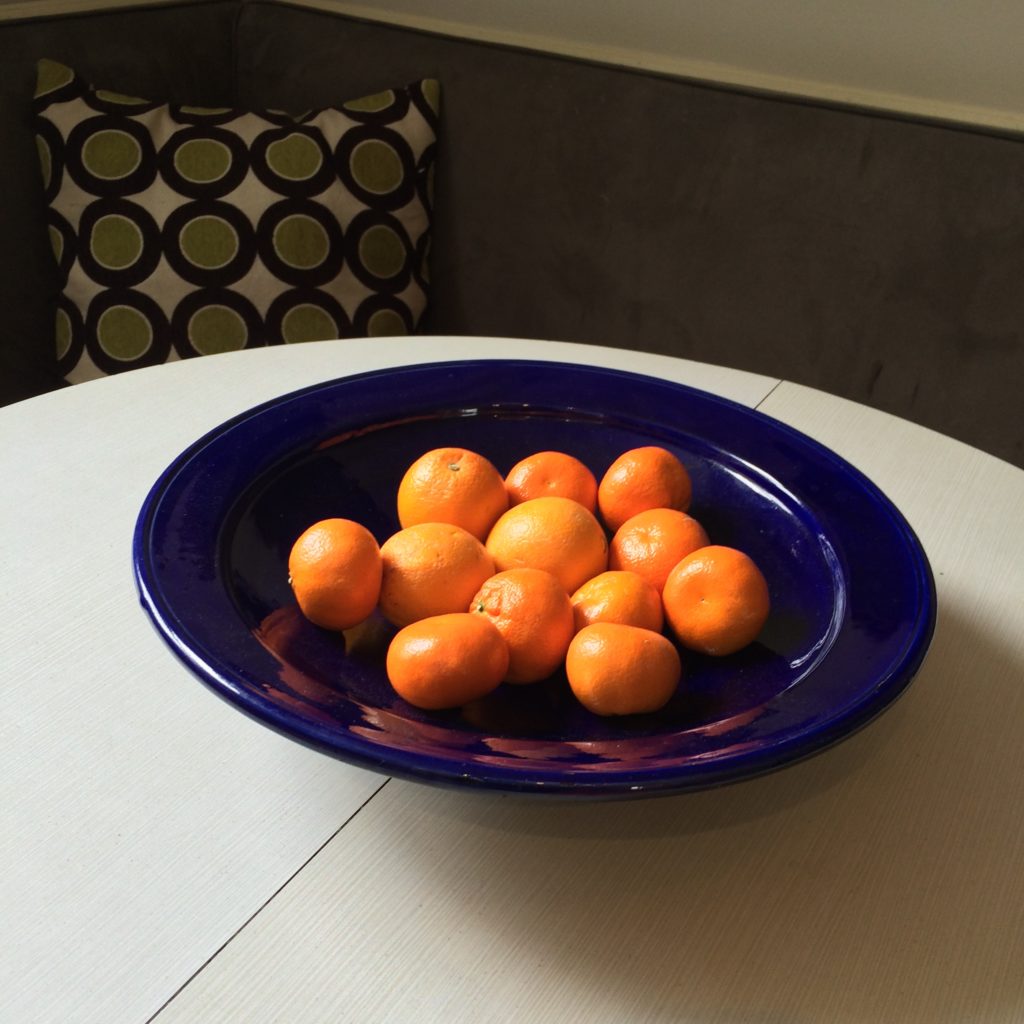
Orange and cobalt blue sets off the round kitchen table.
♥
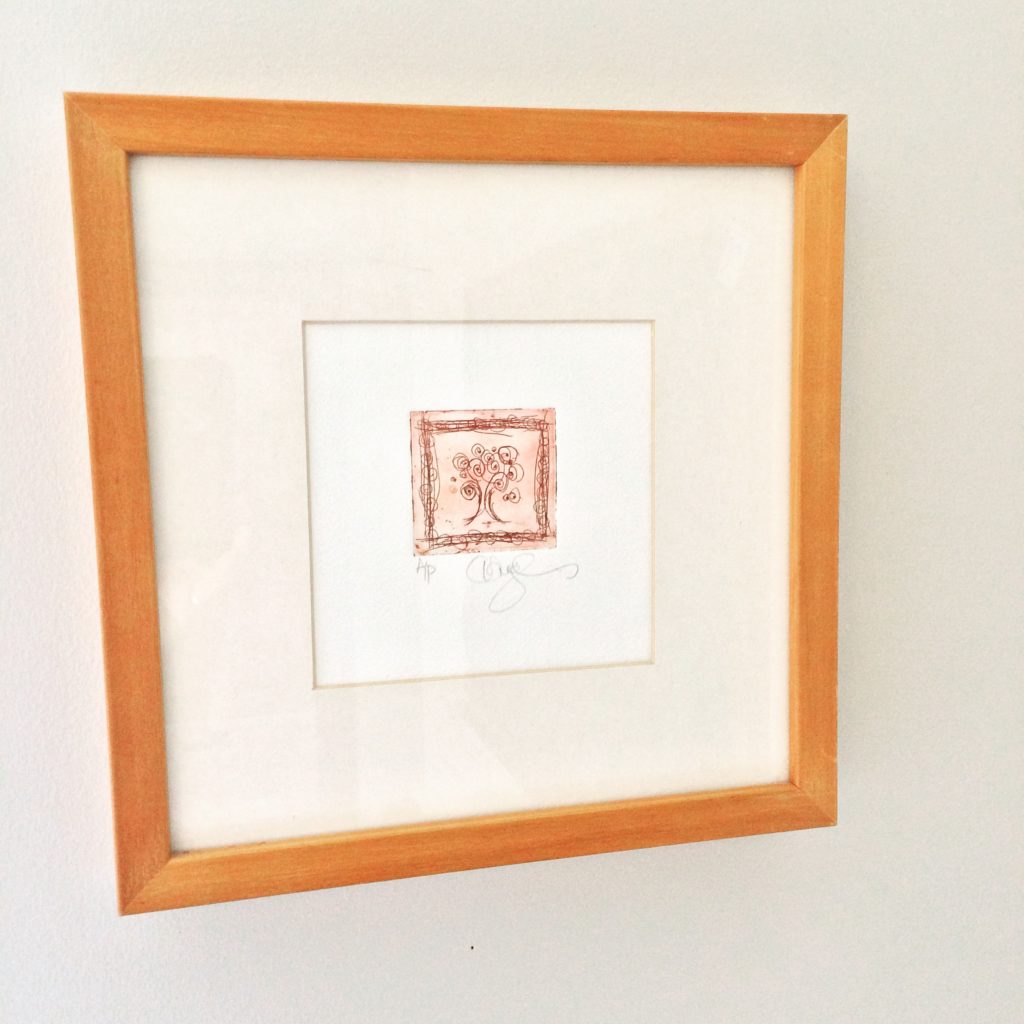
Last but not least a wedding present from a dear friend of the family. An Ann Thinghuss original fits nicely in the corner! Love the colour of the frame that goes so nicely with the colour of the postmasters cabinet.
♥
♥
One last look at the final reveal…

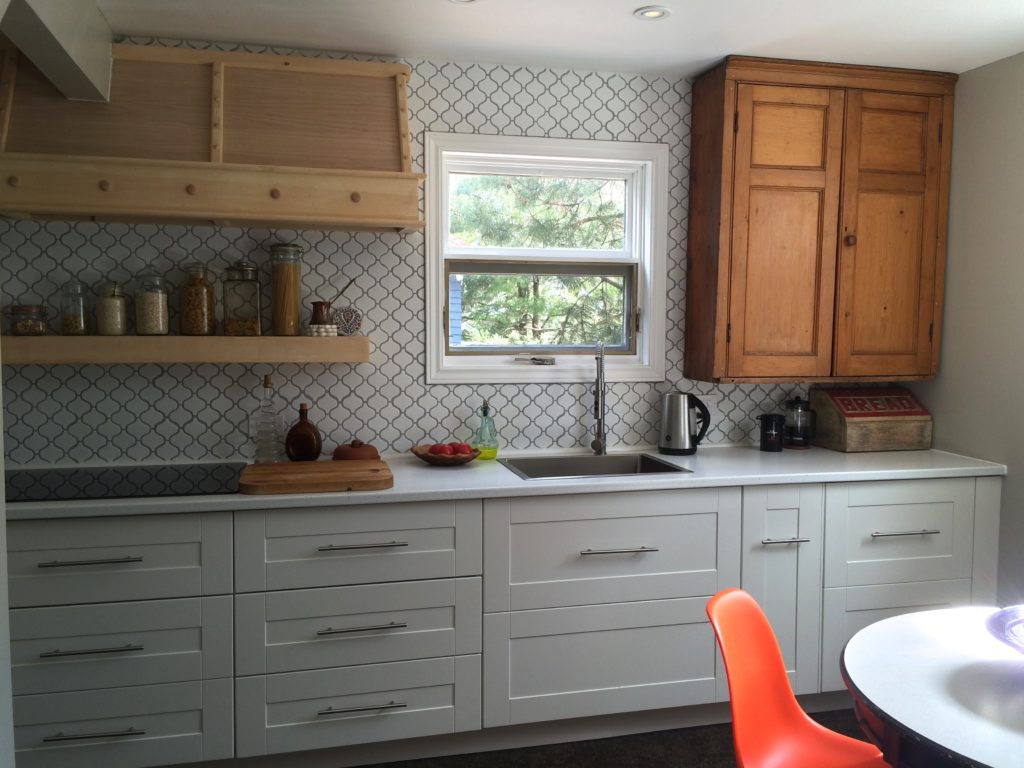
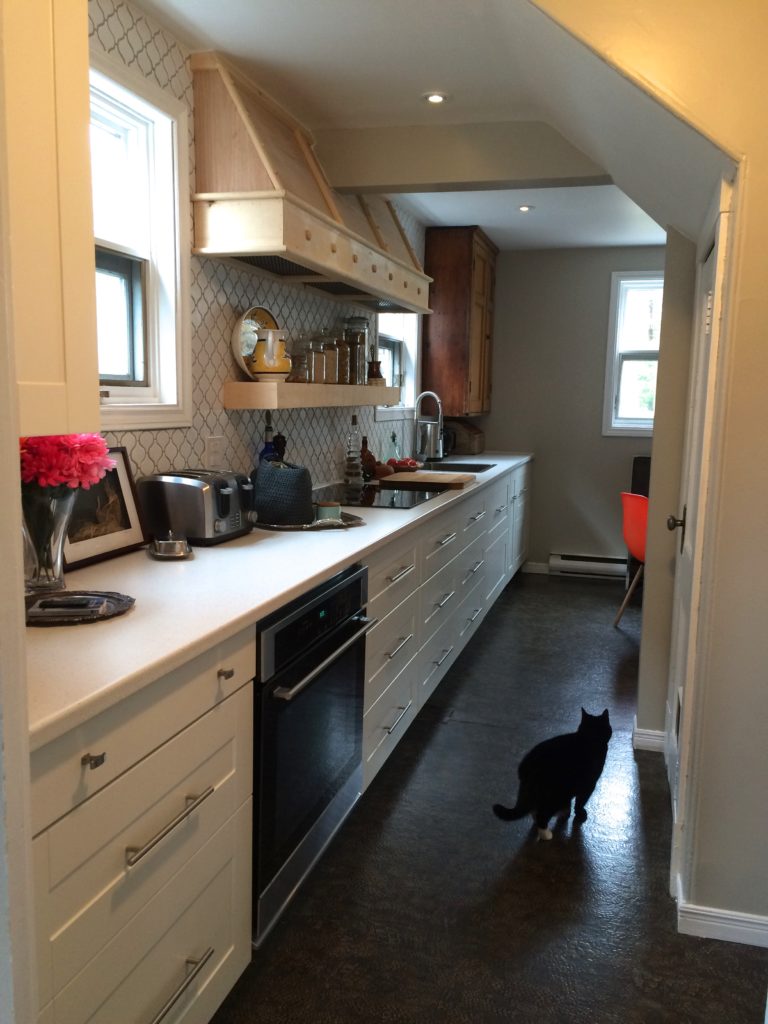
Overall we couldn’t be happier with the results! Thanks to Made Right Renovations {Donald Graham Contractor}
♥
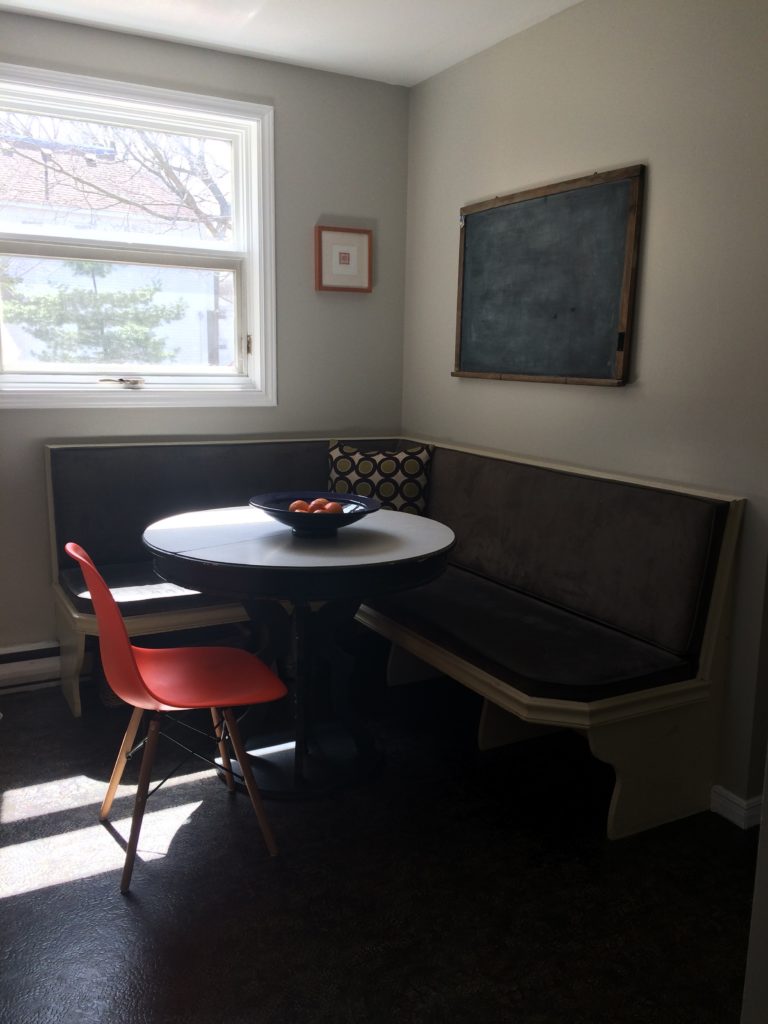
Our eat in seating area …. so much time spent here. One of the few things that didn’t change from the original kitchen.
What colour to stain or paint the range hood?? would love to hear your thoughts… leave me a message below.
♥
Little Piper ‘Now what’s for dinner?’
♥
What’s one thing you’d change in your kitchen?? Share your thoughts.
