Gallery Wall Tips and Tricks
One of the things I wanted to do when we started this living room makeover was do something different with all of our pictures. It’s a family affair to say the least and all these pictures have been with us for some time but it’s nice to have a different arrangement to show them. Instead of scattered over different walls I wanted to change things up and do one big gallery wall. Watch and I’ll show you step by step how to put up your Art to make a Gallery Wall with all your favourite Art.
Materials you'll need before you start:

Hammer

Nails

Level

Handy hubby or your go to helper ;-)

Blank wall

Art

Bring your creativity
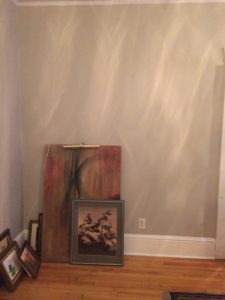
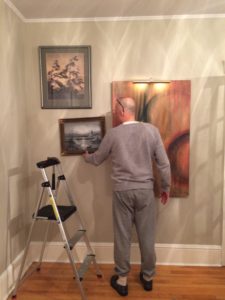
Decide on the wall that you want to create your gallery of pictures; then first things first; collect all the pictures you want to put up. The large piece is one of my favourites done by my sister. Every time I look at it I think of her. The placement of the first large piece was determined from the placement of the outlet actually. Since we had a picture light over the top of it you’ll want the wire in line with the outlet. The rest of the pictures are hung based off of the first one, so make sure your happy with the placement of your first piece.
♠
“Everything else flows from there”
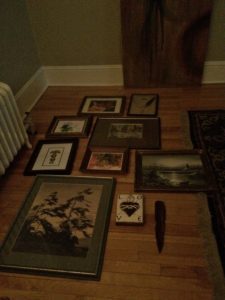
Next spread them out on the floor and see how they could all fit together like a puzzle. Sorry about the dark image most of my work happens at night once my kids go to bed. You do what you can right. This is where you can get a general feel for how all the pictures look together. As you can see I played around with the placement for the final wall. It’s ok to change the placement once you start but have a general idea which ones fit with which, before you start hanging. If your new to this and are not sure place the pictures EXACTLY how you want them before you start. Even taking painters tape and taping out the dimensions of the wall on the floor will help and use that as an outline for the overall dimensions.
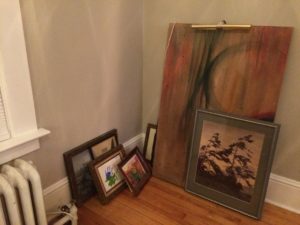
I had a general idea of how the pictures could fit together but until the first one goes up you have to play with your composition of how it’s going to look. The biggest piece we had was going up first. I followed the same height as the one on the same wall on the other side of the french doors to make them even. Just a bit lower then the bottom of the crown at the top of the french doors.

Once the first picture was in place then we held up the two small kids prints (one by our son and the handprints by our daughter) on top to see the spacing. These two small pictures would fit the width of the first one so these would work. Also the top of the kids pictures will be at the same height as the Trees.
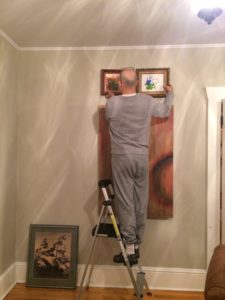
Next big picture was the top left hand corner picture. When your making a Gallery Wall you want to think of the overall dimensions of the grouping as a whole. So take the one on the left and place it as the outer dimensions of the overall box of pictures. That’s going to be the highest your pictures will be. So the little ones beside it will have to fit under or right inline with the reproduction Tom Thomson’s Tree’s …
Tidbit: Thomas John "Tom" Thomson was an influential Canadian artist of the early 20th century. He directly influenced a group of Canadian painters that would come to be known as the Group of Seven, and though he died before they formally formed, he is sometimes incorrectly credited as being a member of the group itself. Thomson died under mysterious circumstances on Canoe Lake in Algonquin Park.
♥
Look at the spaces between the spaces of the pictures and place your next picture the same distance between the two existing pictures. In this case it was about 4″ -5″ from the bottom of the Tree’s and the lighthouse (gift from me to my husband) to my sisters Abstract. Take your pen and mark the spot before you want to hang it.
♦
Takeaway Tip #1: Depending on the backing of your picture you may have to measure the distance from the top of the picture to the wire (when it's stretched up); then measure down from the top of the picture to where your nail will be.
Keeping with this idea hold up the next two pictures that will fill in the space. In this case the feathers and the Angel playing the guitar fit nicely in that space remaining on the left hand side.
The feathers picture A family treasure from my Great Grandfather Christmas 1930. The white feather from a swan captured after going over Niagara Falls. Dark feather from a Wild Canadian Goose at Jack Miners who is was my Great Grandfather.
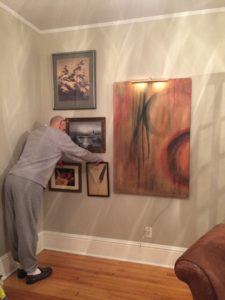
Once you have some pictures up stand back and access the open space what size and dimension of the next picture will fit. Keep filling in the open spaces with pieces that are equally spaced and fit in the remaining blank spaces.
♦
Takeaway Tip #2: Sometimes even when you measure out another 4" for the spacing it doesn't fit exactly so don't be shy to fudge this measurement a little. Stand back and see visually if it works. If so go for it.

This picture on the bottom (another cherished piece done by my Great Aunt) is kissing the corner (right) of the (bottom left) corner of the feathers but high enough to hang over the baseboard moulding.

Place the last two pictures on the floor and see how they can fill in the rest of the wall at the bottom. You have to stand back and see all the pictures together make one big piece of Art. If you are new to this and like I said before if you have the space for it, the best thing is laying them on the floor first and that way you can arrange or rearrange them based on size to get the right fit.
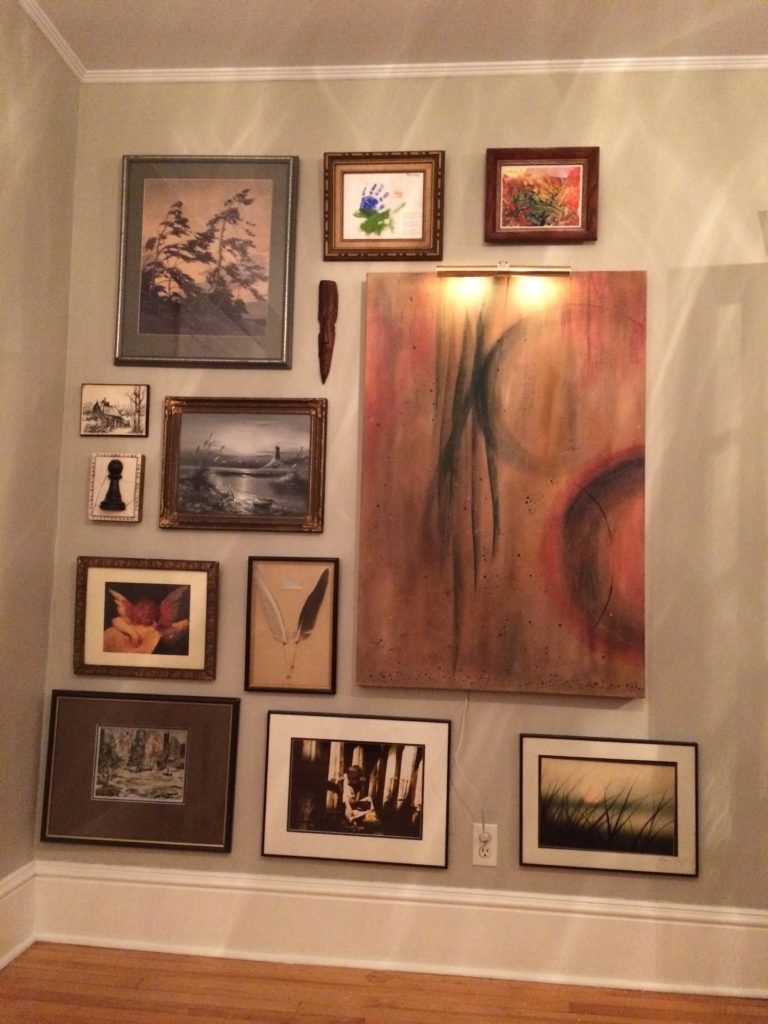
If you have objects from your travels like the long mask we got from a friend who brought us back this piece from Cuba or the Sid Dickens chess ‘Pond’ piece we purchased use them and they’ll add dimension and interest to your overall look.
Next hang up the last two pictures at the bottom.

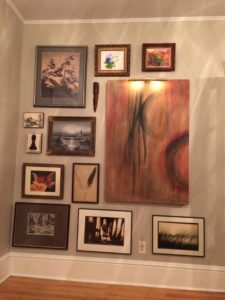
So happy with how it turned out all our favourite prints and pictures in one spot.
♥
Take Away Tip #3: Look for good composition and colour in your prints and Artwork that are similar in tone or feeling. Also try and mix and match similar colour frames that mix well together. Above all put things on display that you LOVE and that give you joy when you look at them!
♥
Take Away Tip #4: Flea Markets, secondhand stores and thrift places will always have lots of frames, even if you don't like the photo in them, scoop them up for the frames and replace the picture.
Check out the ‘Before and Afters’ for our living room makeover over here ⇒
♥
⇐ Check out How to completely change your Dining Room here