When your bedroom room layout isn’t working for you and how to fix it with some key furniture placement. This client had all the key elements for a relaxing bedroom retreat; beautiful furniture, lovely lavender colour on the walls and pretty bedding. What wasn’t working was the room layout. Have a look to see how rearranging the furniture provided a better flow to the room and more space to move around the bed. Now the room feels more spacious and put together. Key points you can do at home.
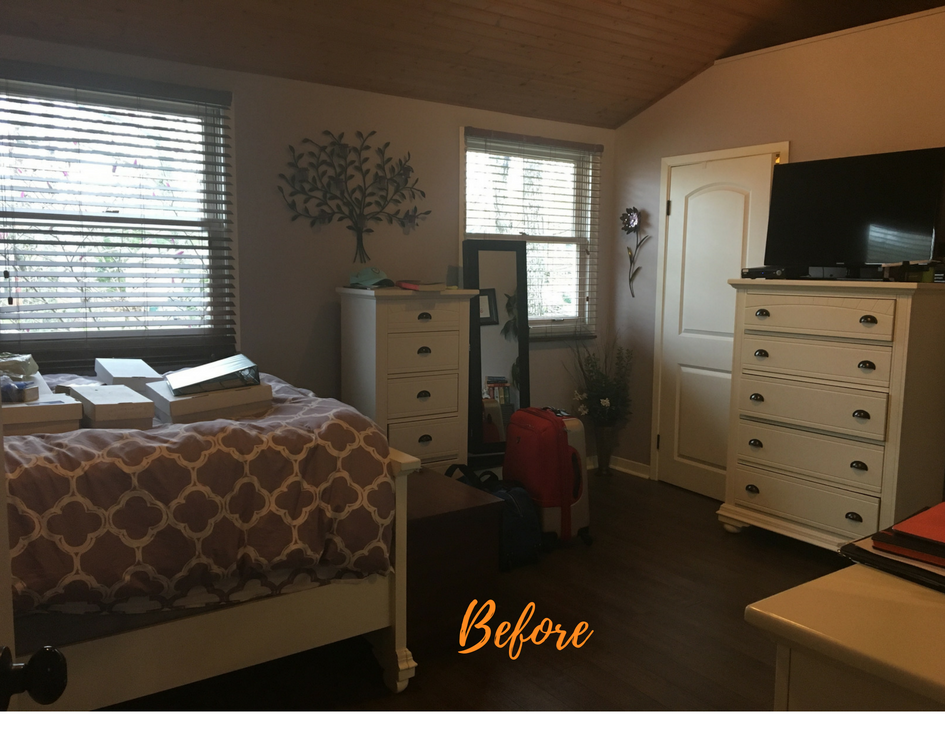
A Clients Bedroom Makeover ‘Before’
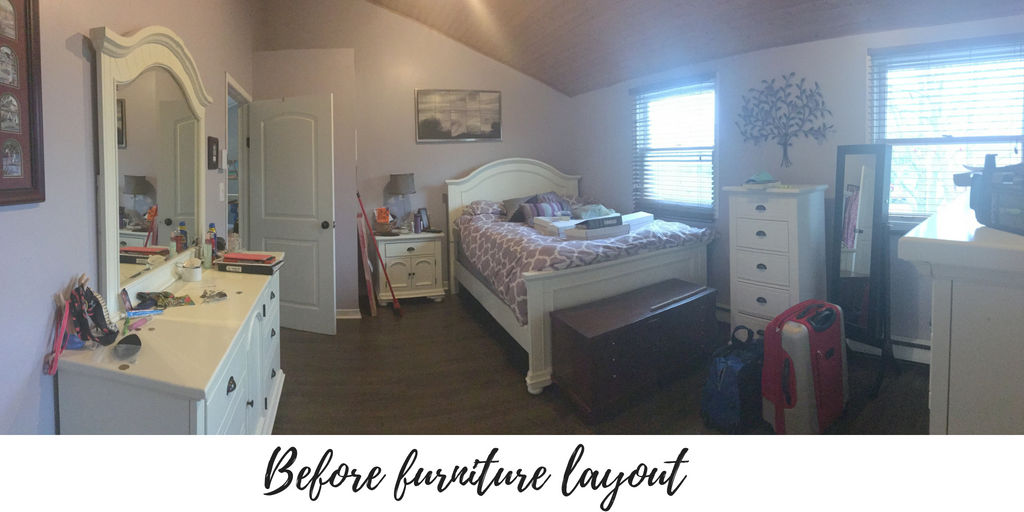
One key problem was the location of the bed, it was too cramped in the corner. The room had all the elements but needed a little redesign to make the most of the space. At first it looks like there too much furniture in the room. It’s not flowing as well as it could be.
Have a look and see what changed…
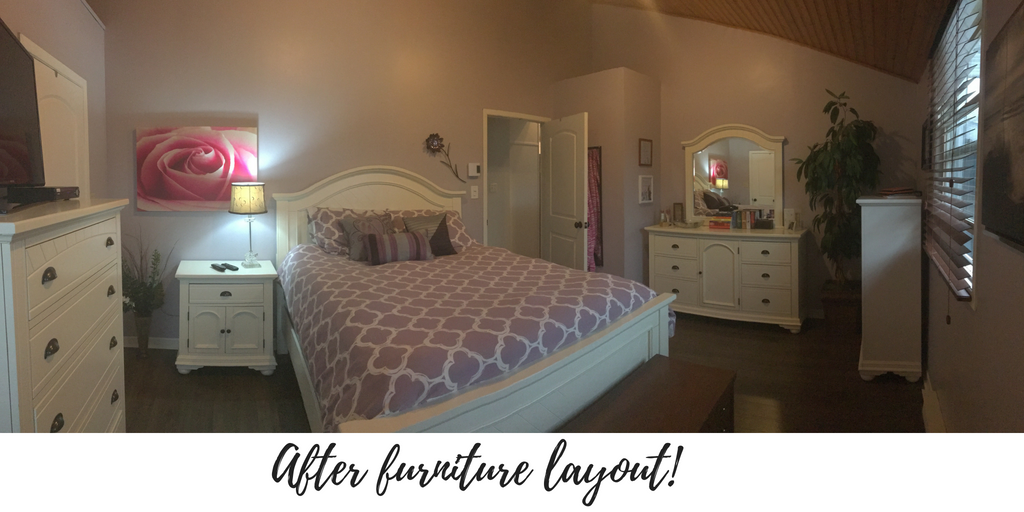
The niche at the far wall was indented and a perfect fit to relocate the main dresser and fill in that wall. Since this was a redesign of everything she had, nothing new was purchased except the new flower print that she won at the recent YMCA Monte Carlo fundraiser. Happy to say we found the perfect spot to hang it! Let’s look how it all started.

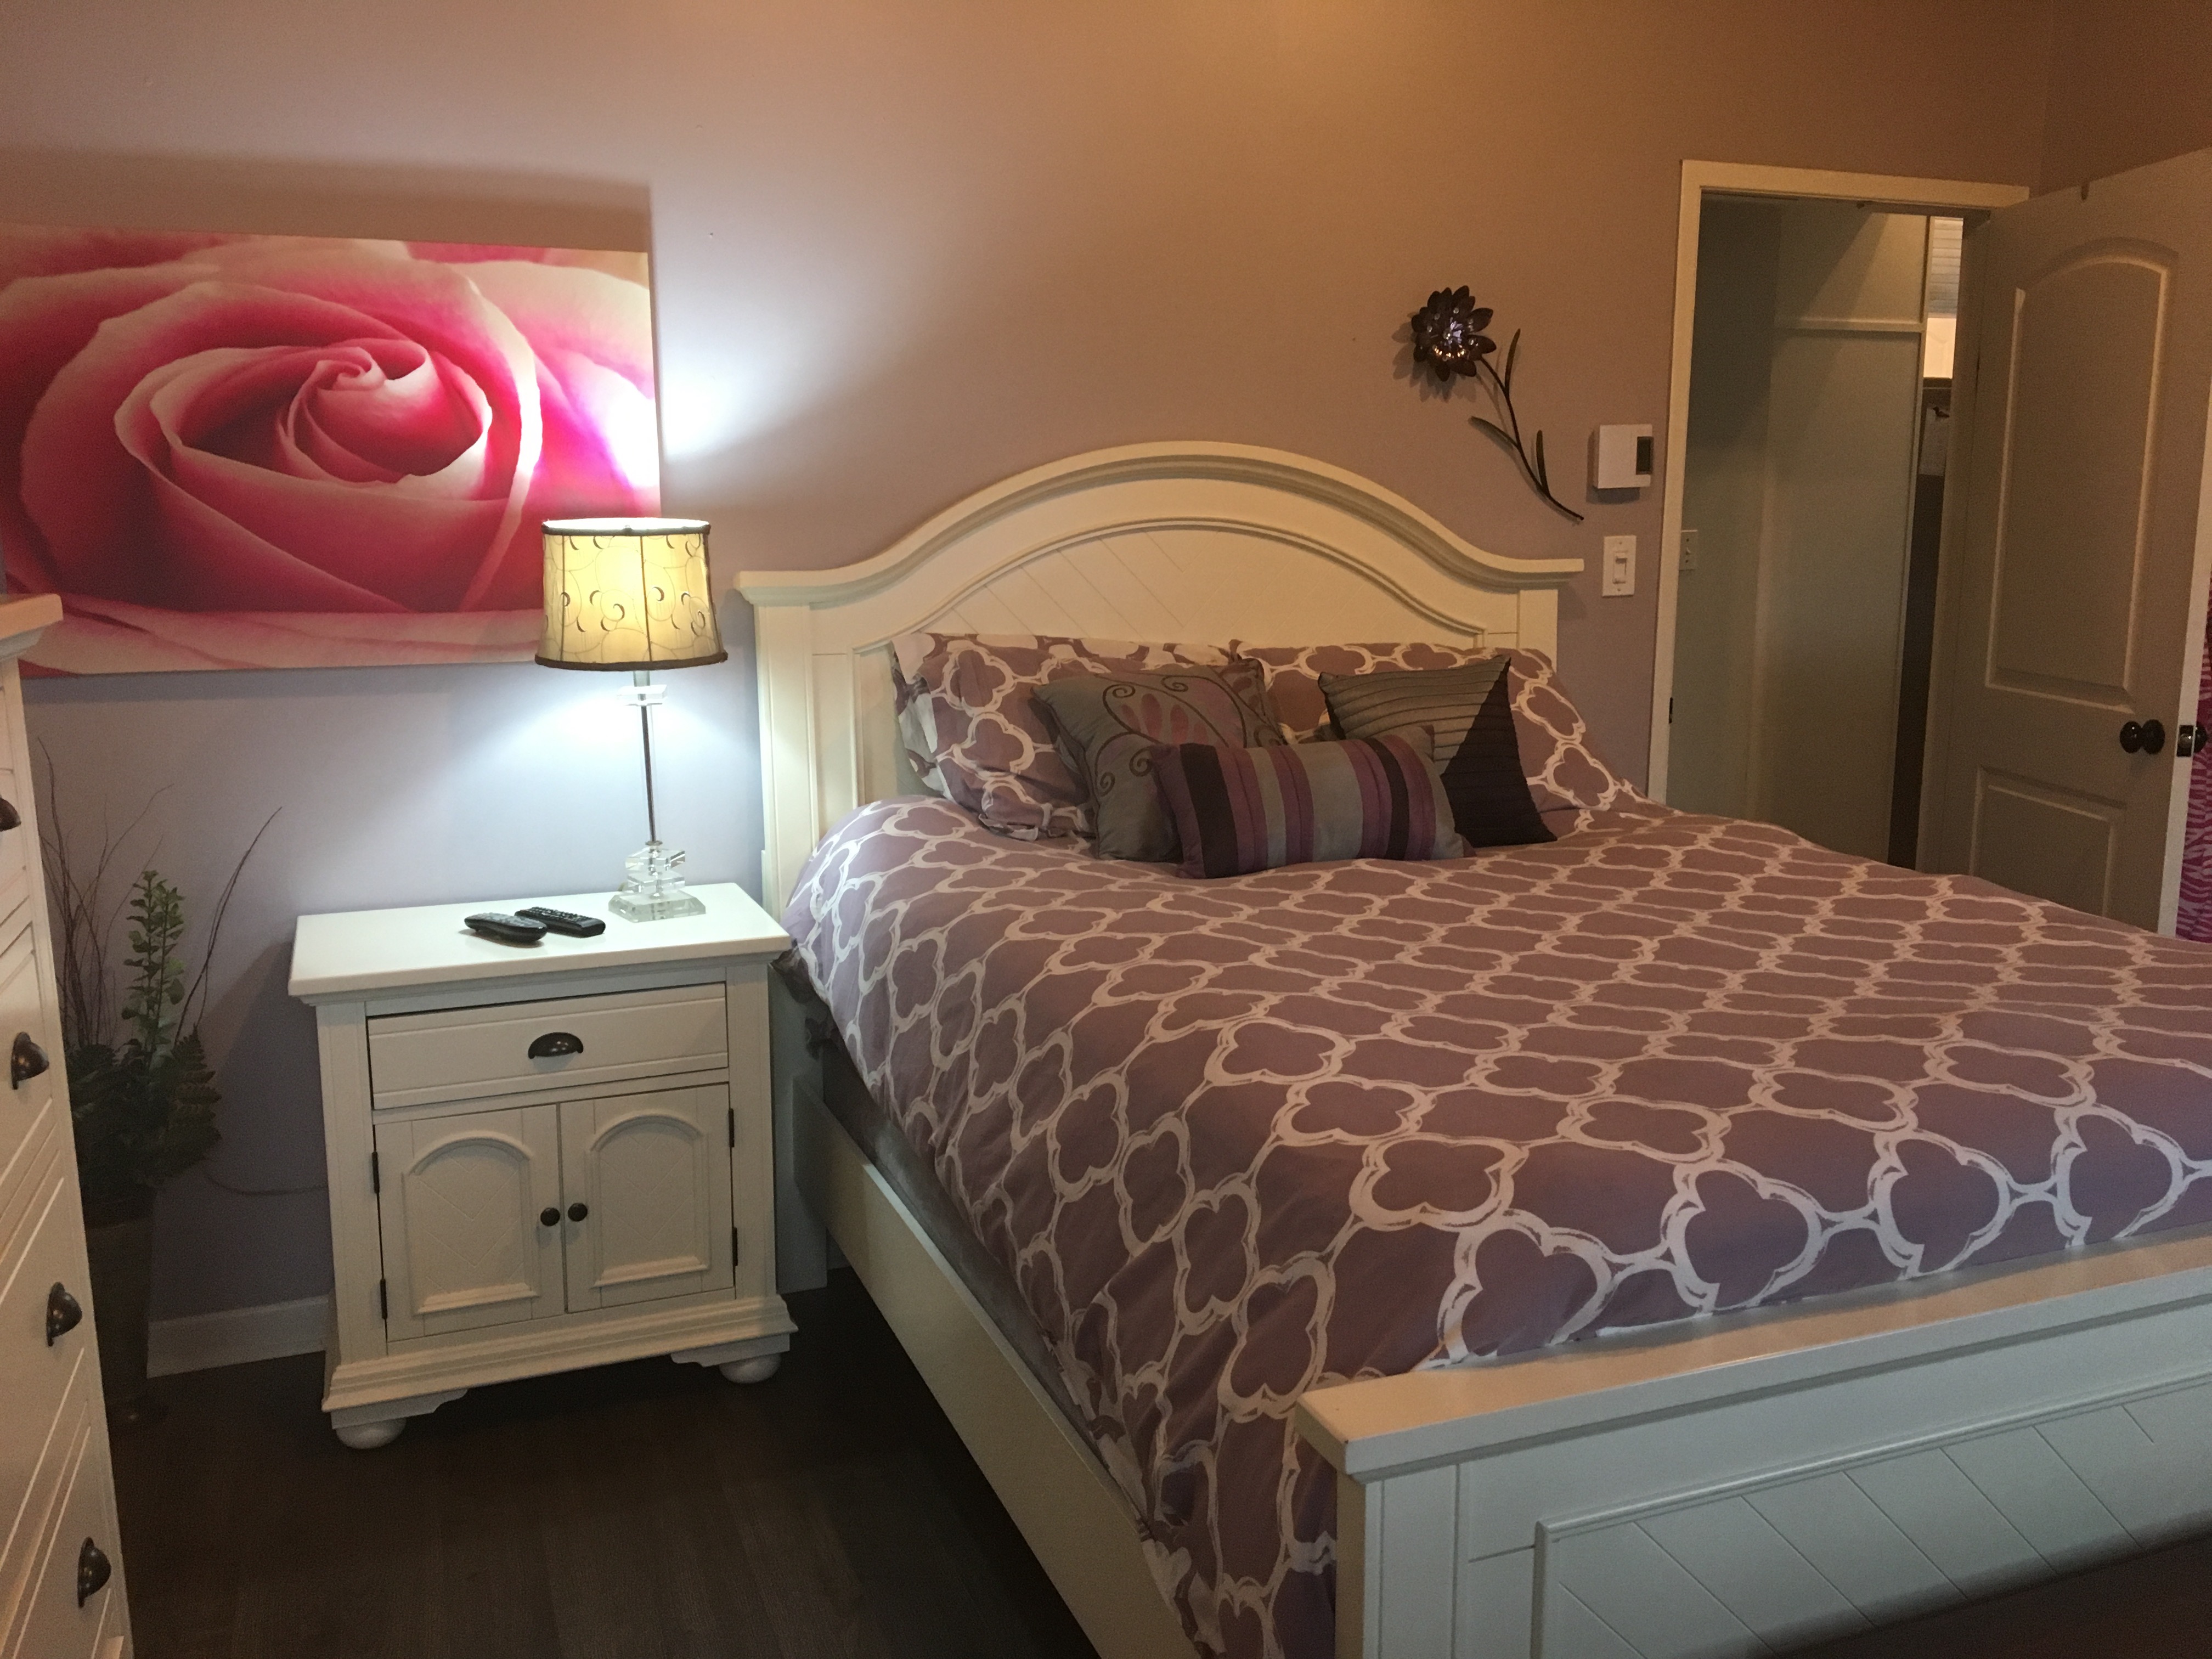
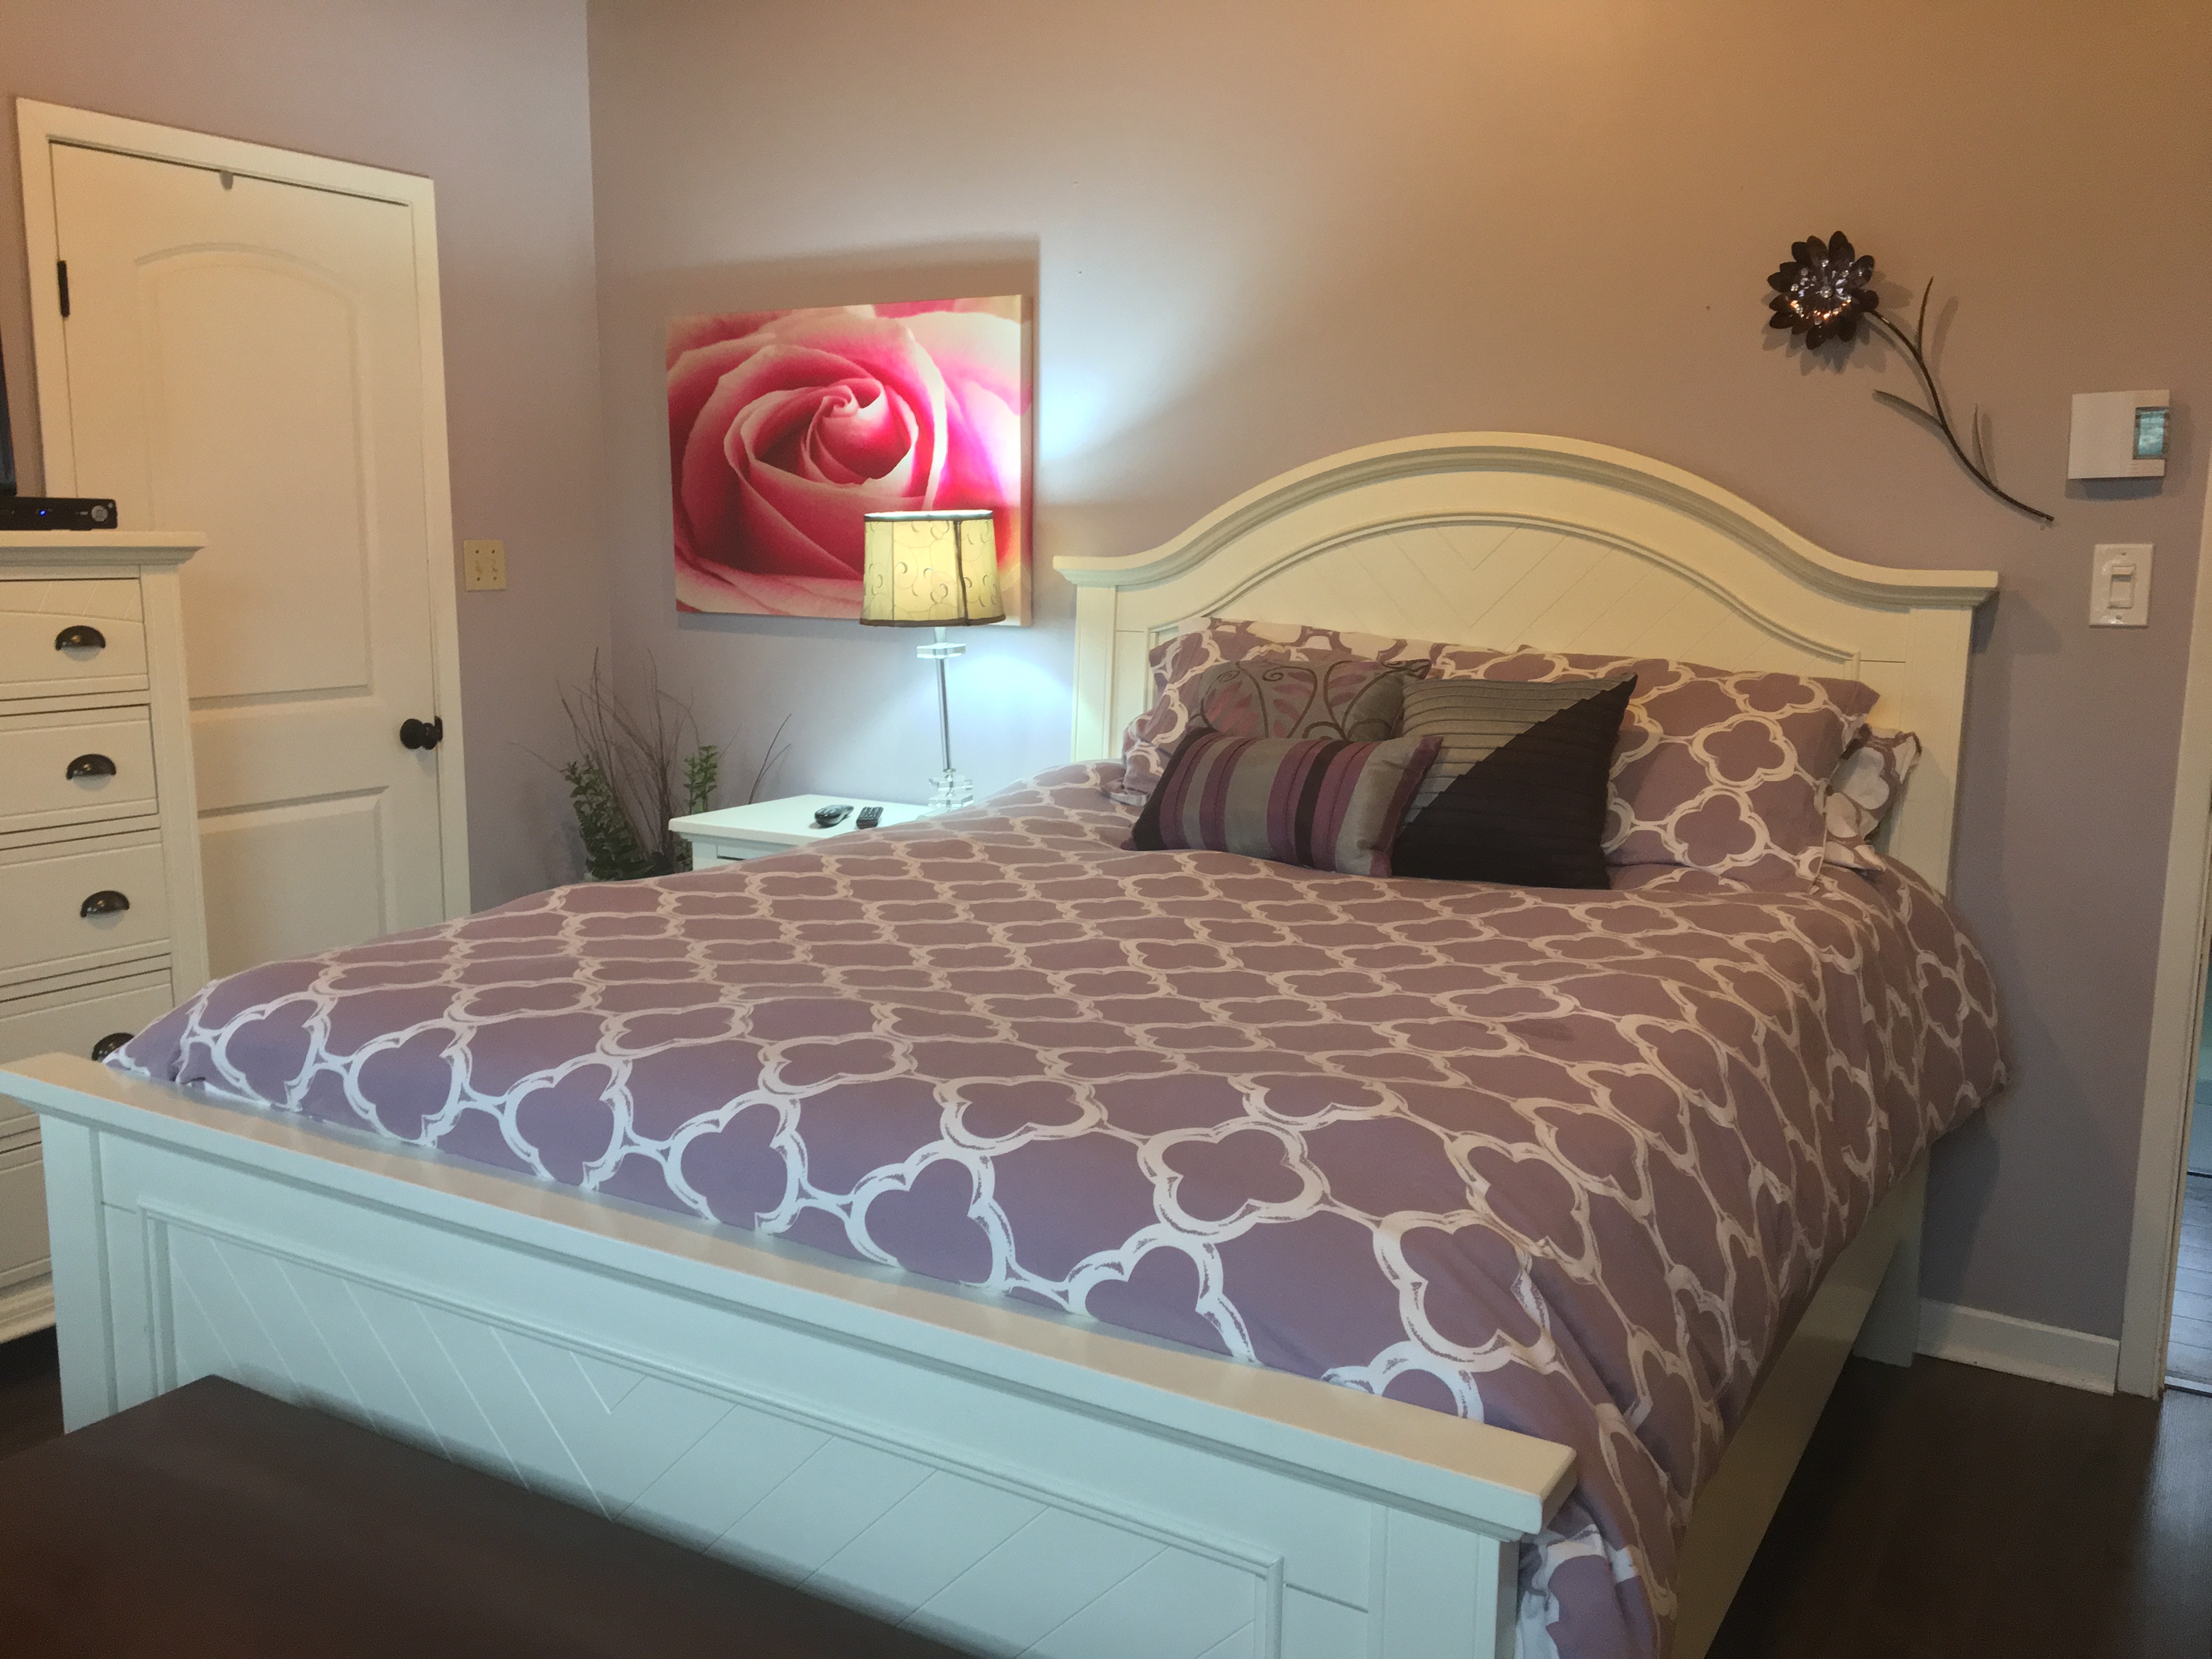
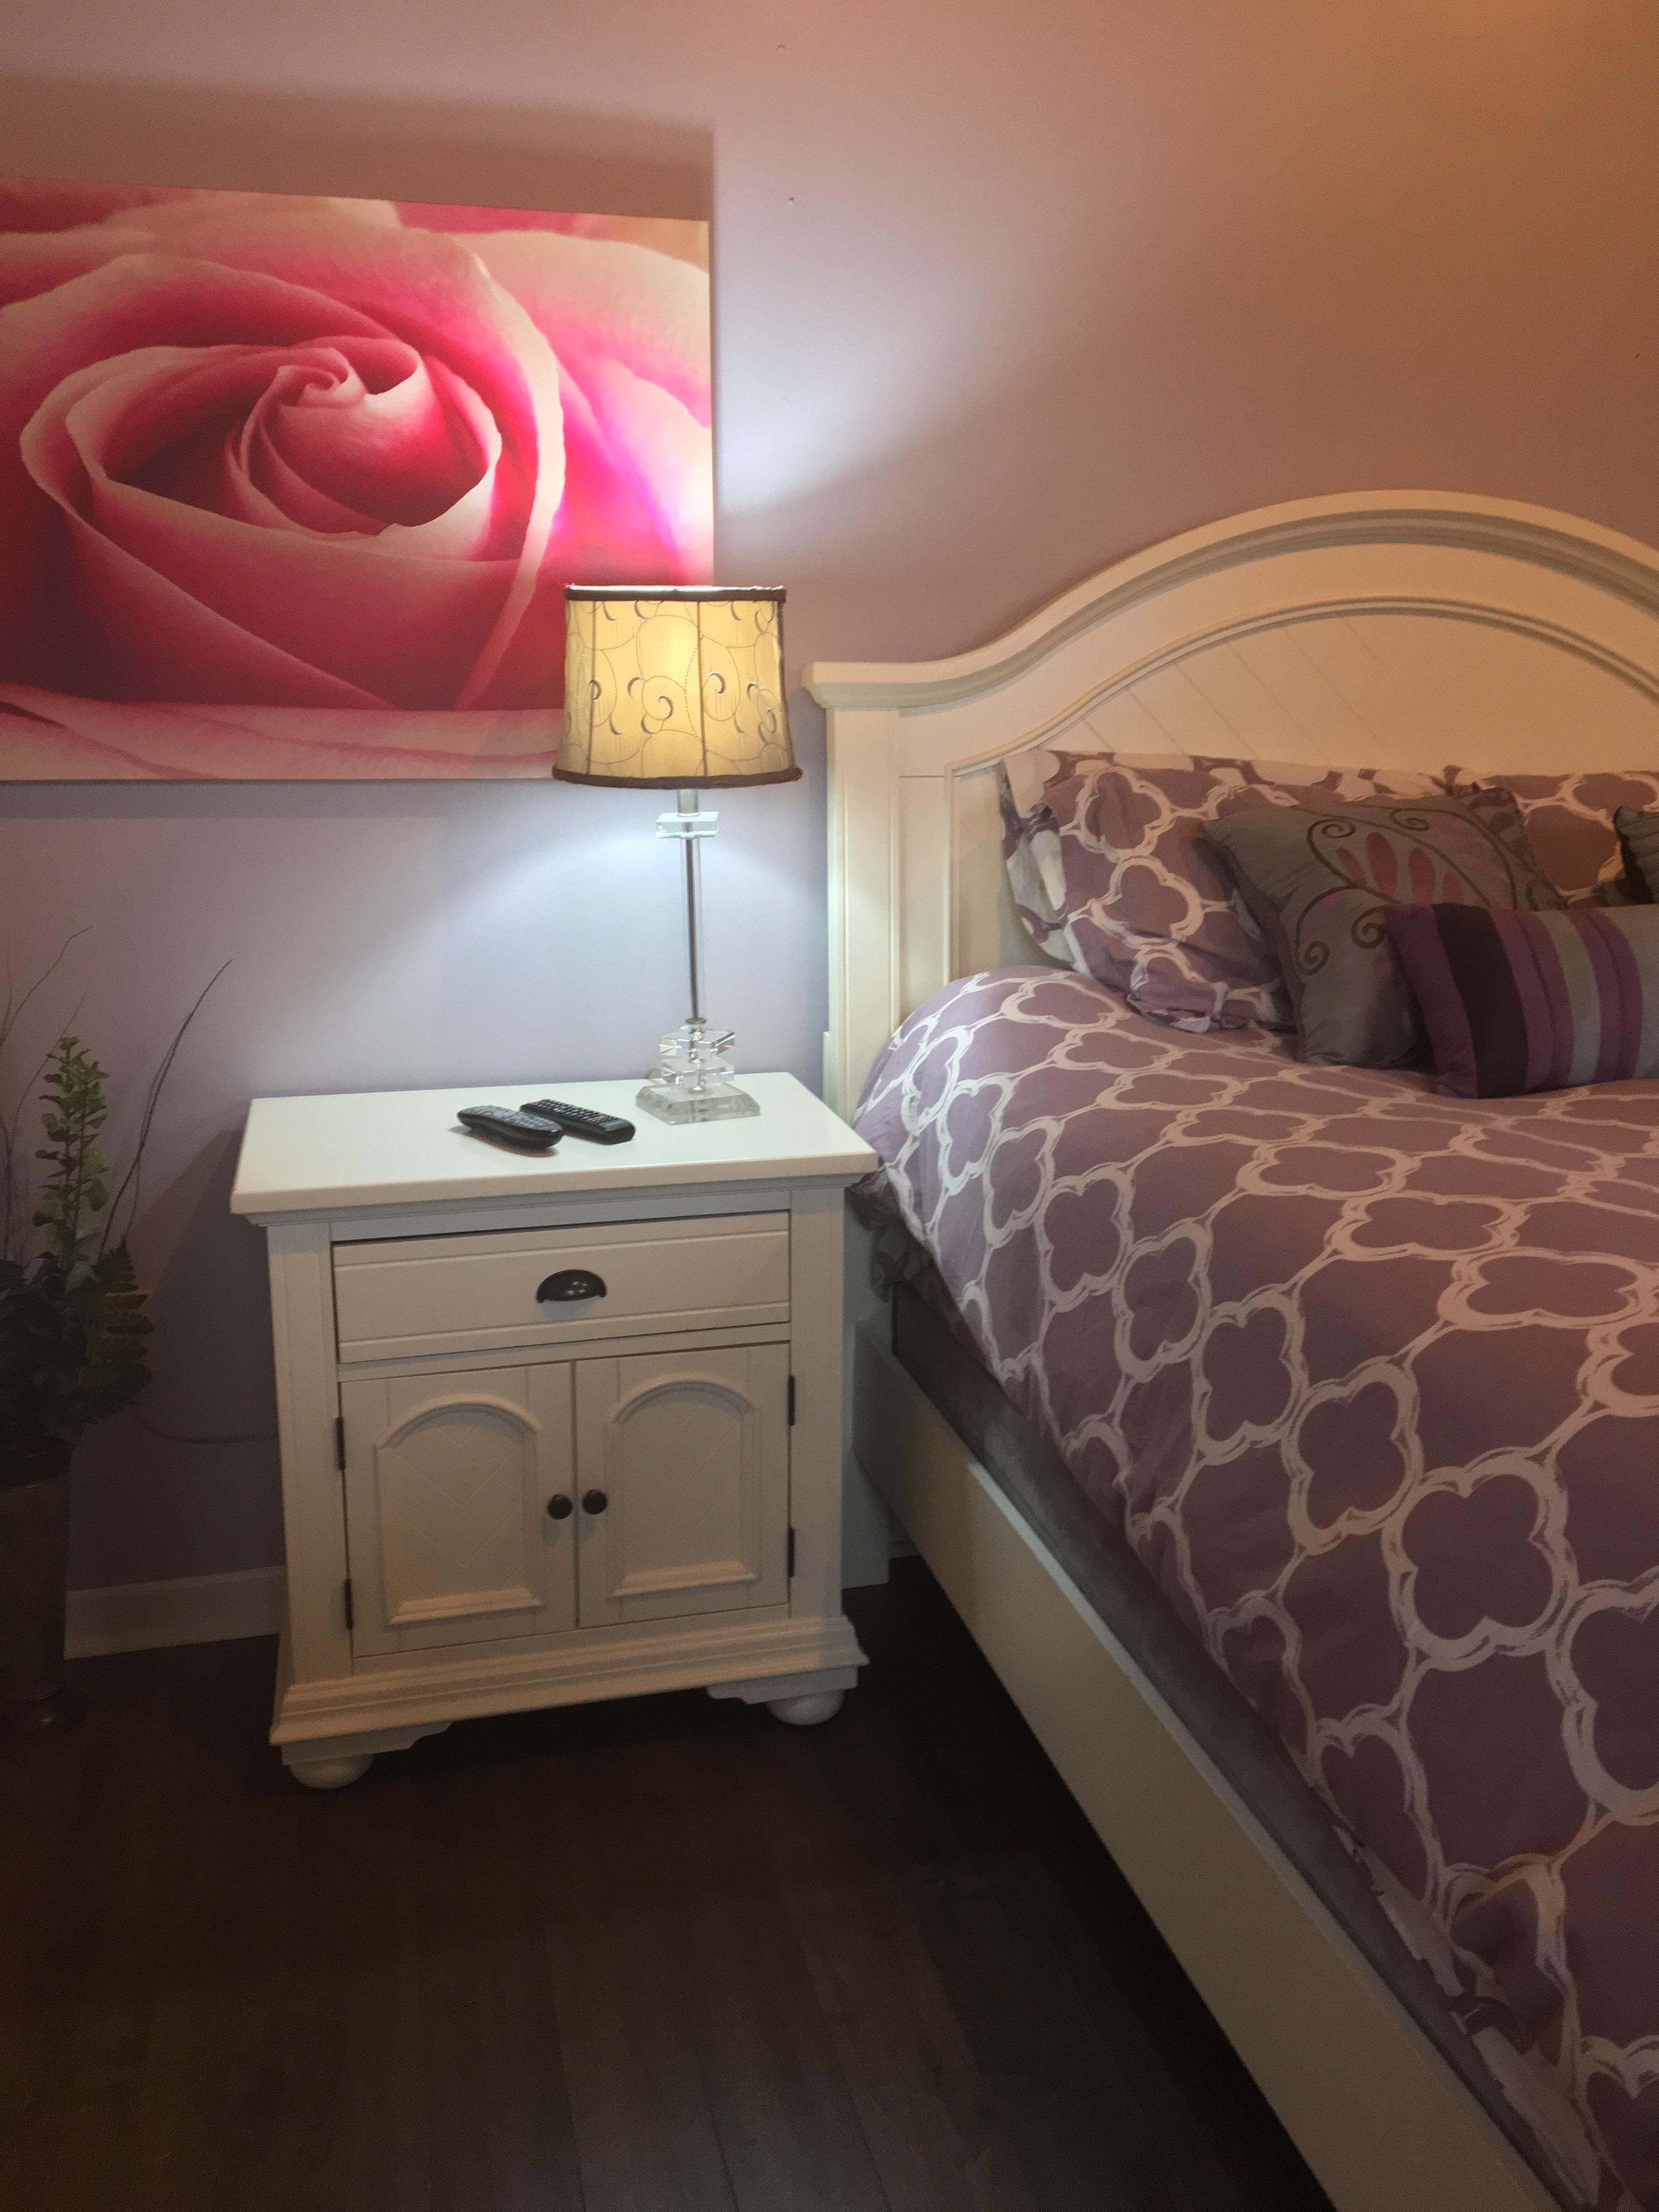
The bed is better proportioned on this wall with room on both sides of the bed. Clients new art has been placed and hung to enjoy above the nightstand. 🙂
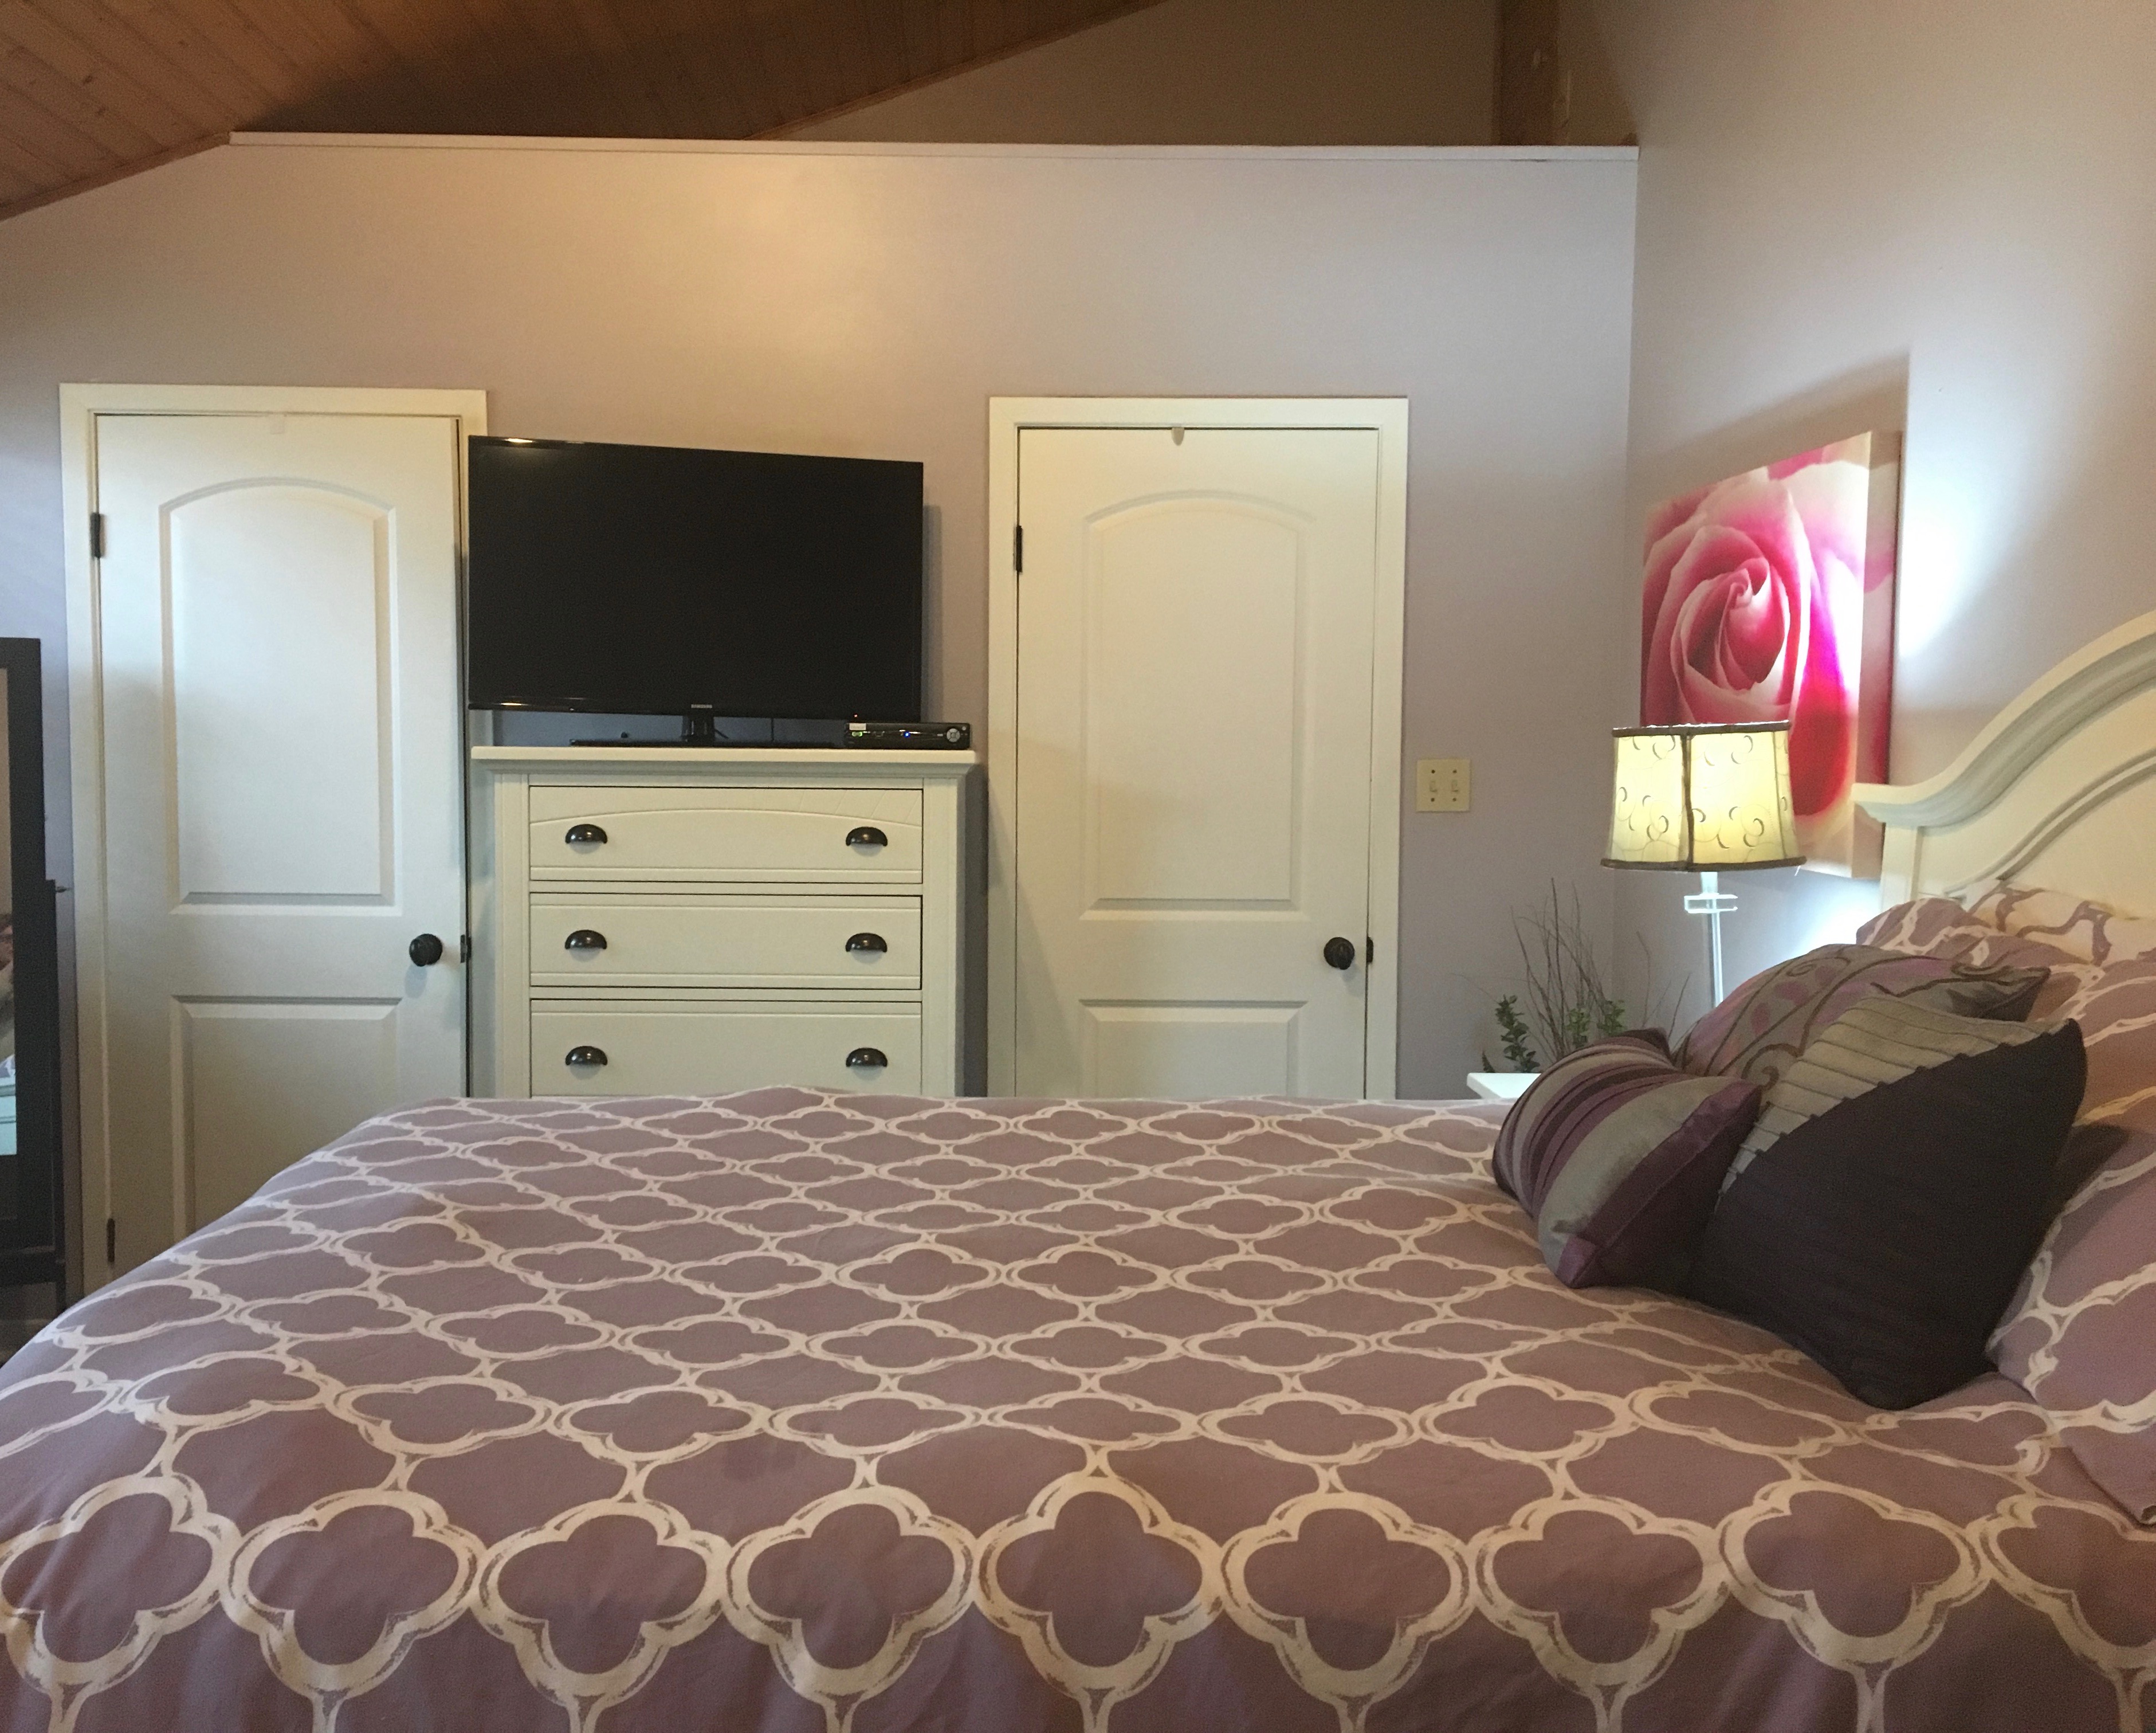

When you walk into the room there’s still a easy path around the bed to the closet and powder room on the other side. Much more visually calming when you walk in. Art that was above the bed before is now centered in-between the two windows.
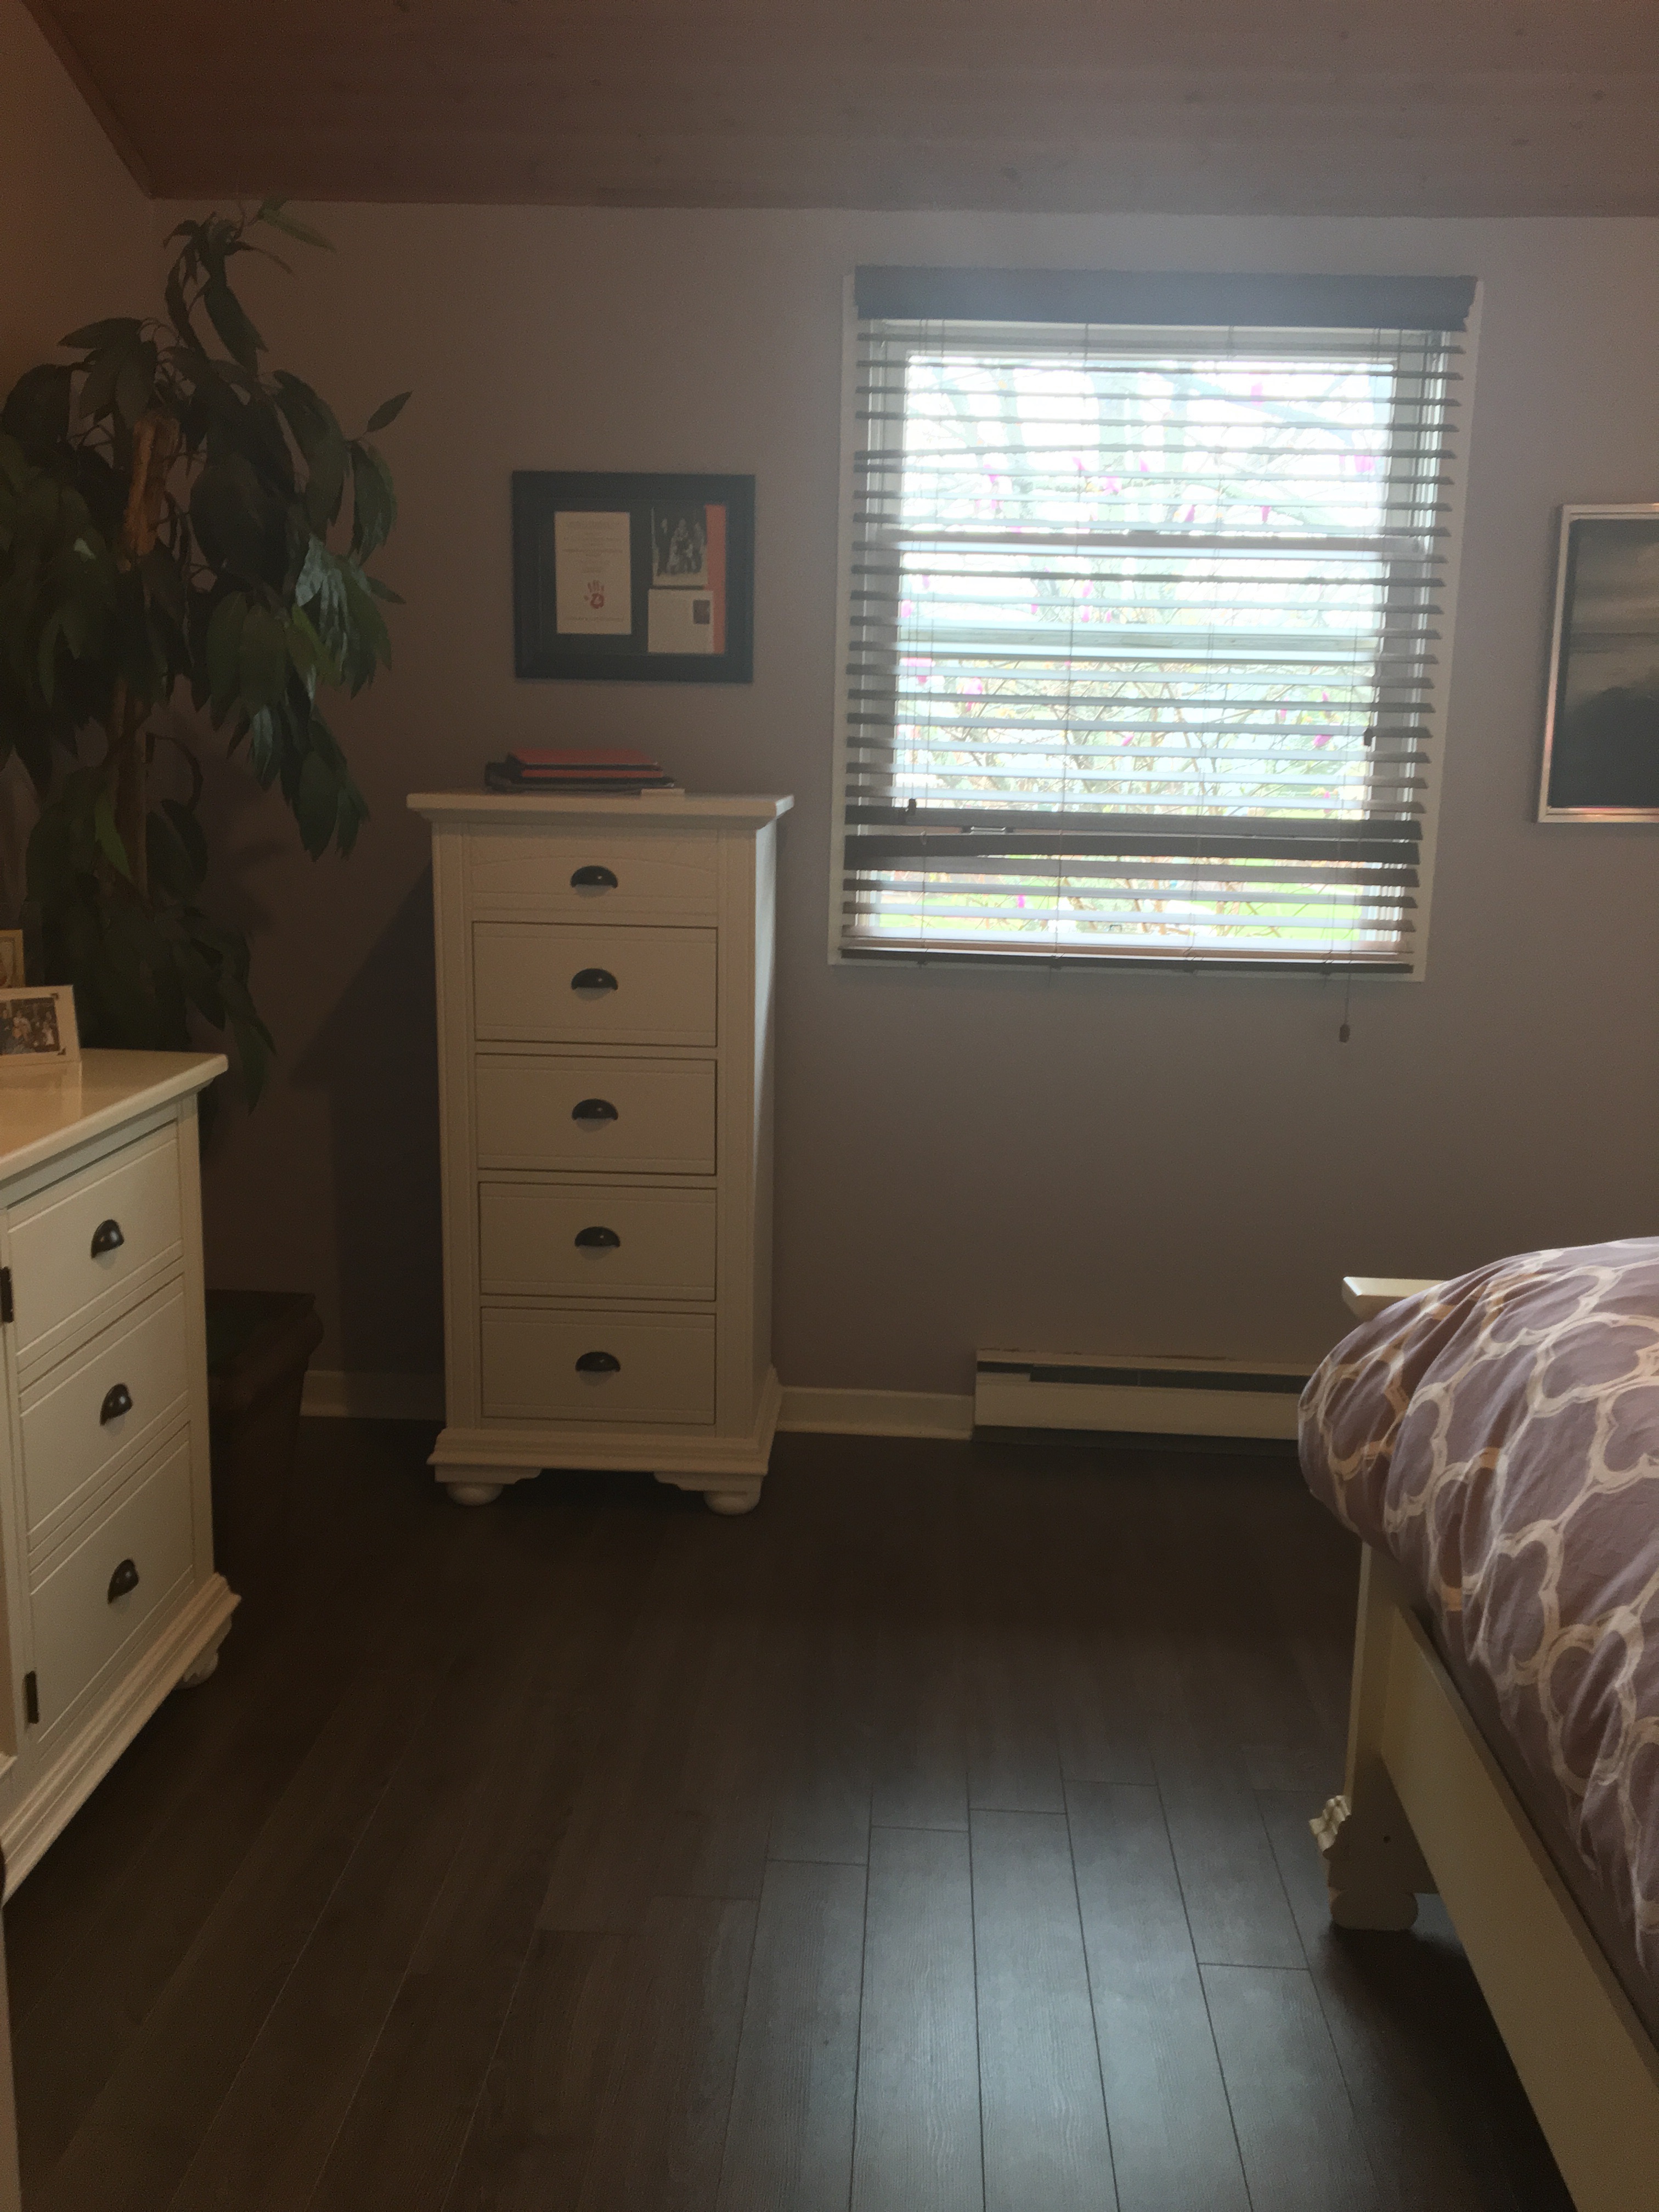
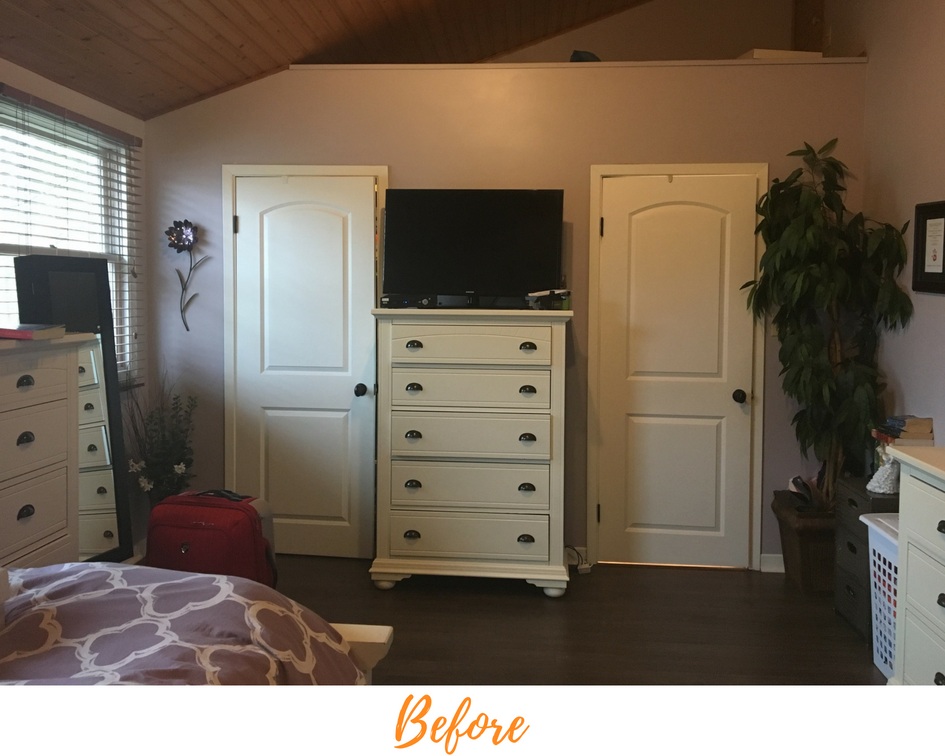
Now this side of the room is designated to dressers and the big tall plant visually breaks up the space between the two.
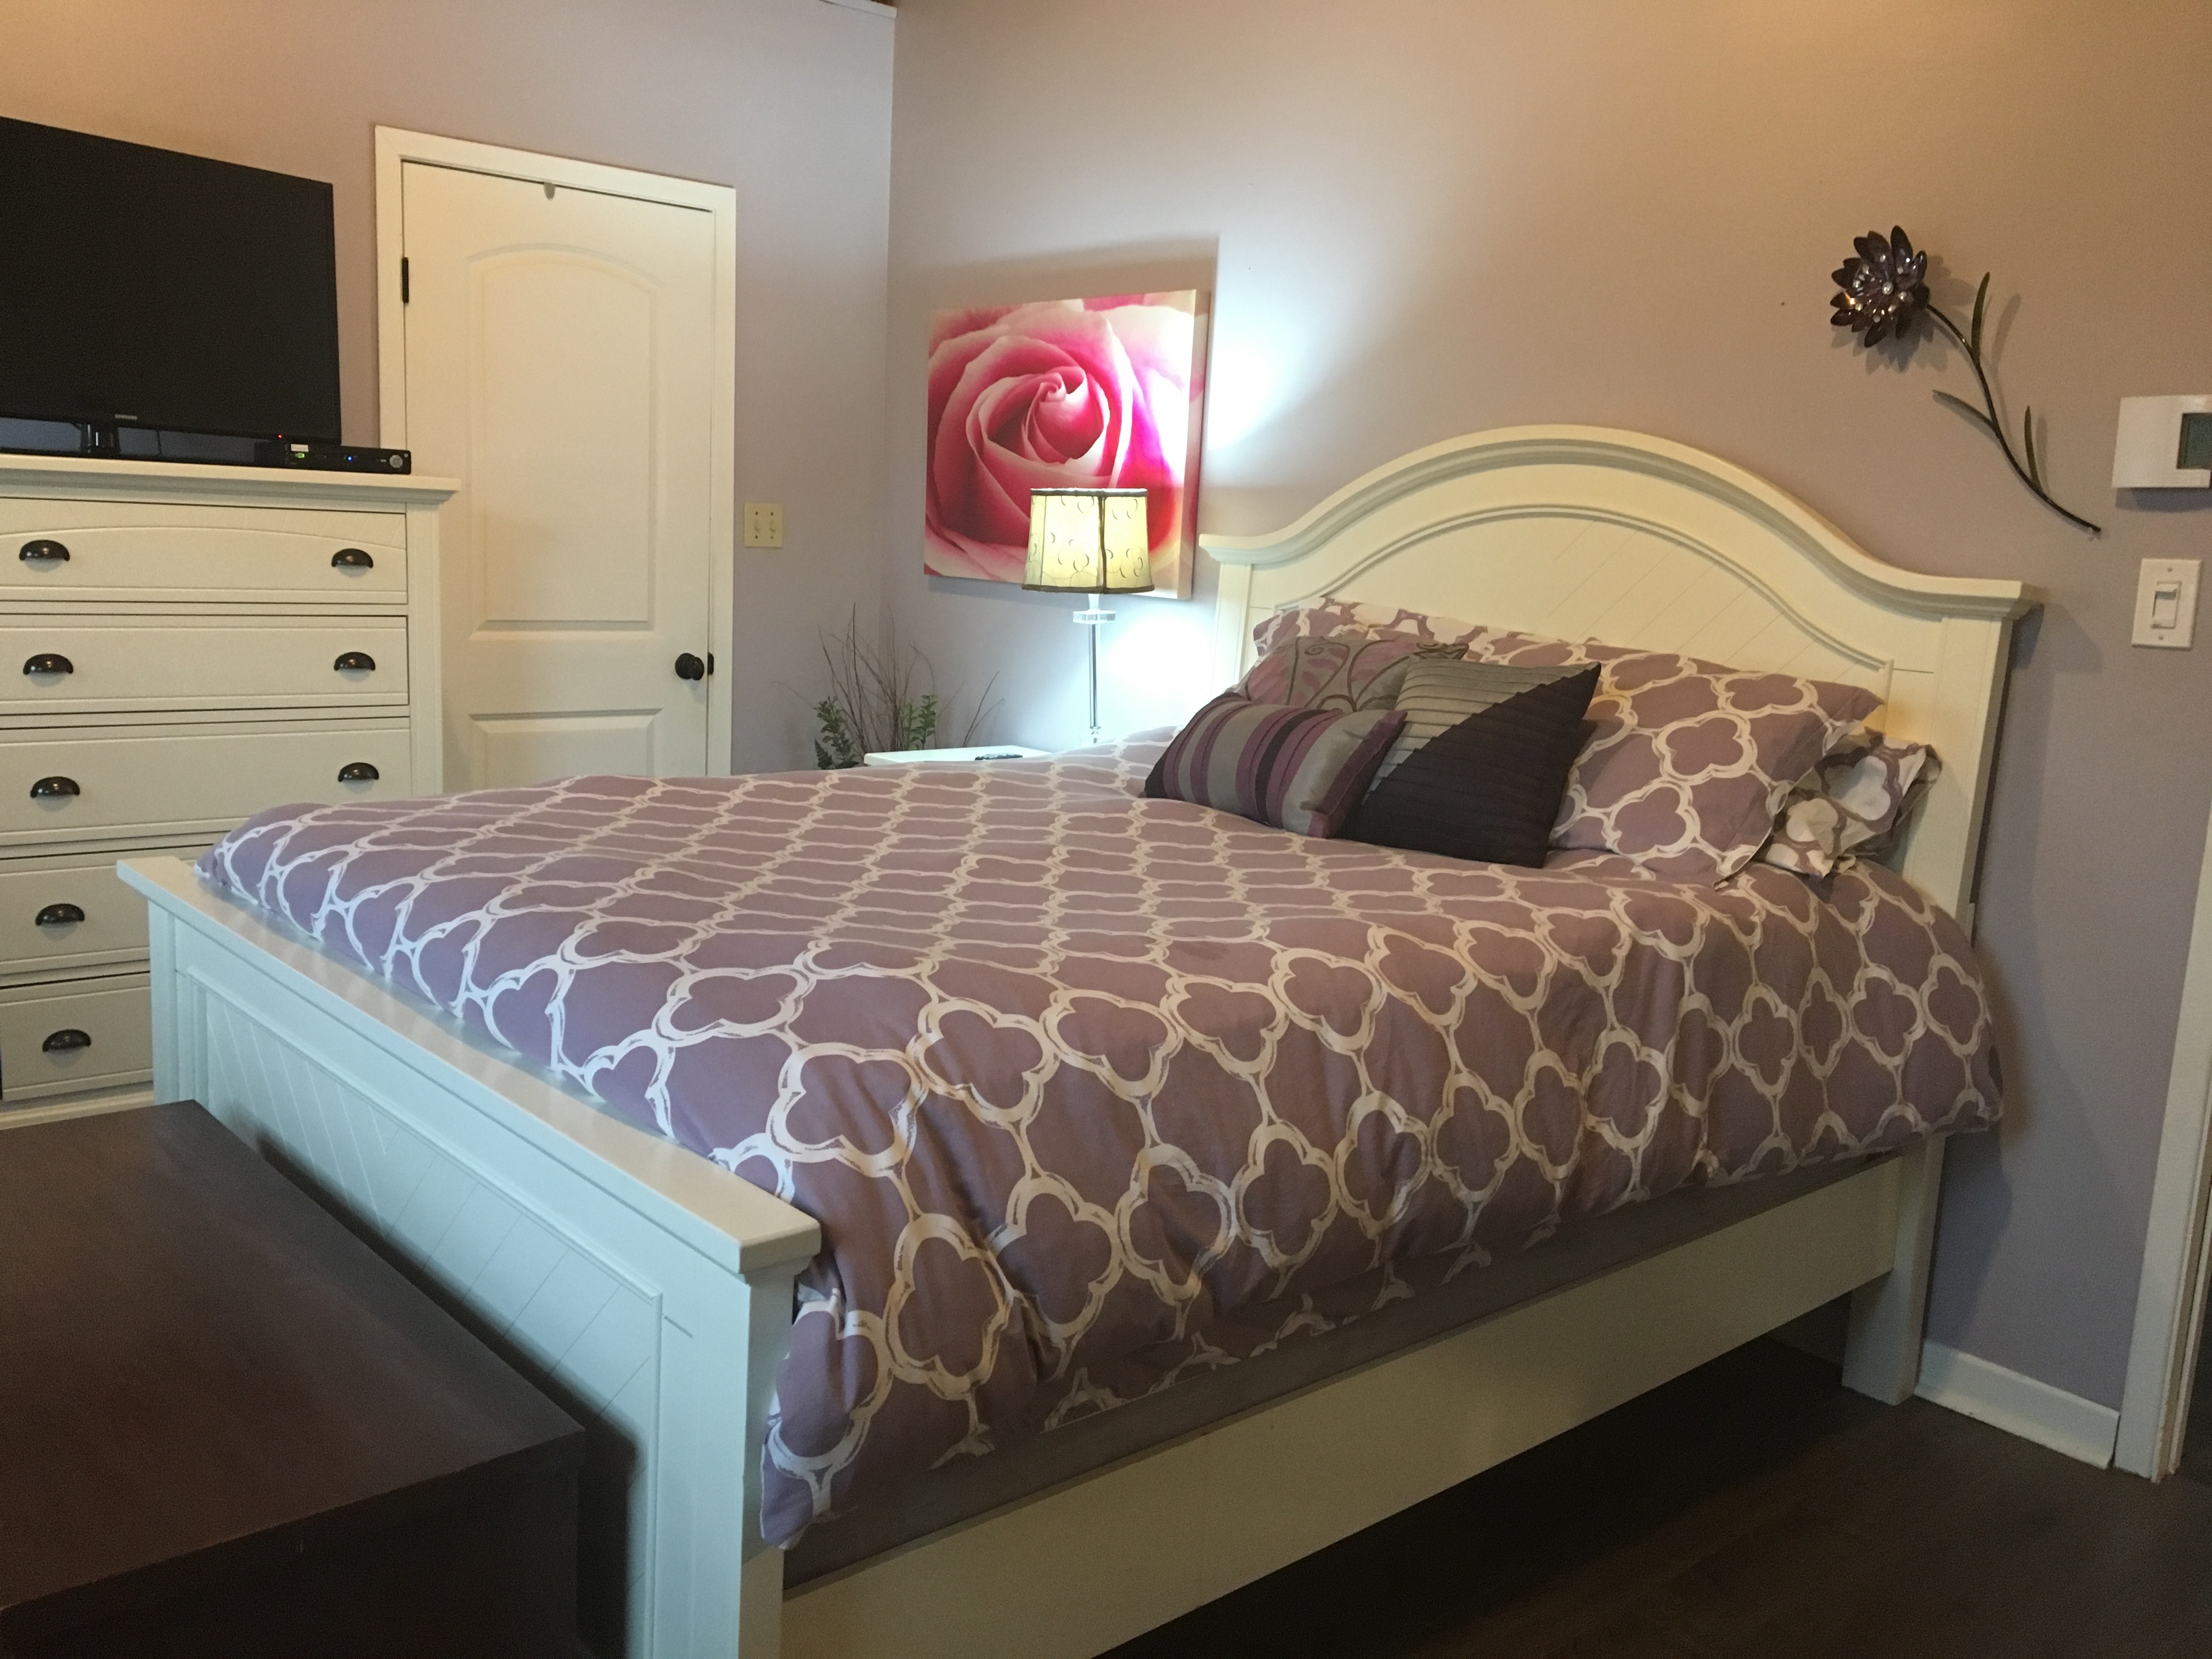
A family treasure cedar chest fits perfectly at the end of the bed and still enough room to walk around.
Thrilled how this turned out and even more important a happy client 🙂
Takeaway Tip: In any furniture arrangement measure and draw out the room dimensions, with furniture measurements as well. Try pieces in different locations when your moving pieces, often times you have to try a piece and see how it looks before deciding on it's final placement. Remember proportion and balance in the room and your on your way to a betterlayout.
Thanks to Finishing Touch for donating the print to the YMCA Monte Carlo fundraiser...my client who won the print is happy her print is now hanging up to enjoy!

Need a bedroom makeover with just using all your existing furniture, call me and I’ll help you reinvent your space. NEWER POST