I personally love the thrill of the hunt at secondhand places. You have to see pass the crowded merchandise and try to visualize how a piece of furniture could look in your new space. Here’s a ‘Before’ during and ‘After’ photo of the piece that now found a new home in our dining room. I hope this gives you the confidence when your out looking at secondhand shops for new pieces.
Steps for redoing a piece like this:
- Repair any damages first
- Remove the hardware before prepping the piece to sand
- Sand, sand and more sanding off the old finish
- Once your satisfied that the old finish is removed then start painting
- In this case the hardware was built-in so I masked around the hardware and removed the upper handles before painting
- With a slightly damp cloth remove all the dust from sanding (you can either hand sand or use a electric sander)
- Start with even strokes and put on your first coat of paint
- Once the first coat is dry do another coat (I used a roller and brush for this piece)
- Really check out your piece and any spots that you missed or that are uneven do another coat to compete your project
- Screw the hardware back on and place your piece in it’s new spot!
Found at Looks Used Furniture
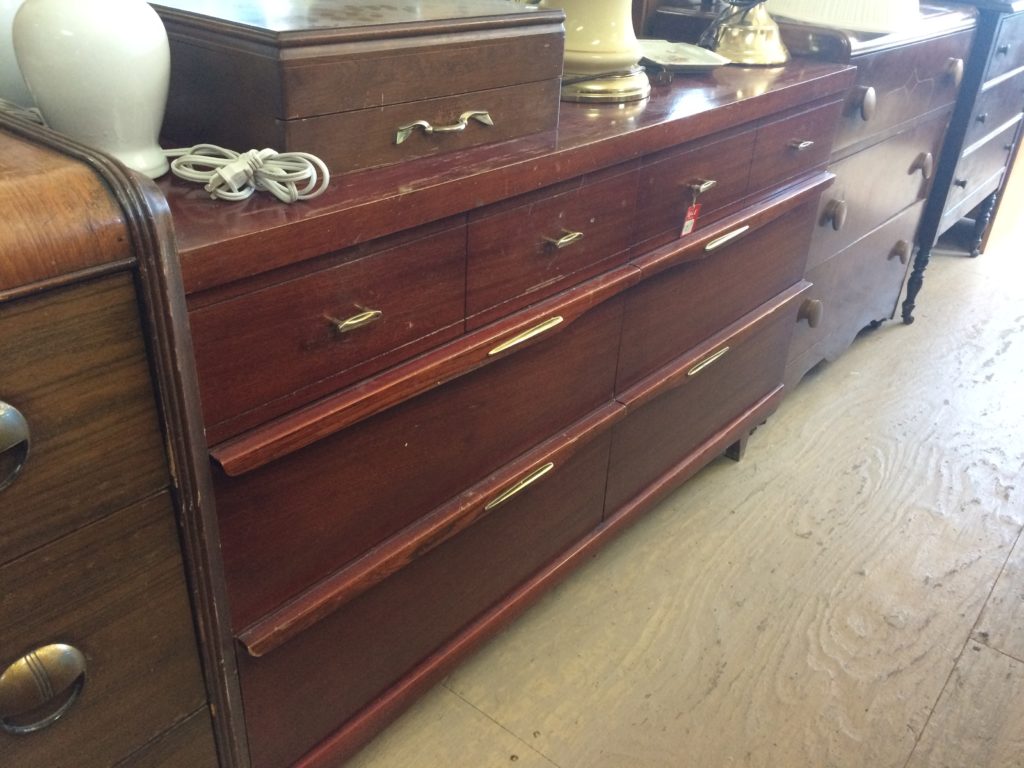
In the Studio ~ Prep Before Paint

Buffet Makeover ‘After’ in the Reveal
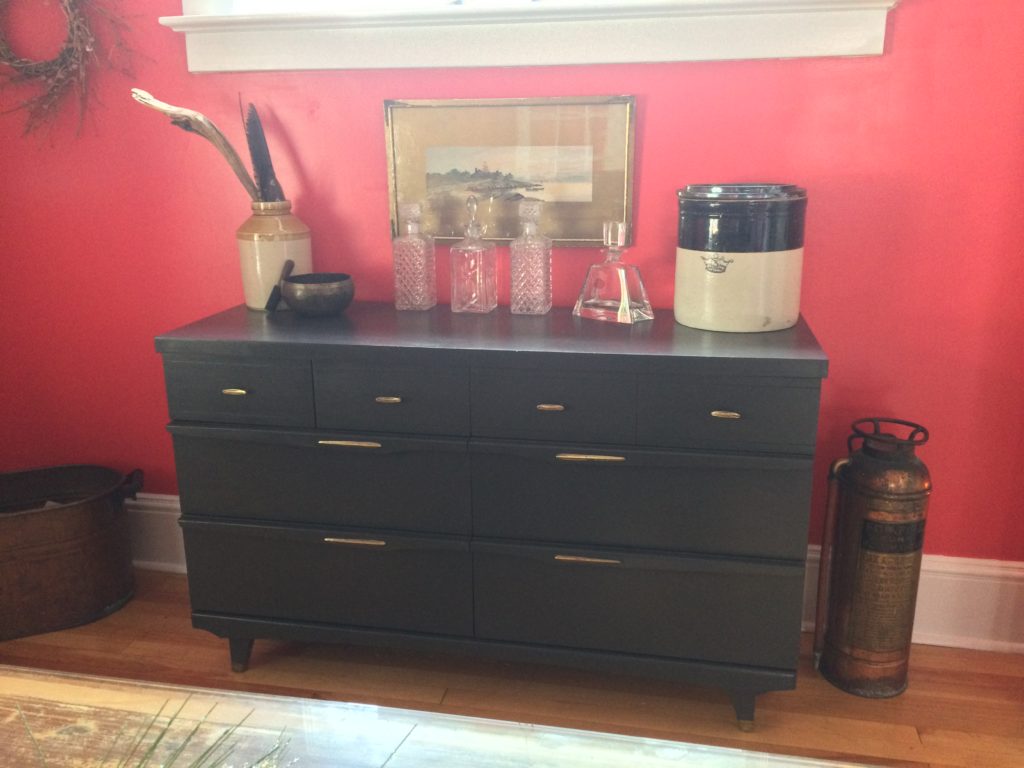
For a fraction of the price of a new piece of furniture this makeover buffet has a new lease on life!
See more details of this ‘Sexy Room Makeover‘ here ⇒